Hollow Knight: Silksong Guide to Defeating the Bell Beast
After vanquishing the Moss Mother and unlocking new regions in Hollow Knight: Silksong, players will discover a wealth of areas to explore, such as The Marrow and Mosshome. However, navigating solely on foot can present challenges. In the original game, players had the convenience of Stag Beetles, but Silksong introduces the Bell Beast as a similar fast travel option. Yet, to utilize this creature for speedy travel, players must first free it from its silk prison by obtaining their initial power-up.
Upon freeing the Bell Beast, be prepared for a battle, as it awakens in a less-than-friendly mood. If you’re uncertain about how to acquire the necessary power-up or face this formidable foe, this guide is tailored for you.
Finding the Bell Beast in Hollow Knight: Silksong
The Bell Beast awaits players as a boss in The Marrow. To reach this location, you’ll need to skillfully navigate the area, using your nail to cut through platforms that lead to the upper right section of the map. It’s advisable to reserve your Rosaries until you reach the area linking Mosshome and The Marrow, where a merchant named Shakra can provide maps detailing the surroundings.
Upon reaching the top right of The Marrow, you’ll notice a sign featuring a bell, directing you right toward the Bell Beast, which is ensnared in silk. Attempting to free it right away will be fruitless, as the silk will regenerate more quickly than you can cut. Instead, your first task is to venture into Mosshome in search of the necessary power-up.
Releasing the Bell Beast
Your journey to free the Bell Beast will lead you to Mosshome, where you’ll need a new ability capable of slicing through silk webs with ease. From Shakra’s location, move left along the upper pathway into Mosshome, dealing with a mix of flying foes, charging enemies, and projectile spitting creatures as you advance.
After clearing out the immediate threats, head to the lever located on a higher platform, then proceed to the right and ascend further until you reach the top of the area. Inspect your surroundings here for a special item, which will grant you access to the Silkspear power-up.
This powerful skill will enable you to sever the silk paths across Mosshome. With the Silkspear in hand, retrace your steps back to the location of the Bell Beast and take action to free it.
Defeating the Bell Beast
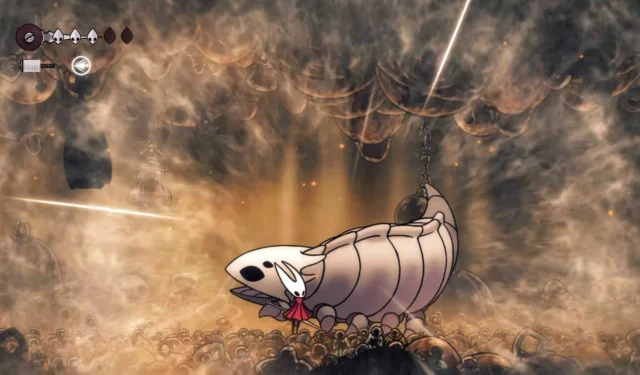
In contrast to the relatively straightforward encounter with the Moss Mother, battling the Bell Beast presents a significant challenge akin to a combination of the Dung Defender and Moss Charger fights. The encounter begins with two main attacks: a charging attack and a jumping attack. For the charge, leap to dodge its approach, then execute a diagonal nail attack while airborne to land a hit.
For the jumping attack, stay grounded and align yourself beneath the Bell Beast’s descent to maximize damage output upon landing. Repeat this strategy until the Bell Beast transitions into its second phase. In this phase, the ground will tremble as a barrage of bells descends from above, inflicting heavy damage if struck.
Observe the flight paths of the bell projectiles, which will bounce upon impact. It’s crucial to maintain your composure during this segment and focus on defense when bells are raining down, as the beast becomes slightly less threatening aside from the projectiles.
Patience is key during this encounter — avoid the temptation to strike excessively, and instead concentrate on evading and surviving the barrage of bells. If you find yourself struggling, the optimal bench for a quick return to the battle is nearest to the Druid NPC in Mosshome.
Rewards for Overcoming the Bell Beast
Upon successfully defeating the Bell Beast, you’ll receive a glowing orb that will propel you into a surreal platforming segment. Here, you’ll use levers and cranks to ascend and ultimately emerge with the Silk Heart, a power that regenerates silk within your shell.
This victory also grants you the ability to fast travel thanks to the Bell Beast, though returning to Bone Bottom won’t be feasible until you unlock an additional fast travel station.
Source & Images
Related Articles:
Hollow Knight: Silksong Guide: Stringing Rosaries for Beginners
21:26September 4, 2025Hollow Knight: Silksong Flexible Spines Quest Walkthrough and Guide
19:58September 4, 2025Top 10 Hidden Gems to Discover on Nintendo Switch Online
19:53September 4, 2025Complete Guide & Walkthrough for Moss Grotto in Hollow Knight: Silksong
19:51September 4, 2025Defeating Moss Mother in Hollow Knight: Silksong – Tips and Strategies
Hollow Knight: Silksong Lace Boss Strategy – Navigating the Deep Docks Encounter
Leave a Reply Cancel reply
Your email address will not be published. Required fields are marked *