Quick Links
- Shards In Setting Up The Stage
- Shards On The Hacker’s Den
- Shards In Behind The Curtain
- Shards In A Price To Be Paid
- Shards In Licking The Wounds
- Shards In I Won’t Be Back Today
- Shards In Winds Of The Desolate
- Shards In Pillars Of Creation
- Shards In Mindgames
- Shards In Can Anyone Hear Me?
- Shards In Elevator Maintenance
- Shards In Too Close To The Sun
Ghostrunner 2 isn't all about skill. Nonetheless, you need some extra help, and that's why the Upgrade Chips exist. But these Chips aren't more than trash if you don't have the Memory Shards. With them, you can set the Chips on your Motherboard. Also, they are collectibles you must find to complete the game.
RelatedGhostrunner 2: All Artifacts And How To Find Them
Ghostrunner 2 has 22 Artifacts for the player to uncover - here's where to find them all.
PostsGhostrunner 2 is flooded with these Memory Shards; in fact, there are 72 of them throughout Dharma and the Outside. Some are hard to get, and others are basically free, but one thing is sure: they all are here in this Memory Shard Location Guide.
Shards In Setting Up The Stage
There are seven shards in this level:
Memory Shard 1
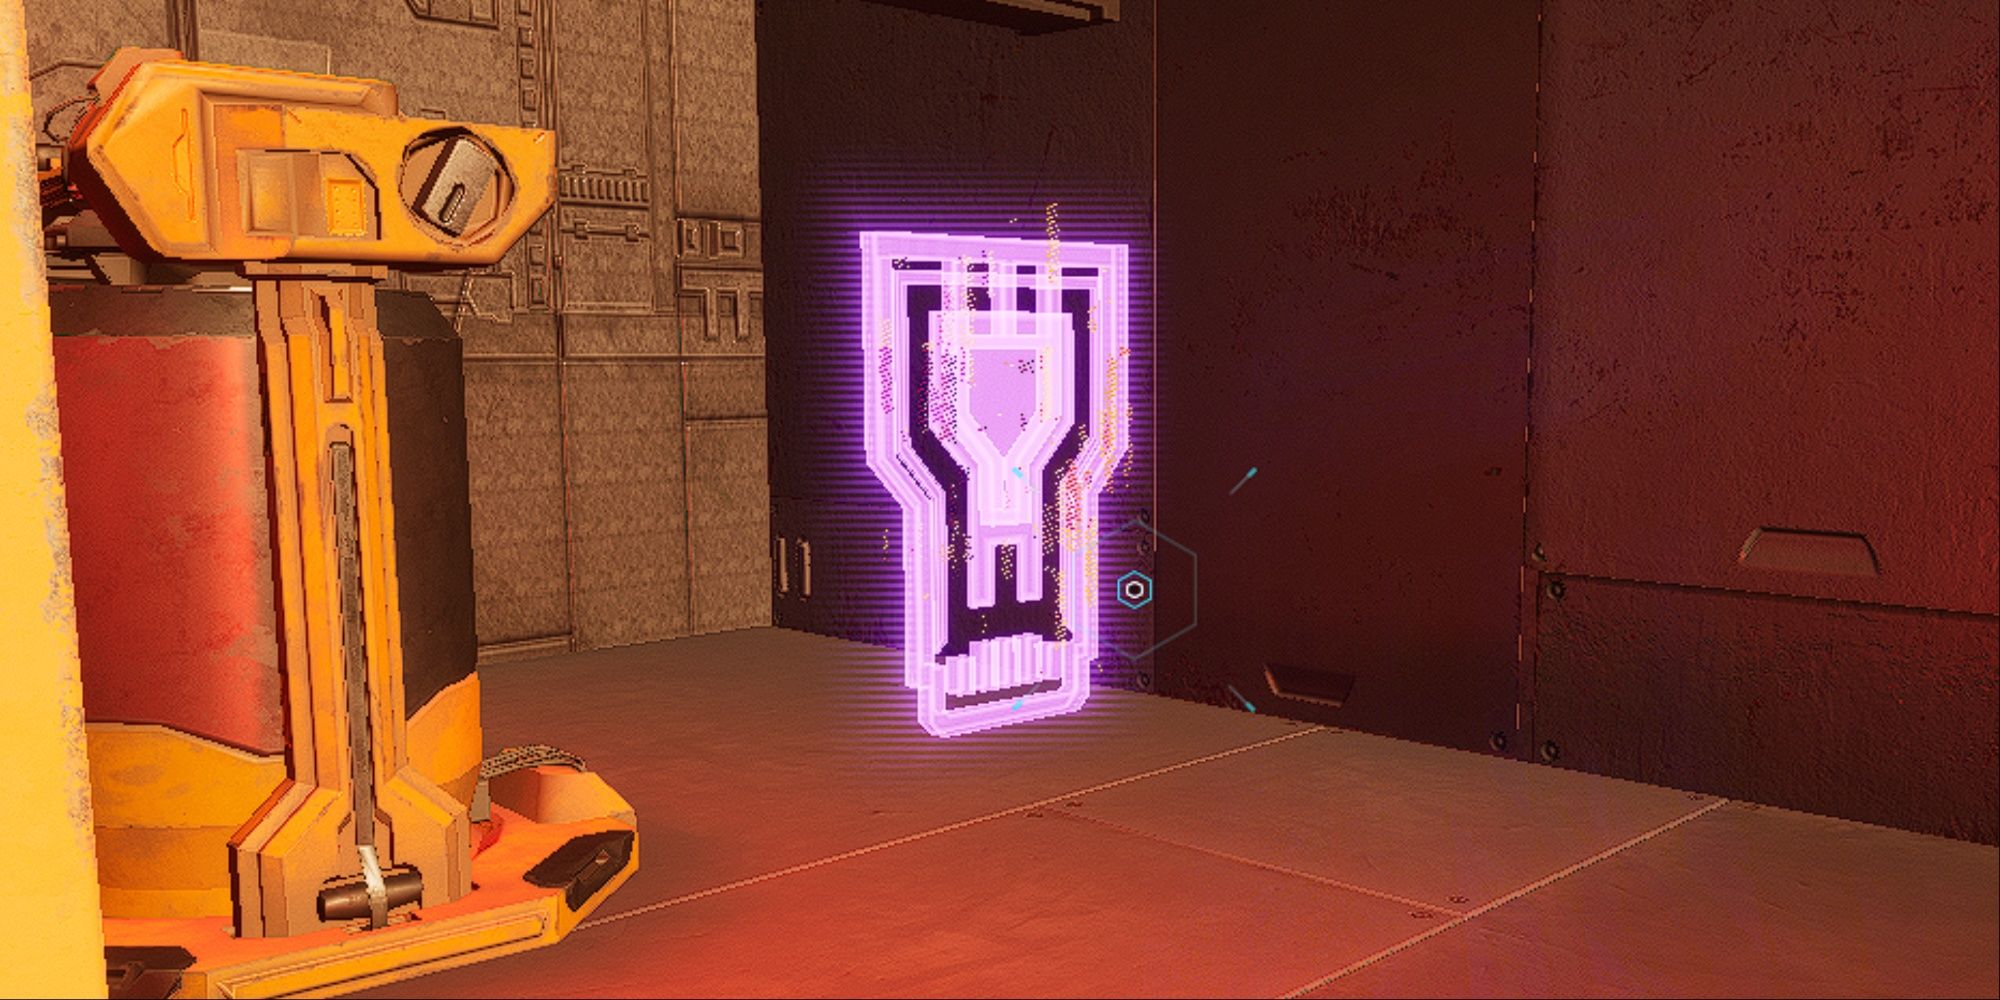
In the sewers. This one introduces you to the Motherboard system, so it’s impossible to miss.
Memory Shard 2
This shard is shortly after the circular stage, where you must drain the water to advance. You can see it after using the Grappling Gun for the first time.
Memory Shard 3
From that previous shard, you’ll go through a structure you can take down with a shuriken and then a wall you must reach with a Grappling Gun.
After that, jump to the next pillar with platforms, then go right to find the Memory Shard.
Memory Shard 4
After getting the third shard, progress through the level until you find a zone with an explosive barrel and two grunts.
Kill those guys, and peek to the bottom left zone on that platform.
Memory Shard 5
Progress as usual until finding a battle arena zone with several explosive barrels, ranged Grunts, and shinobis. Kill them all, then step in the inclined vent at the back of the stage.
Look up until you find a blue switch you can activate with a shuriken; do it, and you’ll land near the shard.
Memory Shard 6
From the previous shard, turn to the left to see this one.
Memory Shard 7
This last shard is at the end of the level, in the platform before the last battle arena. You can see it from the distance when you are arriving.
Shards On The Hacker’s Den
There are eight shards in this level:
Memory Shard 8
At the start of the level, on the right side of the first enemy you kill.
Memory Shard 9
Near the entrance to the big room with the three terminals. It’s very easy to see as it’s not hidden at all.
Memory Shard 10
From the previous Memory Shard, use the rail in the middle. Kill the two enemies on the other side, then reach the door closed by laser beams and turn to the right.
As you reach that zone, turn to the right again, and you’ll find this shard.
Memory Shard 11
From the previous Memory Shard, go to the left until you see an air vent that leads to a grappling point.
This will take you to a new zone, and the shard is on a rail you use to progress.
Memory Shard 12
From the previous Memory Shard, after going through the rails, you’ll land on a platform. The Memory Shard is on the left, behind some boxes.
Memory Shard 13
Now, return to where you found the Memory Shard 10. If you turn to the left, you’ll see a grappling point and a vent. Use them, and you’ll see an entrance at the left.
In this new room, as soon as you get in, turn to the left, and you’ll see another red hole. The Memory is there.
Memory Shard 14
From the previous shard, return to the previous platform, the one before entering the room, and go to the other side of it. You’ll see this shard straight away.
Memory Shard 15
From the previous shard, return to the long platform and use the bars you see next to the entrance of the room with the terminal to get to a second platform, which is next to a rail.
Use the rail, and you’ll get to a new zone. The shard is at a slightly higher platform at the right, behind some crates.
Shards In Behind The Curtain
There are nine shards in this level:
Memory Shard 16
Progress here as usual until defeating an enemy that attacks with red chains.
Then, get inside that big room and turn left to find the Memory Shard.
Memory Shard 17
Progress through the level as usual again until you reach an area with a ledge open to the left. This level part is pretty straightforward, so you’ll know when you are there.
You can reach the Memory Shard by jumping into the void and dashing forward.
Memory Shard 18
After getting the previous Memory Shard, advance through the level until you reach a zone with three poles that are constantly retracting.
After using them, you’ll land on a long platform; turn back, and you’ll see the shard.
Memory Shard 19
This shard is in the level’s path. You don’t need to take any detour to find it.
Memory Shard 20
You’ll find this shard shortly after unlocking the Shadow ability. Progress as usual until you see the Shard locked in a room at the right, like in the picture.
Get up the platform using the grappling gun, go to the right,and you’ll see a breakable wall. The shard is inside.
Memory Shard 21
This shard is in the level’s path. It’s not hidden at all.
Memory Shard 22
Keep going, and you’ll find a deactivated fan that will take you further.
There’s a room near it that has a switch to activate the fan. Activate and use it. After that, turn back, and you’ll see the shard.
Memory Shard 23
This Shard is in the last room of the level. You’ll see it if you turn to the right.
Memory Shard 24
This one is also in the last room on the level. It’s hidden underneath the left hallway.
Shards In A Price To Be Paid
There are four shards in this level:
Memory Shard 25
This Memory Shard is hidden behind some breakable grids in a zone with a laser beam enemy and a ranged enemy. It’s near the start of the level.
Memory Shard 26
This one is near the previous one, and it’s in the regular level path. You won’t miss it.
Memory Shard 27
Progress as usual. You’ll enter a zone with several walls you can stick Shuriken in to use them as Grappling Points. Keep going until you reach a platform with a big fan on it.
Turn back and take a look at the building in the middle. The Shard is at the top. You’ll also see that the building has a small wall where you can throw a Shuriken in and use it as a Grappling Point.
Go back to the previous wall, throw a Shuriken, and use it to reach the Memory Shard.
Memory Shard 28
This Memory Shard is in the usual level path. You’ll find it after a battle arena.
Shards In Licking The Wounds
There are seven shards in this level:
Memory Shard 29
Progress as usual through the level until you find an enemy protected with a shield for the first time.Avoid him and climb through a Grappling Point to progress.
There’s an enemy and the shield orb protecting the shooter below. Kill the guy, break the orb, and go there to find the Memory Shard.
Use the Shadow Ability to distract the shooter while you advance.
Memory Shard 30
Continue through the level until you find a zone with several Chinese signposts and lamps.
Go through some walkable walls, and you’ll land in a new zone. The Memory Shard is there, next to a pillar.
Memory Shard 31
Reach a zone with several melee grunts and one with a hammer that invokes shockwaves. This will be in a hallway with a fan in the middle.
Kill them all, then use the fan and turn around in the air; you’ll see a breakable grid. Go through it to find the shard.
Memory Shard 32Continue until you see a zone with two rails. Use them to reach a platform with an open door.
Use the rail at the right to reach a big fan; it’ll take you to a breakable grid. After that, you’ll see the Shard.
Memory Shard 33
After the previous Shard, the enemies in the Battle Arena. Then, continue through the next door.
Go ahead until you use a couple of Grappling Points that will leave you in a large platform.The Shard is at the left.
Memory Shard 34
Progress until you must solve a pulse with the Tempest ability. After solving it, you’ll get inside a door where the first thing you’ll see is two walkable walls that lead to a rail.
Use the walls, then the rail, and you’ll find some enemies. Kill them, then go to the left, where you can see a big fan. It’ll take you to a new rail leading you to a room where the Shard is.
Memory Shard 35
For this last shard, advance until you find a battle arena. You’ll know you are there as you’ll see two rails on both sides of the room. First, kill all the people there; it’ll make things easier.
Then, go back to the start of the level, take the rail at the left, and wait until you get near a platform; jump on it, and you’ll find the shard.
RelatedGhostrunner 2: Beginner Tips
This fast-paced, brutal game can be frustrating to get to grips with. Here are our tips for getting used to Ghostrunner 2.
PostsShards In I Won’t Be Back Today
There are three shards in this level:
Memory Shard 36
This first shard is inside the first giant vent you’ll see on the stage.
Memory Shard 37
This shard is located in the air, midway through the level. You’ll know you are near it when you see a long lone path on the left side of the stage you can reach with a ramp.
Go through it, and then drop yourself early when you see the shard to get it.
Memory Shard 38
This one is on the main road, pretty near the end of the stage.
Shards In Winds Of The Desolate
You'll find eight shards in this level:
Memory Shard 39
Ride the bike until the game says to stop. You’ll be in a semi-open area; turn to the left and use the mini-map to locate this Shard.
Memory Shard 40
After solving a puzzle to advance with the bike, you’ll eventually find yourself with some laser beams blocking the path.
Go through them and advance until you find a zone with a big rock in the middle.The shard is on the left side of the rock.
Memory Shard 41
This one is near the previous one; follow the usual level path, and you’ll find it.
Memory Shard 42
This one is on the usual level path; you’ll find it shortly after finding a closed door that doesn’t let you advance with the bike.
Memory Shard 43
After the previous Shard, continue as usual until you unlock the door to progress. Ride the bike again and follow the path until you find a laser beam barrier.
Go through it; then you’ll land on a long road with a ramp at the left; use the ramp and jump in the air to find a red platform; the shard you are looking for is there.
Memory Shard 44
For this Shard, advance as usual after opening the second door to progress with the bike.
Shortly after that, you’ll see the Shard on a small platform at the left of the road. You must jump out of the bike to get it.
Memory Shard 45
After the previous Shard, keep going until you find a blocked door for the third time. As usual, you must dismount your Bike and find your way until you unlock the door. Progress through the level until you reach a zone with a robot, two ranged enemies, and a grunt.
You know you are in the right place as to reach it,you had to push a Grappling Point with the Tempest ability. The Shard is there, and you’ll get it after killing the enemies.
Memory Shard 46
This one is at the end of the level; it’s impossible to miss it as the bike parks exactly next to it.
Shards In Pillars Of Creation
There are 11 shards in this level:
Memory Shard 47
You’ll get this one after the very first battle arena of the level. To reach it, you must use a Shuriken on a hook that’s holding a crate.
Memory Shard 48
Progress through the level until you reach a large open zone that works as the hub to reach the three towers. The Memory Shard is next to the upgrade unit you can see in the mini-map.
Memory Shard 49
Explore the zone mentioned earlier until you find an utterly destroyed building. You’ll know you are in the right one as the Memory Shard will appear in the mini-map.
Get inside and use the walls to start climbing it. The Shard is at the top.
Memory Shard 50
This Shard is further into the hub. Just explore the right zone of the hub, and you’ll eventually find it.
Memory Shard 51
Now, let’s take on the towers. To locate yourself properly, return to where you arrived at the hub for the first time. Now, let’s start from the tower at the left.
You can see there’s a road pretty early into the entrance of the hub. It’s the one shown in the first picture. Follow that road until you find a bifurcation; go to the left. Follow that new road, and you’ll find the Memory Shard.
After getting the shard, keep progressing; you’ll go through a battle arena where you must set up a ramp for the bike, and then you’ll go through a tunnel.
Memory Shard 52
Now that you are near the tower, and after doing a very long jump with the bike, as soon as you land, turn to the left. You’ll see a building there which has the Memory Shard.
Break the hook that holds a crate, then get inside the building, and you’ll find the shard.
Memory Shard 53
From the previous Shard, now get through the usual path. You’ll see an Upgrade Machine there and the Shard next to it.
Memory Shard 54
Now, start climbing the tower. It starts with you climbing and walking through walls, but you must pay attention when you find a blue walkable wall that leads to a rail.
This rail leads you to a pole and then to another rail; as you step on it, turn back and quickly use the Grappling Gun to get the Shard. After that, raid the tower and then leave the place.
Memory Shard 55
After raiding the tower, you’ll go down it through a zip line, and you’ll land on your bike. Use it and follow the path to find the shard.
Memory Shard 56
You’ll get this one after successfully raiding the second tower, which is the one at the bottom of the hub. You’ll get on your bike, then go through the tunnel at the left until you detect the shard in the mini-map.
Here, you’ll have to be quick, as there are some electrical shortcuts that can kill you.
Go through the breakable wall, pass the electrical shortcuts, get to the back, and use a Shuriken to turn off the main electrical gate. Go back, pick the shard, and then leave.
Memory Shard 57
For this Shard, it’s time to follow the waypoint of the very last tower you need to raid. You’ll eventually reach a zone with various enemies you need to kill. There’s a robot, two worms, and two shooters.
After killing them, climb to the hallway in the middle platform (you can do it by using the bike and jumping after getting some impulse), and go to the left side of it; you’ll find the shard there.
Shards In Mindgames
Mindgames only has two shards:
Memory Shard 58
The first part of Mindgames is an exact replica of the start of the game. Reach the zone with three grunts, kill them, and the door will open up.
You’ll see a hallway; turn to the left midway through it to get to a vent. You’ll find the shard there.
Memory Shard 59
After going through the door, the game will toss you back to the start of the stage, but it’ll notice that it’s a bit more corrupted.
The shard is in the exact same place as the previous one.
Shards In Can Anyone Hear Me?
There are three shards in this level:
Memory Shard 60
Shortly after arriving at the main gate of Dharma, and seeing how Jack dismounts his bike, turn back, start walking and head to the right to find the shard.
Memory Shard 61
From the previous shard, progress through the level. You’ll find some drones you can pull to use them as platforms.
After that, you’ll get to a zone with a rail; use it and turn to the left to find the shard.
Memory Shard 62
Now, progress through the level as usual until you land on a big battle arena. It’s the last one, as it’s towards the end of the level. In this battle arena, you’ll see some shielded shooters and some grunts.
There’s also a rail at the back of the stage; reach it. If you take a look at the right, you’ll see a walkable wall you can use the Grappling Gun on; use it.
Now, jump to the tubes you’ll see afterward, grab the drone working there, use the fan, and step on the drone; it’ll take you to a zone with a breakable grid. The shard is behind it.
Shards In Elevator Maintenance
There are five shards in this level:
Memory Shard 63
You’ll ride a rail during the beginning on the level. This rail will drop you in the air; then you have to use the Grappling Gun to reach a platform where you can land safe and sound.
As soon as you land, turn to the left, and you’ll see the shard.
Memory Shard 64
This Shard is on the usual level path in the second battle arena you’ll find. It’s not hard to spot.
Memory Shard 65
From the previous shard, now progress further until you get inside a big vent with a rail you’ll use to move. In the end, a gigantic fan will take you up; be careful with the bolts of lightning. You’ll land on a platform; turn down, drop yourself and follow that path.
You’ll go through some Grappling Points and will land in front of a drone. Turn back and up, and you’ll see a higher platform; dash and use the Grappling Gun to reach it. The shard is there.
Memory Shard 66
This shard is also in the usual level path. You won’t miss it.
Memory Shard 67
For this shard, you must continue through the usual level path until you reach a giant broken tube with a rail inside.
There’s a drone in the middle; pull it, then turn left; you’ll see the shard there. Use the drone near it to get it.
Shards In Too Close To The Sun
This last level has the last five shards:
Memory Shard 68
This shard is in the main path of the level. It’s inside a red zone; you’ll see it easily.
Memory Shard 69
Continue through the level until you reach a platform where, on the left side, you’ll see a wall where you can stick a Shuriken. It’s after the section with the big fans.
Throw a Shuriken in the wall, then use the glider wings to fly to the shard at the other side.
Memory Shard 70
To get this shard, you must reach the zone where you can see two long hallways; there are enemies in the lower one.
Glide through there, kill the guys, then go to the left, where you’ll find a fan. Use it to reach the upper hallway, then turn back to see the shard. You’ll reach it by gliding.
Memory Shard 71
This shard is in a battle arena you’ll find eventually during the level. It’s behind some structures in the bigger platform on the left.
Memory Shard 72
For this last Memory Shard, you’ll have to continue for a long while until you reach a tube with a rail inside,and Mitra starts talking with you for the first time.
At the end of that tube, you’ll stick on a rail; then you’ll be sent to the air. Start gliding and head to the right, where you’ll see a platform with the shard.
NEXT: Ghostrunner 2: Mitra The Resurrected Boss Guide