Warhammer 40,000: Space Marine 2 - Ballistic Engine Mission Walkthrough
In Warhammer 40,000: Space Marine 2, you can launch replayable Operations Missions through the Battle Map. These co-op missions can be undertaken online with friends or offline with NPC companions. In the Ballistic Engine mission, you are tasked with acquiring a Nova Cannon Warhead, and you must use it to target the Hive City by train.
RelatedWarhammer 40,000: Space Marine 2 - Enemy Types, Explained
Wondering what a Terminus or Majoris enemy is? We have you covered.
PostsYou will face strong waves of enemies as you attempt to reach the weapon, load the warhead, and defend the train as it prepares to launch.
Station Approach
CloseVisibility will be low outdoors on this mission, so follow the floodlights in the distance to find the elevator entrance. Once inside, activate the console to your left to proceed toward the Militarum Depot.
Reach the Militarum Depot Entrance
CloseFight past the enemies in the hallway until you reach theopen doors in a room with red lights, head through to locate the Nova Warhead.
Bomb Storage
Awaken the Machine Spirit
You must activate the terminal in front of the large silo to begin this section of the mission. Upon trying to turn on the terminal, you will be prompted to activate two consoles before you can proceed.
Activate First Console
In the top right corner of your screen, you will be instructed to activate a specific console. There are three sections of consoles in the Storage Facility: A, B, and C. Each section contains consoles numbered one through three.
Ensure you activate the correct letter and numbered console you have been prompted to use.
After activating the correct console, a timed transfer will begin. You must fight a massive wave of enemies until the progress bar reaches 100 percent before you can proceed to the next objective.
Activate Second Console
Another prompt will appear on your screen to activate a second console. Be sure to activate the correct letter and numbered console you have been prompted to use. You will have to fight a second wave of enemies while the second transfer is completed. Return to the original terminal we tried to activate when we first entered the storage facility. You can now activate it, which will cause the Warhead to be dispatched to the train.
Exit Facility
It's time to head back outside so we can reach the train station and prepare the warhead for launch. When standing at the terminal, the elevator is directly behind us, when your team is inside the elevator, hit the switch and head upstairs.
Armoury Data Location (Optional)
CloseThere is an Armoury Data pickup we can grab for extra rewards. Follow these steps to locate it before heading outside.
- Defeat multiple enemies at the elevator exit,
- Find a single enemy at a fork in the hallway.
- Turn left into a room with a small alter.
- In the far left corner of the room is the Armoury Data.
- Grab the data and head straight out of the room toward the sunlight to get outside.
Activate The Bridge
CloseVisibility is still low outside, so remember to follow the floodlights if you have trouble navigating. Head up the stairs past the light and activate the bridge console. This will extend the bridge and allow you to cross toward the train station's entrance.
After crossing the bridge turn left through large open doors to find the entrance to the train station. Activate the console to open the doors and enter the final phase of the mission.
Train Station
The Warhead is loaded onto the train tracks, but some cargo blocks its path. Activate the console to move the cargo and allow the warhead to be loaded onto the train. After activating the console to clear the tracks, jump down to the train station's platform level and fight a huge wave of enemies in order to proceed.
Take The Elevator To The Train
CloseOnce you have defeated the enemies at platform level, jump down yet another level and make your way through a small room toward an elevator. You will face several more enemies in this area, but you do not need to defeat all of them in order to access the elevator.
Defeat the enemies or dodge past them and activate the elevator to make your way to the train.
You can use the loadout station to switch out your guns and melee weapons before proceeding to the next area.
Train Defense
Activate Train
You will be instructed to launch the warhead by activating the terminal on the platform overlooking the train. It will not work at this point, and several steps are required to reactivate this terminal before you can launch the train.
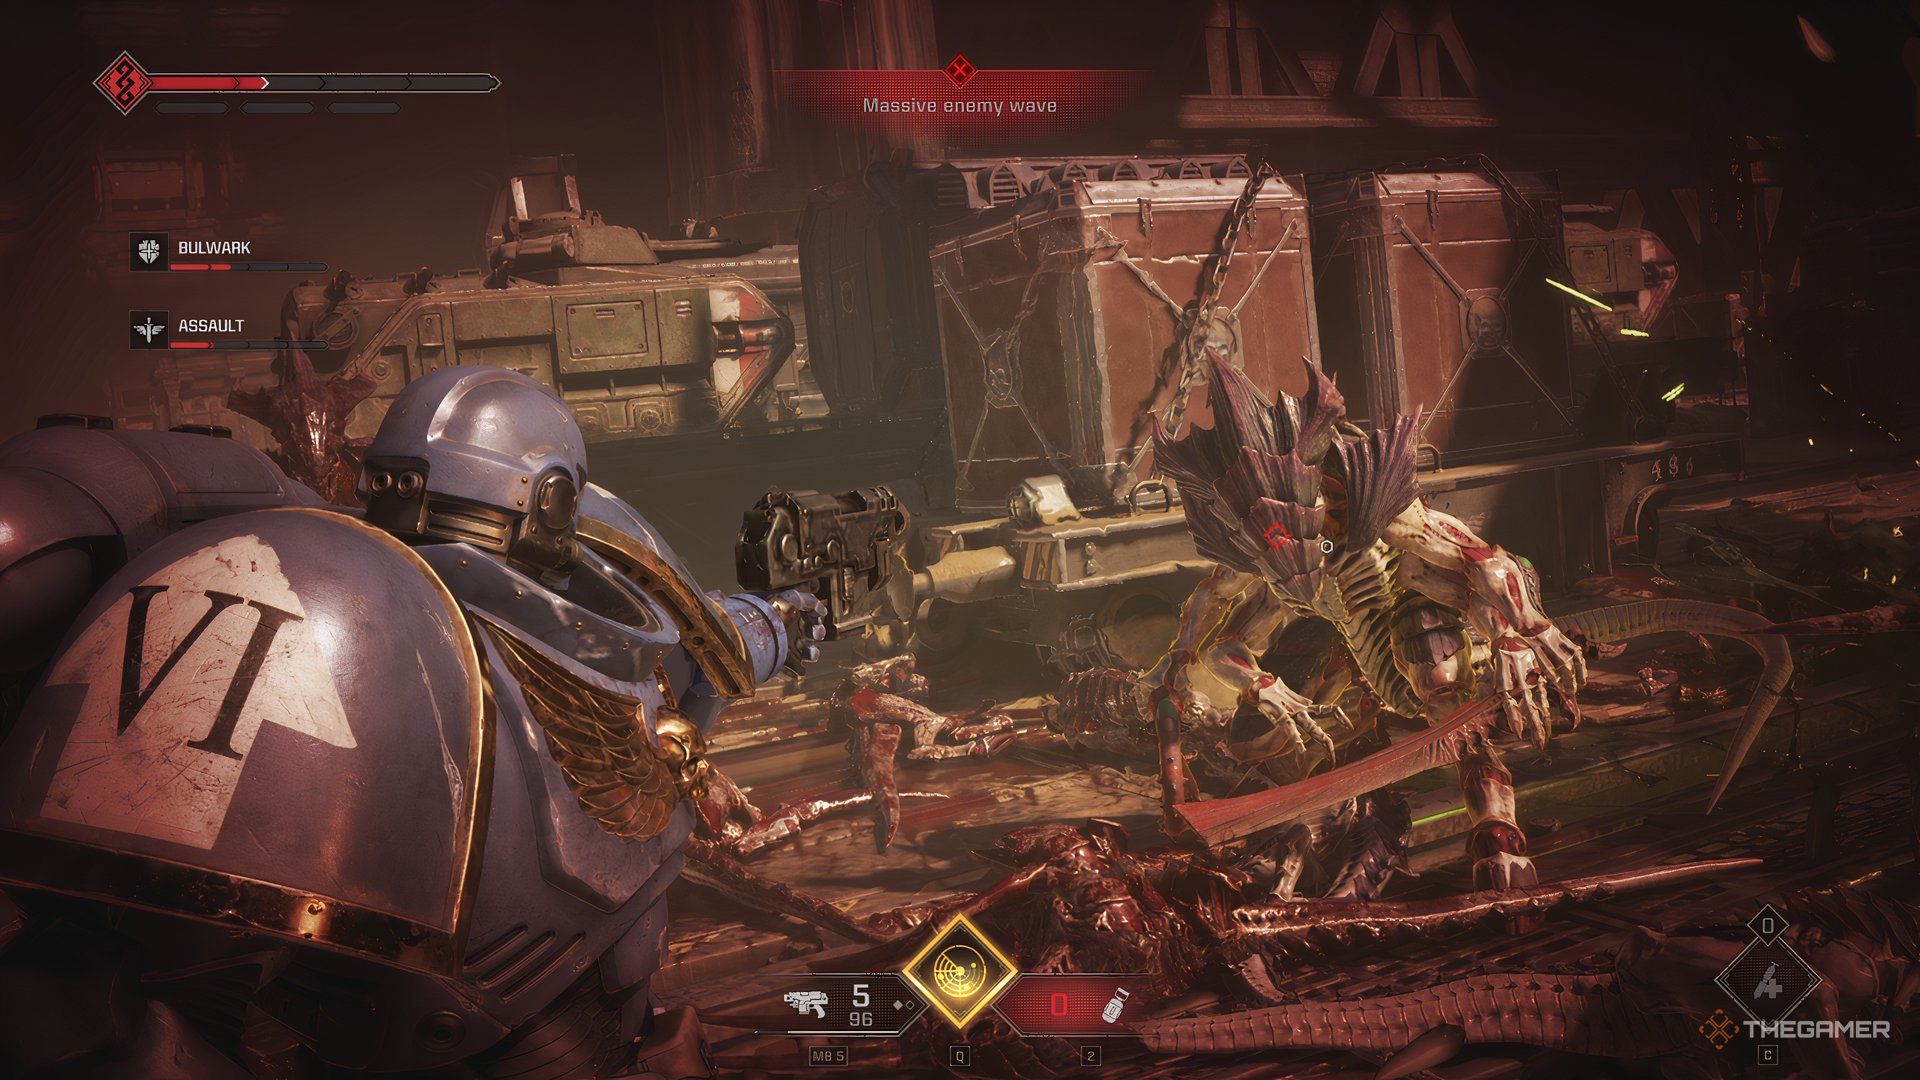
Defend The Train
CloseA massive number of enemies will storm the train, and you must act quickly or fail the entire mission. When you see enemies on the tracks attacking the train, run to the console above the area they are located and activate it. Another train will ram the enemies and stop them from destroying the train.
Once you successfully clear the enemies on the tracks below, another wave of enemies will attack you as the train charges its engines. Survive this onslaught long enough for the train to charge and the mission to proceed.
After surviving long enough for the train's engines to charge, you will be instructed to activate the power supply. Simply interact with the terminal to turn on the train.
Hold Charging Station
CloseAfter turning on the power supply, you will need to defend the charging station until its progress bar reaches 100 percent. You will need to stand inside the indicated area in order for the bar to progress. Stepping outside the box will cause it to turn red, haulting progress, ensure the indicator is blue to advance the bar.
After successfully defending the charging station, you can return to the terminal above the train and launch the weapon at Hive City. A cutscene will play showing the destructive power of the Nova Warhead, signifying your victory in this operation.
RelatedWarhammer 40,000: Space Marine 2 - How To Earn Requisition Points
Here is how you can get Requisition Points in Warhammer 40,000: Space Marine 2.
Posts