Valkyrie Profile: Lenneth - Palace Of The Dragon Walkthrough

Quick Links
- Palace Of The Dragon Overview
- How To Get The Full Moon Stone
- How To Get The Eclipse Stone
- How To Get The Crescent Moon Stone
- How To Get The Darkspot Stone
- How To Solve The Statue Puzzle Get The Darkpath Stone
- How To Solve The Painting Puzzle And Get The New Moon Stone
- How To Deal With The Teleporter Statues And Get The Blood-Red Stone
- How To Beat Gandar
- Palace Of The Dragon Artifacts
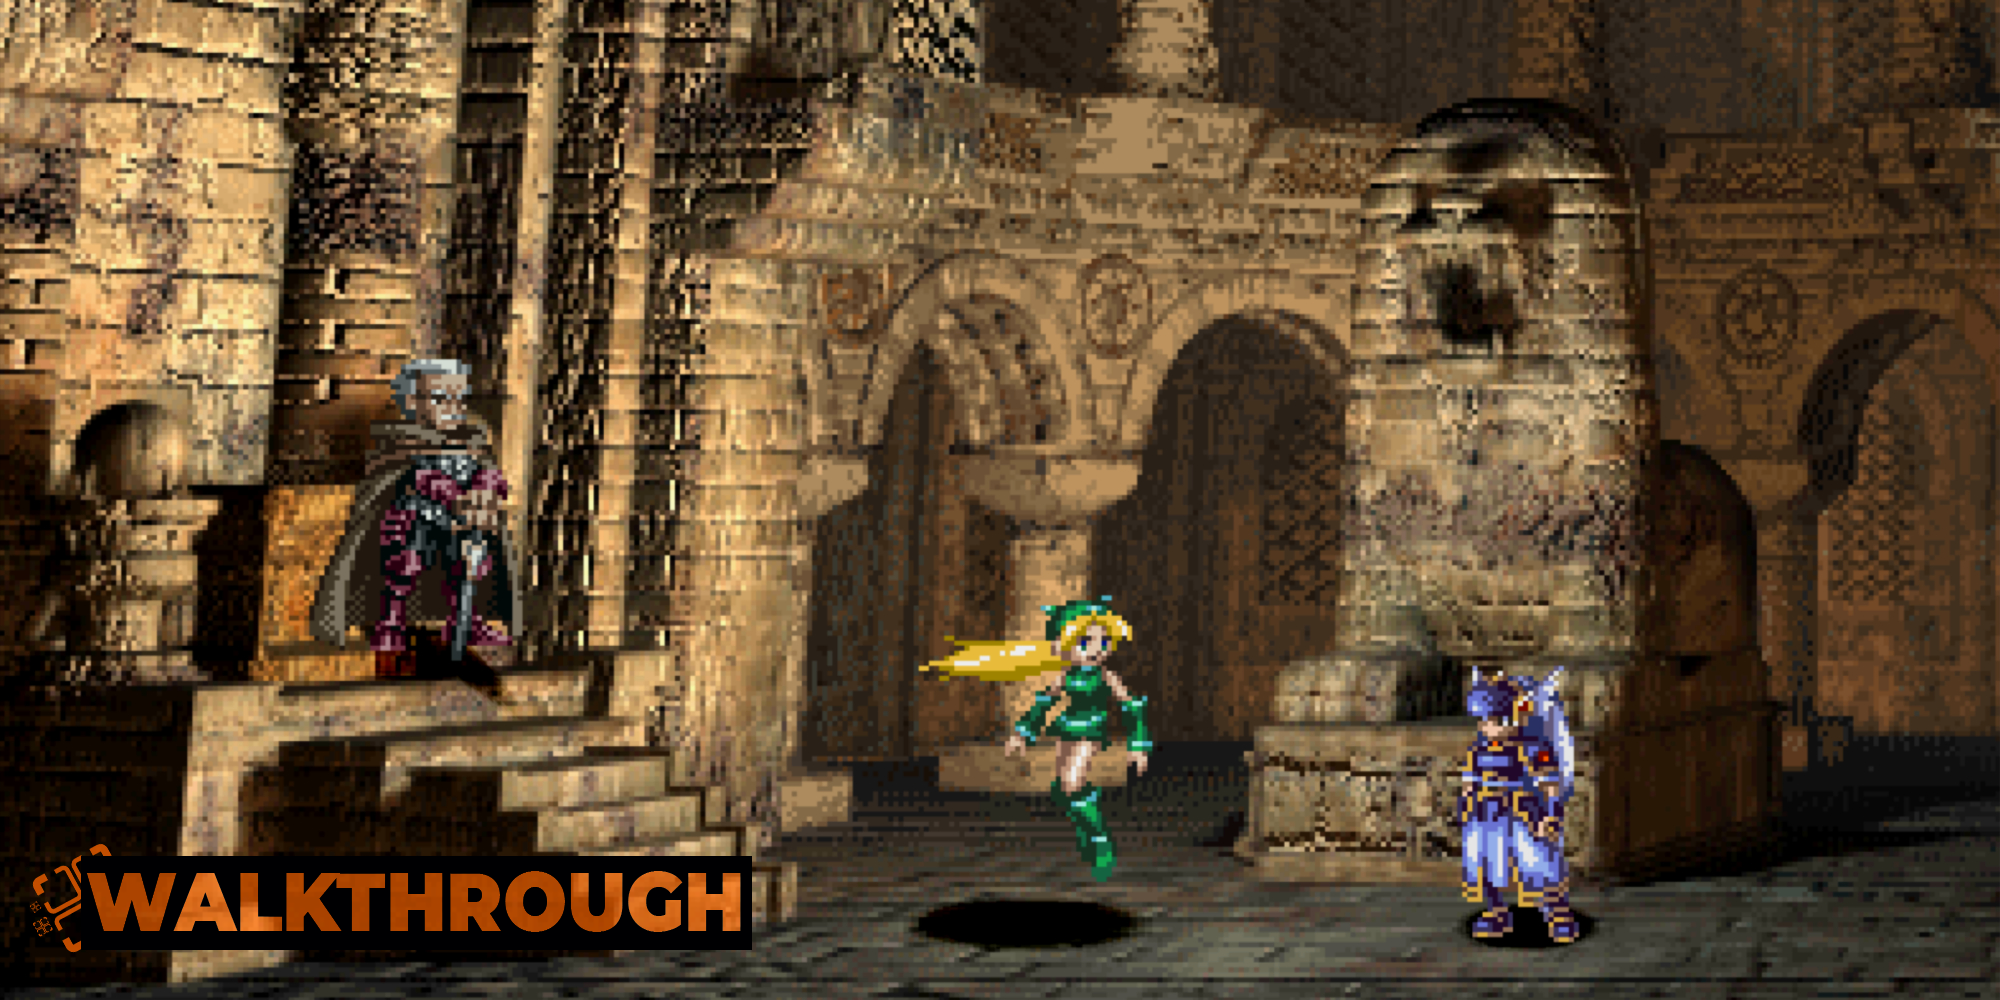
The Palace of the Dragon is another dungeon that you are sent to personally, this time by Freya, who wants you to retrieve the Dragon Orb. The Palace, you see, is the orb's last known resting place. Unfortunately for you, the Palace of the Dragon holds some of the most difficult, convoluted puzzles that Valkyrie Profile: Lenneth has to offer.
RELATED: Valkyrie Profile: Lenneth - How To Get The Best Ending
In compensation for that, almost, the enemies that the dungeon is filled with aren't that threatening, and it has one of the easiest bosses in the game when you take into account how strong your team should be.
Palace Of The Dragon Overview
The main gimmick of this dungeon is the collection of various different stones that are associated with the phases of the moon. You'll need to systematically scour the palace for these, and then use them to unlock new areas and new puzzles.
Enemy
HP
Weakness
Experience
Notes
Dark Pudding
9,200
None
2,450
While these enemies are usually very weak to magic, these ones have incredibly high RST. Instead, they're very frail, so just use a few physical attacks to take them down.
Dragonewt
20,000
None
2,170
Defensive and slightly bulky, but you shouldn't need to break out the Dragon Slayer to deal with these.
Dullahan Lord
40,000
None
84,000
Dullahans aren't very threatening - they don't have nasty gimmicks. They do have lots of high-damage abilities and a big pool of health, though, so take them seriously.
Eternal Chimera
40,000
None
16,800
Very threatening, as all chimera-type enemies are, but is actually a bit frail compared to how strong you should be by now. Undulation can deal a lot of damage and inflict curse, though, so don't get complacent.
Grey Bones
27,000
None
5,600
This enemy's Critical Slash attack is an instant-kill, so make sure you're taking them seriously. Have multiple characters set up with Auto Item and Union Plumes to counter this, hopefully.
Mage Lord
12,000
Poison
2,800
Poison Blow makes very short work of them.
How To Get The Full Moon Stone
As mentioned above, this dungeon's main puzzle will require the collection and use of a few different stones, all having something to do with the phases of the moon.
The first stone could not be easier to collect. From your starting location, head all the way to the right, ignoring the exit and the sun door to the rear, until you reach a room with a painting of a tower in it.
Examine the painting twice to get the Full Moon Stone. Easy enough!
How To Get The Eclipse Stone
From the room with the painting, head back to the left and take the open exit to the rear. In this room, examine the statue and select the Full Moon Stone to be transported to a new area.
From here, move down and then to the left. The next room has an explosive trap with an Eye of Heaven inside, as well as a Wassail-Rapier next to it. Now, start moving to the right until you reach another small room with a Dullahan Lord inside. Defeat the enemy and open the chest to get a Lapis Lazuli.
Head back one screen and this time, push the slab out of the way of the rear exit, which you should then take. There's another Lapis Lazuli in the chest on the left - get it, and then start making your way to the right, checking in the rear room behind the other moveable slab to get a Quartz Gem and a Guard Reinforce spell book. Press on to the right, ignoring the tempting room filled with statues.
You'll reach a third small room with a painting in it, as well as an Eternal Chimera. Defeat the monster and grab the Eclipse Stone from the painting.
How To Get The Crescent Moon Stone
From the room with the Eclipse Stone, head back to the room you were transported to when you used the Full Moon Stone on the statue. This time, use the Eclipse Stone.
On this next floor, leave the room with the statue and move a little to the right - you can actually enter the sun door to the rear here. Do so. On this screen, open the chest on the left to get an Ether Scepter, and then start running to the right.
The room behind the moveable slab contains two trapped chests containing a Lucerne Hammer and a Fire Storm spell book. The chest on the left has freezing gas, while the chest on the right has an explosion. Leave, and continue to the right.
When you reach the room filled with statues, interact with them to change their facing.
- The left statue should be facing to the right.
- The top statue should be facing to the left.
- The right statue should be facing the front.
- The bottom statue should be facing the rear.
Doing this will open the door on the bottom floor. Exit through it to find a painting room. In this one, you'll get the Crescent Moon Stone.
How To Get The Darkspot Stone
From the Crescent Moon Stone, head to the left until you reach another sun door, which you can take now.
This room has an explosive chest containing a Burgundy Flask and another painting, which you can interact with to get the Darkspot Stone.
How To Solve The Statue Puzzle Get The Darkpath Stone
From the Darkspot Stone, return to the statue room by heading to the front, to the left, to the rear, and then taking the left-hand exit to the rear.
Use the Crescent Moon Stone with the statue here and move two screens to the left, ignoring the large paintings that form the next big puzzle of this dungeon. In the room at the very left, defeat the Eternal Chimera and pick up the Darkpath Stone from the painting there.
How To Solve The Painting Puzzle And Get The New Moon Stone
Return to the statue room and use the newly-acquired Darkpath Stone. Now, head to the left again. You have to enter the doors in the right order, corresponding to the paintings you found on the previous floor. From the left:
- The third door along.
- The seventh door along.
- The fifth door along.
- The fourth door along.
- The second door along.
- The first door, on the far left.
- The sixth door along.
- The eighth door along, on the far right.
Completing this will unlock the room to the left, which contains a chest with the Sacred Javelin spell book inside, as well as the New Moon Stone behind the painting.
How To Deal With The Teleporter Statues And Get The Blood-Red Stone
Backtrack to the statue room and use the New Moon Stone this time. On this new floor, go two screens to the left. Pick up the Eye of Heaven on the left, and then jump up to the top of the screen and operate the machine.
Back in the statue room, use the Darkspot Stone and then head two screens to the left again. After the short cutscene, you'll get a ton of Event EXP. Pick up the Frigid Damsel spell book from the chest on this screen before using the sun door to head to the rear.
Save your game on this screen, and then head all the way to the right, grab the chest containing the Shield Critical spell book, and then take the upper exit to the left.
These screens contain purple statues that move from side to side. If one touches you, you'll be transported to a room filled with enemies and poison, forcing you to find a statue to get back to the main section of the Palace.
Use the Rewind function to avoid this, if you're playing on the remastered version of the game.
In this first room with the statue, you need to time your jump over it carefully, and then wait for it to turn around and reach the middle of the room. It starts out hidden behind a pillar, so be careful! When he reaches the middle of the room, he'll reveal an exit to the rear - follow it through.
In the next room, there's a Dragon Slayer to the right - hop over the statue to grab it, and then take the exit to the rear near the chest to find a Lightning Bolt spell book and a Quartz Gem. Return one screen and head to the other side of the room, taking the lefthand rear exit.
The statue here provides a hint: the sleeping guard holds the key. Head to the left. The patrolling statue in this room holds the Blood-Red Stone.
To make the statue sleepy, you need to 'activate' it several times by getting close and jumping over it, being sure not to get hit at any point. After jumping over it a few times, it'll deactivate at the end of one of its patrols, turning gray. Interact with it to get the Blood-Red Stone.
Once you have the stone, it's safe to open the chests. They both have explosive traps and contain a Might Reinforce spell book and a Spell Reinforce spell book.
Backtrack all the way to the teleporter statue room and use the Blood-Red Stone this time. Head to the left, save your game, and then head further to the left to face the dungeon's boss.
How To Beat Gandar
Gandar is a spellcaster, through and through. He makes for an easy fight, and you even get to recruit him afterwards!
Enemy
HP
Weakness
Experience
Gandar
35,000
None
126,000
Gandar doesn't have very high HP at all, and while he does have high RDM, it's not high enough to present a challenge for you and your high-level Einherjar. The difficulty in this fight might come from not obliterating him in one round.
If you're under-leveled, you might consider using Reflect Sorcery to utterly neutralize Gandar's hard-hitting attacks. That should give you more than enough time to beat him up.
When you beat him, Gandar joins you as an Einherjar. He is, ironically, one of the most powerful sorcerers in the game.
Palace Of The Dragon Artifacts
There are three artifacts to collect after dealing with Gandar.
Scroll of the Golem
Has no use, other than being converted to a decent chunk of Materialize Points.
Hourglass of the Gods
Can be used to restore some Periods of time, but this is never really necessary unless you severely need to grind levels. Best converted to Materialize Points.
Dragoon Faith
Very nice heavy helmet that protects against lightning damage.
Before leaving this room, be aware that there is a hard-to-get chest above the altar on the left. To get up here, you'll need to create a floating particle platform by bursting a large crystal on the bottom of the ceiling. You'll have to place it as far right as it possibly can go, and you'll need good timing.
The chest contains the Great Spear "Dinosaur" - a great spear with only a one-hit combo, but a terrifyingly high attack stat.
To get out of the palace, use the Eclipse Stone in the statue room, and then, after leaving the room, head all the way to the left.
NEXT: Valkyrie Profile: Lenneth - How To Recruit Every Character


