Phoenix Wright: Ace Attorney Dual Destinies - The Cosmic Turnabout Walkthrough
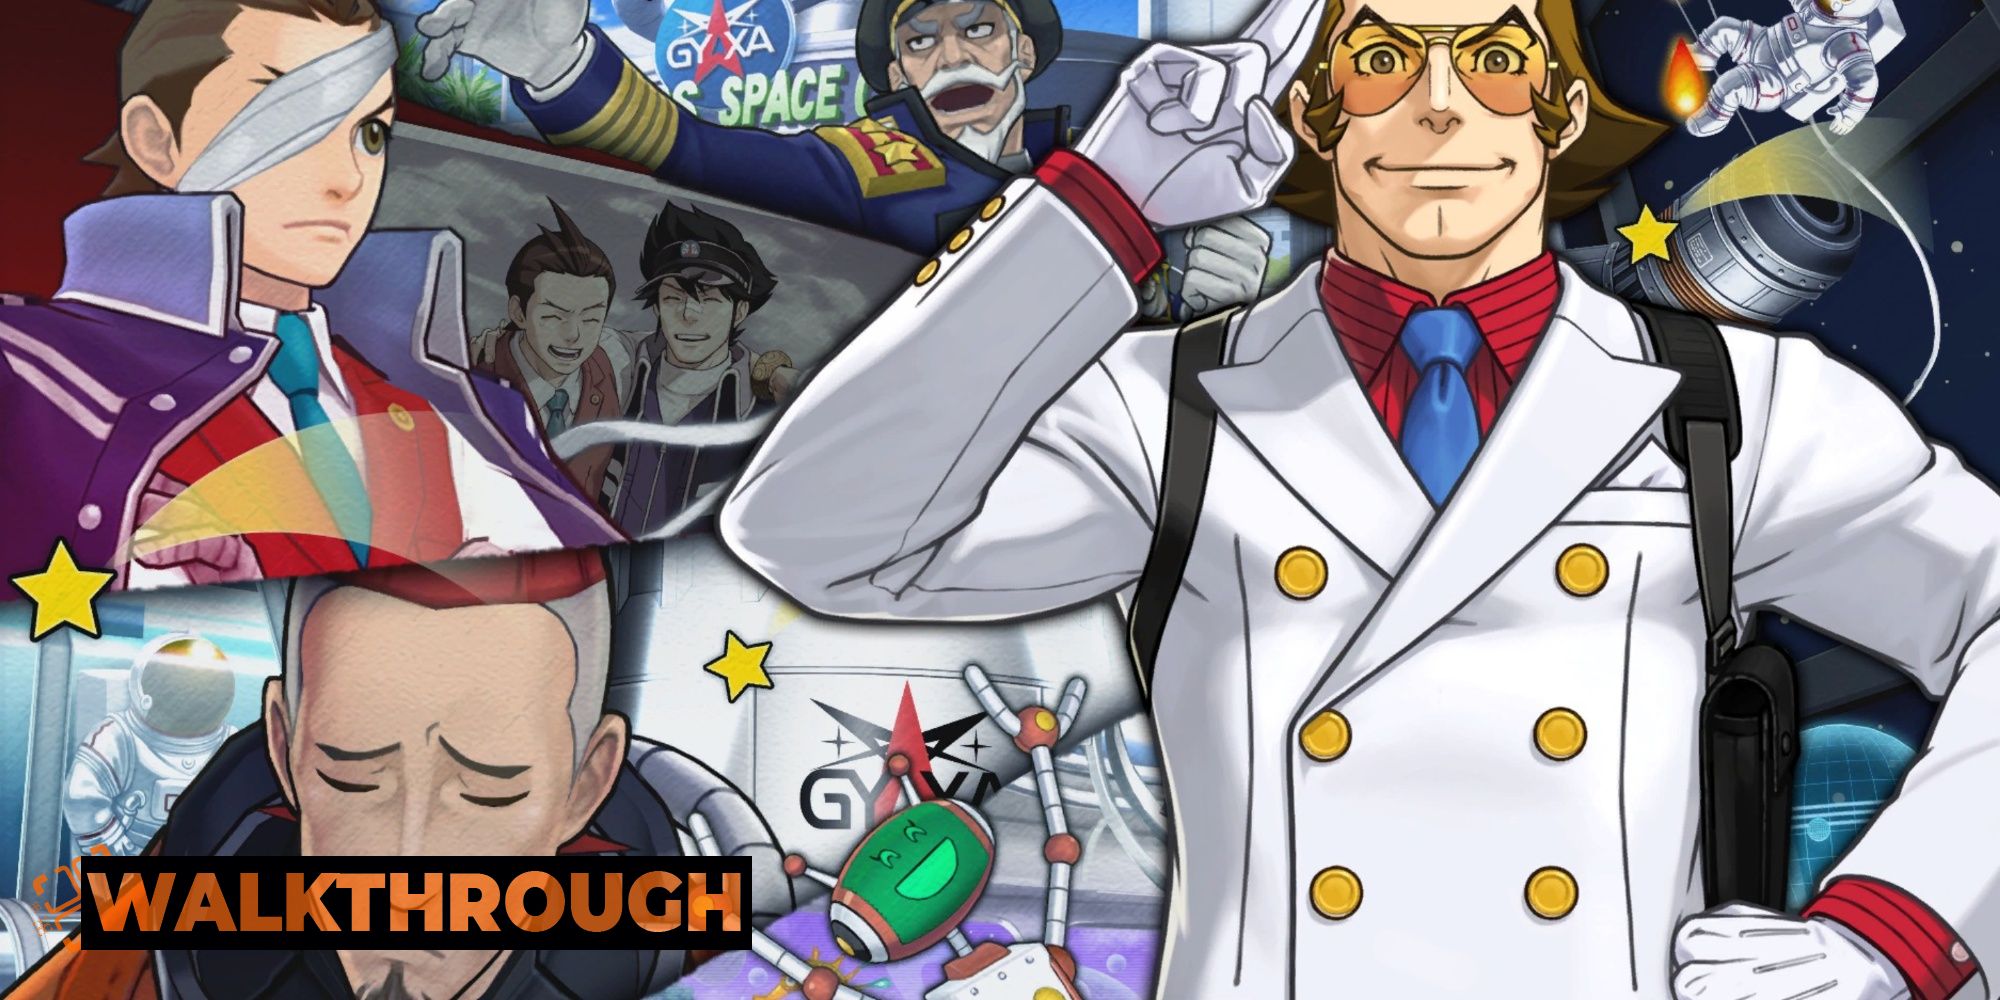
The fourth episode of Phoenix Wright: Ace Attorney Dual Destinies deals heavily with Apollo's backstory and the unfortunate death of his childhood friend, Clay Terran. There's a bit of a format switchup, too - instead of beginning with an investigation that leads into a trial, you get thrown into the courtroom.
RelatedHow Many Cases Are In Each Ace Attorney Game?
We're on the case. We've counted every case in each Ace Attorney game to see exactly how many you'll need to solve over the series.
PostsThis case is an interesting one, as you already kinda know how it'll end - it's a prelude to the first case of the game, which served as a tutorial all those hours ago. As ever, we'll present all the choices you'll need to make in a spoiler-free manner.
Cross-Examination: Details Of The Case
- Press the first statement: "Just before the rocket was set to launch, two bombs went off. BOOM! BOOM!"
- Press the second statement: "One on the second floor of the Space Center's main building and one in Launch Pad 1."
- Press the third statement: "Thankfully, only the two astronauts were in Launch Pad 1 at the time."
- Press the fourth statement: "The two of them managed to make it back as far as the boarding lounge."
- Press the fifth statement: "...but after the escape, one of the two was found stabbed to death!"
- State that the prosecution has failed to explain why the body was moved.
Cross-Examination: I Didn't Kill Him
- Present the Bombing Report at the second statement: "Like always, I took the elevator down to the middle level and headed for the corridor."
Cross-Examination: My Escape Route
- Present the Space Center Diagram at the third statement: "With the capsule and Clay in my arms, I made my way down from the upper level."
- Present the ladder between the upper level and the middle level.
- Assert that the oxygen tank report contradicts the Security Camera Footage.
- Point to the oxygen level display showing '50'.
- Assert that the victim was carrying the defendant.
After this cross-examination, there'll be some familiar scenes. Afterwards, you'll be in control of Phoenix.
Investigation
You'll begin this sequence at the Detention Center. Talk to Starbuck here and then Move to the Entrance of the Cosmos Space Center where you'll meet Yuri Cosmos.
Talk to him about everything - when he leaves, Move further into the Space Center, to the Boarding Lounge. There's nothing to do here right now, so Move to the Launch Pad 1 Corridor.
Talk to Bobby Fulbright about everything and then Move back to the Boarding Lounge, where you'll be able to do some investigation. Examine the following:
- The outline of the body.
- The zero gravity training device on the ceiling.
- All three doors in the room.
- The fingerprint machine next to the rocket door.
- The knob to the left of the fingerprint machine.
- The remote in the recess underneath the table with the spinning hologram.
- The window after it's blacked out by examining the remote, including the bullet hole on the left.
- The metal grates behind the moon surface exhibit.
- The trap door to the right of the moon surface.
You'll have to change your viewpoint multiple times to find everything. You'll know you're finished when you are greeted by Ponco. She will take you to the rocket.
Talk to Ponco here and then Present her with Terran's AutopsyReport to learn about the capsule in the photograph. Once done, Move to the Launch Pad 1 Corridor to find Fulbright. Talk to him about everything, and then Present him with the Security Camera Video - you'll be halted by Psyche Locks, which you'll have to break using Phoenix's Magatama. Do this now:
- Assert that Fulbright is torn up over Justice.
- Present the Evacutation Report as evidence that the guard detail wasn't relaxed.
- Present Candice Arme's profile.
Finish Talking to Fulbright here to learn some very interesting details, and then watch the scenes that lead you outdoors and to meeting Aura.
Talk to Aura here, then Move to the Detention Center to Talk to Starbuck, and then finally, Talk to Apollo at the Wright Anything Agency. That will end the investigation.
Cross-Examination: What I Saw At The Scene
- Press the fourth statement: "I hate to say it, but I can only imagine the standing figure must have been Starbuck."
- Present the Bullet Hole at the new statement: "Detective Arme fired two warning shots at the figure."
- State that the bullet holes do not clear everything up.
- As evidence of a possible third person at the scene, Present the Bullet.
Cross-Examination: What I Really Saw At The Scene
- Present the Bullet at the third statement: "We were still in the Control Room to the east when the figure fired at us!"
- When asked to show who could have escaped from the boarding lounge, present Yuri Cosmos's profile.
- Present the Bullet From Arme's Gun.
Cross-Examination: What I Really Witnessed
- Pinpoint the Surprise (or lack thereof) at the fourth statement: "...but when I tried to get another look, they had vanished into thin air!"
- Pinpoint the Sadness at the sixth statement: "And, well, the Launch Pad 1 door..."
- Suggest that the true culprit used the Launch Pad 1 Corridor to escape.
- When asked to suggest whose fingerprints were used, Present Solomon Starbuck's profile.
- Pinpoint the Surprise at the fourth statement: "And then, the detective shot at me!"
- Assert that Cosmos was more surprised when Arme arrived.
- When asked to show what was different from after the incident, point at the knob on the far left.
- Pinpoint the Happiness at the first statement: "I had no choice but to disengage the safety lock."
- State that Cosmos's reason for moving the Launch Pad was to switch it with another place.
- Point at the Space Museum.
- To prove it's the museum corridor, present the obscured number two behind the astronaut.
10 Best Cases In The Apollo Justice: Ace Attorney Trilogy
Only the finest legal wangling will get you through these!
Posts


