The trials are a beloved staple of Final Fantasy 14, as they are usually summons from other games in the series. With each patch release, the Warrior of Light gains a new adversary to take down, and it's always a race to see who will claim the title of World First by… well, defeating the boss first.
RELATED: Final Fantasy 14: Best Dungeon Themes
If you were to simply take the current hardest trials into account, then this list would be made up of all extreme-level fights or higher. They are hard, sure, but that’s to be expected. Instead, the focus is on which trials made an impact when they first arrived and at their prime difficulty for the time there were released.
10 Nabriales, The Chrysalis
The release of 2.5 brought one of the most frustrating normal trials to date: The Chrysalis. On a technical level, it's not extremely difficult, but there is a single mechanic that can wipe a party to the point others will take the 30-minute penalty.
After losing about half of his HP, he decides to send you to another time dimension, where he has full control of the comets your party has to debuff by standing in circles. All of this while you and the rest of the party have to reopen the Aetherial Tear, so you can return to the present. It’s not hard, but one new player can wipe the whole party if you aren’t careful.
9 Ravana, Thok Ast Thok
Those. Damn. Butterflies. Sure, if you push enough DPS output, you can skip the phase entirely and get to the second half of the fight with no issue, but most of the time, that’s just not going to be possible. What’s worse is sometimes you won’t realize they’ve already started descending onto the field until you spot the bright orange one thanks to the particle effects.
If you don’t knock the butterflies out in time, the party is greeted with several swords depending on how many were left on the field. You can survive three and be okay, but anything over four, and you’re looking to wipe. Though most players are in the later stages of the game, it can still trip you up if you happen to get it on Trial Roulette.
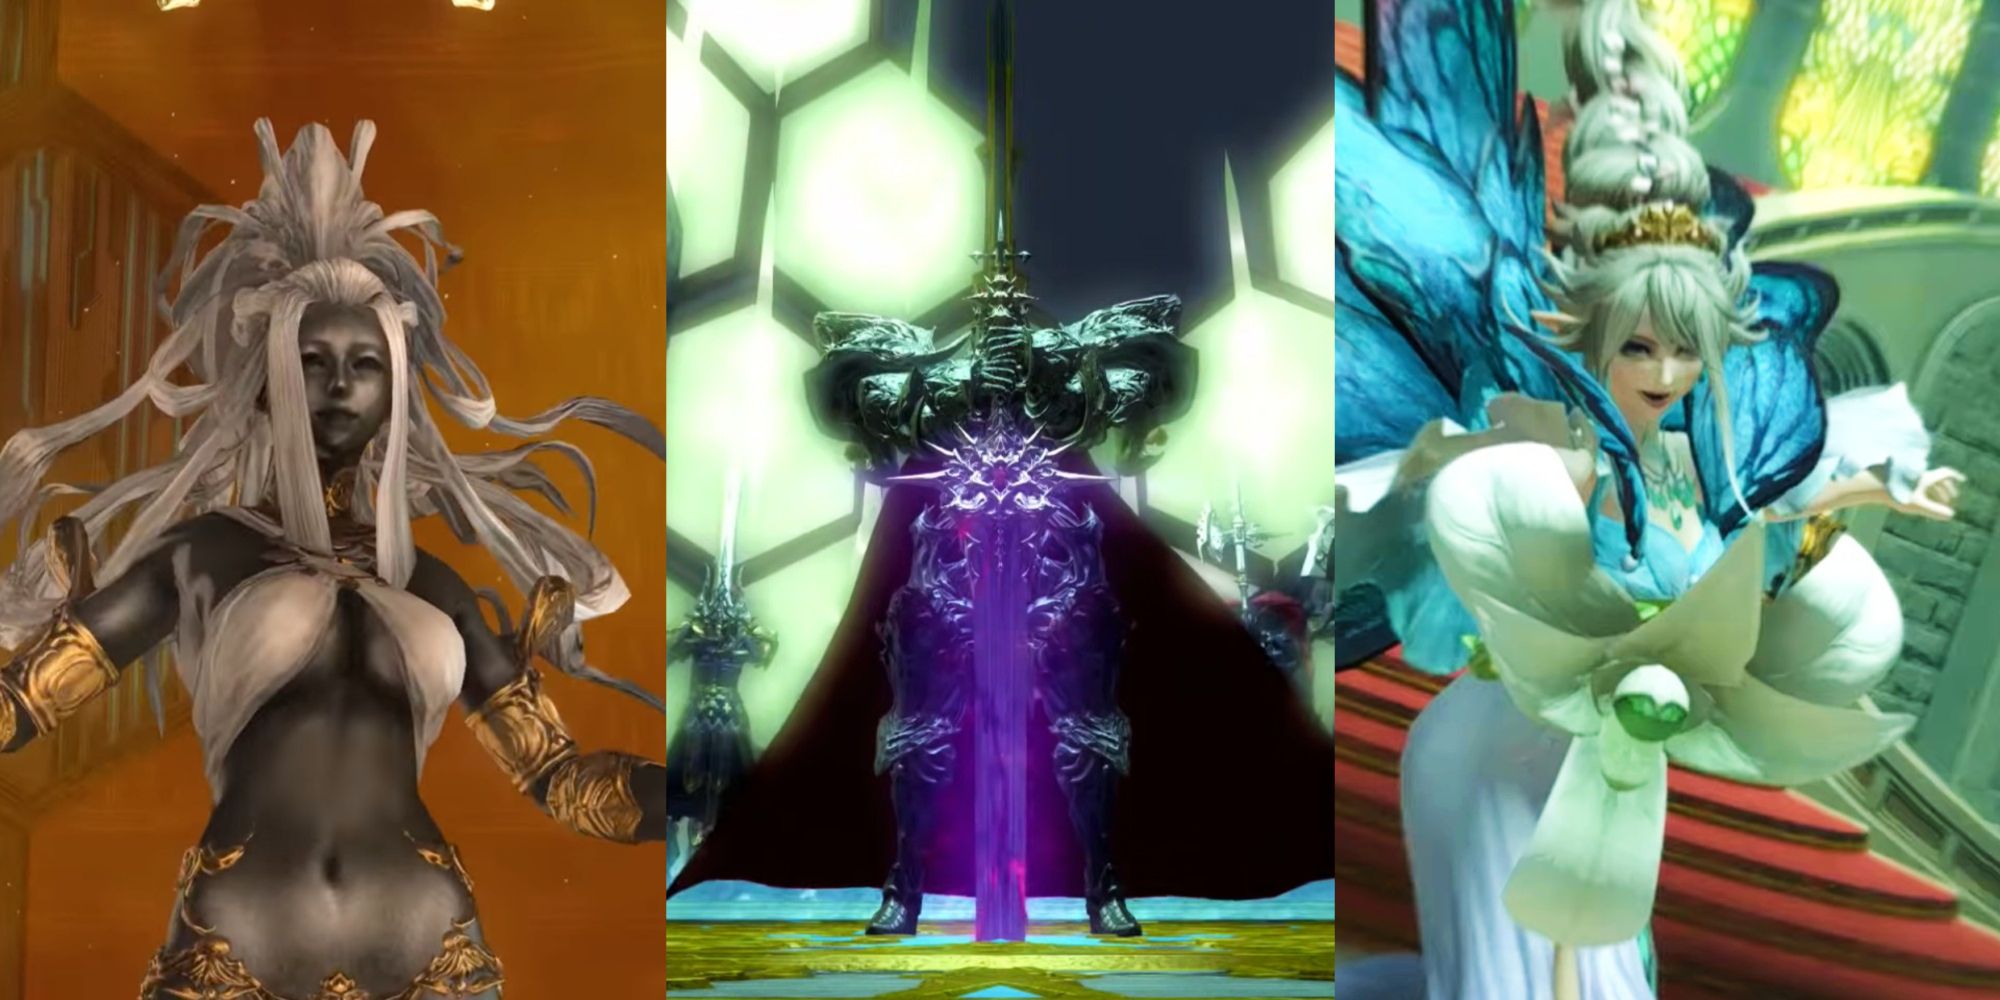
8 Titania, The Dancing Plague
The tainted King of the Fairies doesn’t fight fair. He floods the field with trash mobs during multiple stages of the fight and he makes you play his version hot and cold by having you stand in fire or water to avoid extra damage. Safe to say that the games he wants to play are far from fair.
RELATED: Best Final Fantasy Games For Beginners
Once you hit the second stage, that’s when it gets chaotic. Well, more chaotic than before. He makes the roots of his surrounding trees swell and grow, taking up almost the entire stage aside from a few ‘safe’ spots. Oh, this doesn’t even scratch the surface of the Extreme mode either — this is the normal story-based fight. Phew.
7 Zodiark, The Dark Inside
Prepare to have the turns tabled (yes, really) when you face the seal of the apocalypse. When the Warrior of Light reached this part of the story, it was made clear that Endwalker was going to push the limits of what mechanics do in the game, which is in abundance.
When you push him into his second phase, Zodiark starts to play dirty by taking the entire field and rotating it to try and lure you into falling to your death. If you aren’t used to the mechanic, or if it’s your first time, it’s going to make you sweat a little.
6 Sophia, Containment Bay P1T6
Though pretty much a cakewalk now, Sophia was ruthless in how many parties she rolled off her scales of balance while using her daughter’s head to bum rush you as well. Sophia was a significant roadblock for players who wanted to progress the Four Fiends side quest, while also being regarded as a fun fight.
Sophia’s received the Unreal difficulty treatment like primals before her, and she comes fully equipped to take the Warrior of Light and their companions out. Now equipped with four clones at her beck and call with four times the electricity damage, she’s going to continue to give you a run for your money.
5 Warrior Of Light, The Seat Of Sacrifice
No, it’s not a Persona moment. You (unfortunately) can't face yourself in battle with your current level of strength. Instead, you are facing the Ascian Elidibus who has taken the form of the original Warrior of Light. He pulls out all the stops and calls forward his party of warriors to face your own.
RELATED: Final Fantasy 14: Complete Guide
He is relentless in his pursuit of banishing the darkness, so much so that you get to see him build his limit break meter. The implications are wild because while he can build his meter alone, you can only build one in a group. Meaning, if this were one on one fight, he might be able to take you down. Not that Emet-Selch would let that happen.
4 The Minstrel’s Ballad: Nidhogg’s Rage
Tensions were riding high as you faced the final boss of Heavensward expansion down, waiting for the cutscene circle to leave so you can end the Dragonsong War once and for all. Nidhogg doesn’t make it easy, shifting between his Dragon form and Estinien’s possessed form while placing space-time-breaking black holes down on the field.
Nidhogg calls upon his brood to assist in ending your party and humankind by any means he can, due to his severe, if not warranted, hatred towards the Ishgardian empire for what they’ve done. The biggest mechanic that ended a lot of parties early were Nidhogg’s Claw and Fang, chains that would attach themselves to a tank and two other players, while the other sends explosive orbs toward anyone. If you don’t knock them out, it’s an instant wipe.
3 Zurvan, Containment Bay Z1T9
Honestly, each of the Four Fiends could potentially give you a run for your money, but Zurvan just edges out over the other three due to a few moves that are frustrating until you learn your way around them. Infinite Fire and Infinite Ice will place either fire or ice proc on you, and you have to stand in the appropriate area to avoid heavy damage.
The second is Southern Cross. Zurvan casts a small, delayed AOE on everyone that will leave a circle of ice damage that lingers for an unspecified length of time before disappearing. It doesn’t sound like much, but when the strategy calls for everyone to stack, and you’re the last one to leave and get hit with all that damage, you’ll see it then.
2 Shinryu, The Royal Menagerie
Up to this point in the story, you have defeated Zenos, an enemy who was bored with senseless battles until you showed up and defeated him. This awakened something deep inside Zenos; a hunger that only you could fill. So, he decides the best way to do that is by becoming a giant dragon and destroying the world.
Shinryu calls upon all the elements to try to break you. With both a wide range and high damage stat, it will knock you out and leave your party with one less member with just one or two extra hits. Once that happens, it’s a wrap for the rest of the party.
1 The Minstrel's Ballad: Thordan's Reign
The Knights of the Round have a reputation for being the strongest (and longest) summon in Final Fantasy 7, and they carry that same energy in this version. You face off against all twelve knights one or two at a time, while fighting King Thordan the First who commands them. If you can manage to make it to the second phase, you are rewarded with getting a limit break performed on you.
Beware of the Ultimate End, the limit break performed by the knights. While the damage it does is fairly strong, it only gets stronger with each of your party members’ deaths while the King was hiding away. If you lose too many lives (and really, one is too many here), you will wipe hard. Eat your food, make sure your gear is in top condition, and there should be a chance of victory.
NEXT: Final Fantasy: Classic Musical Moments From The Franchise