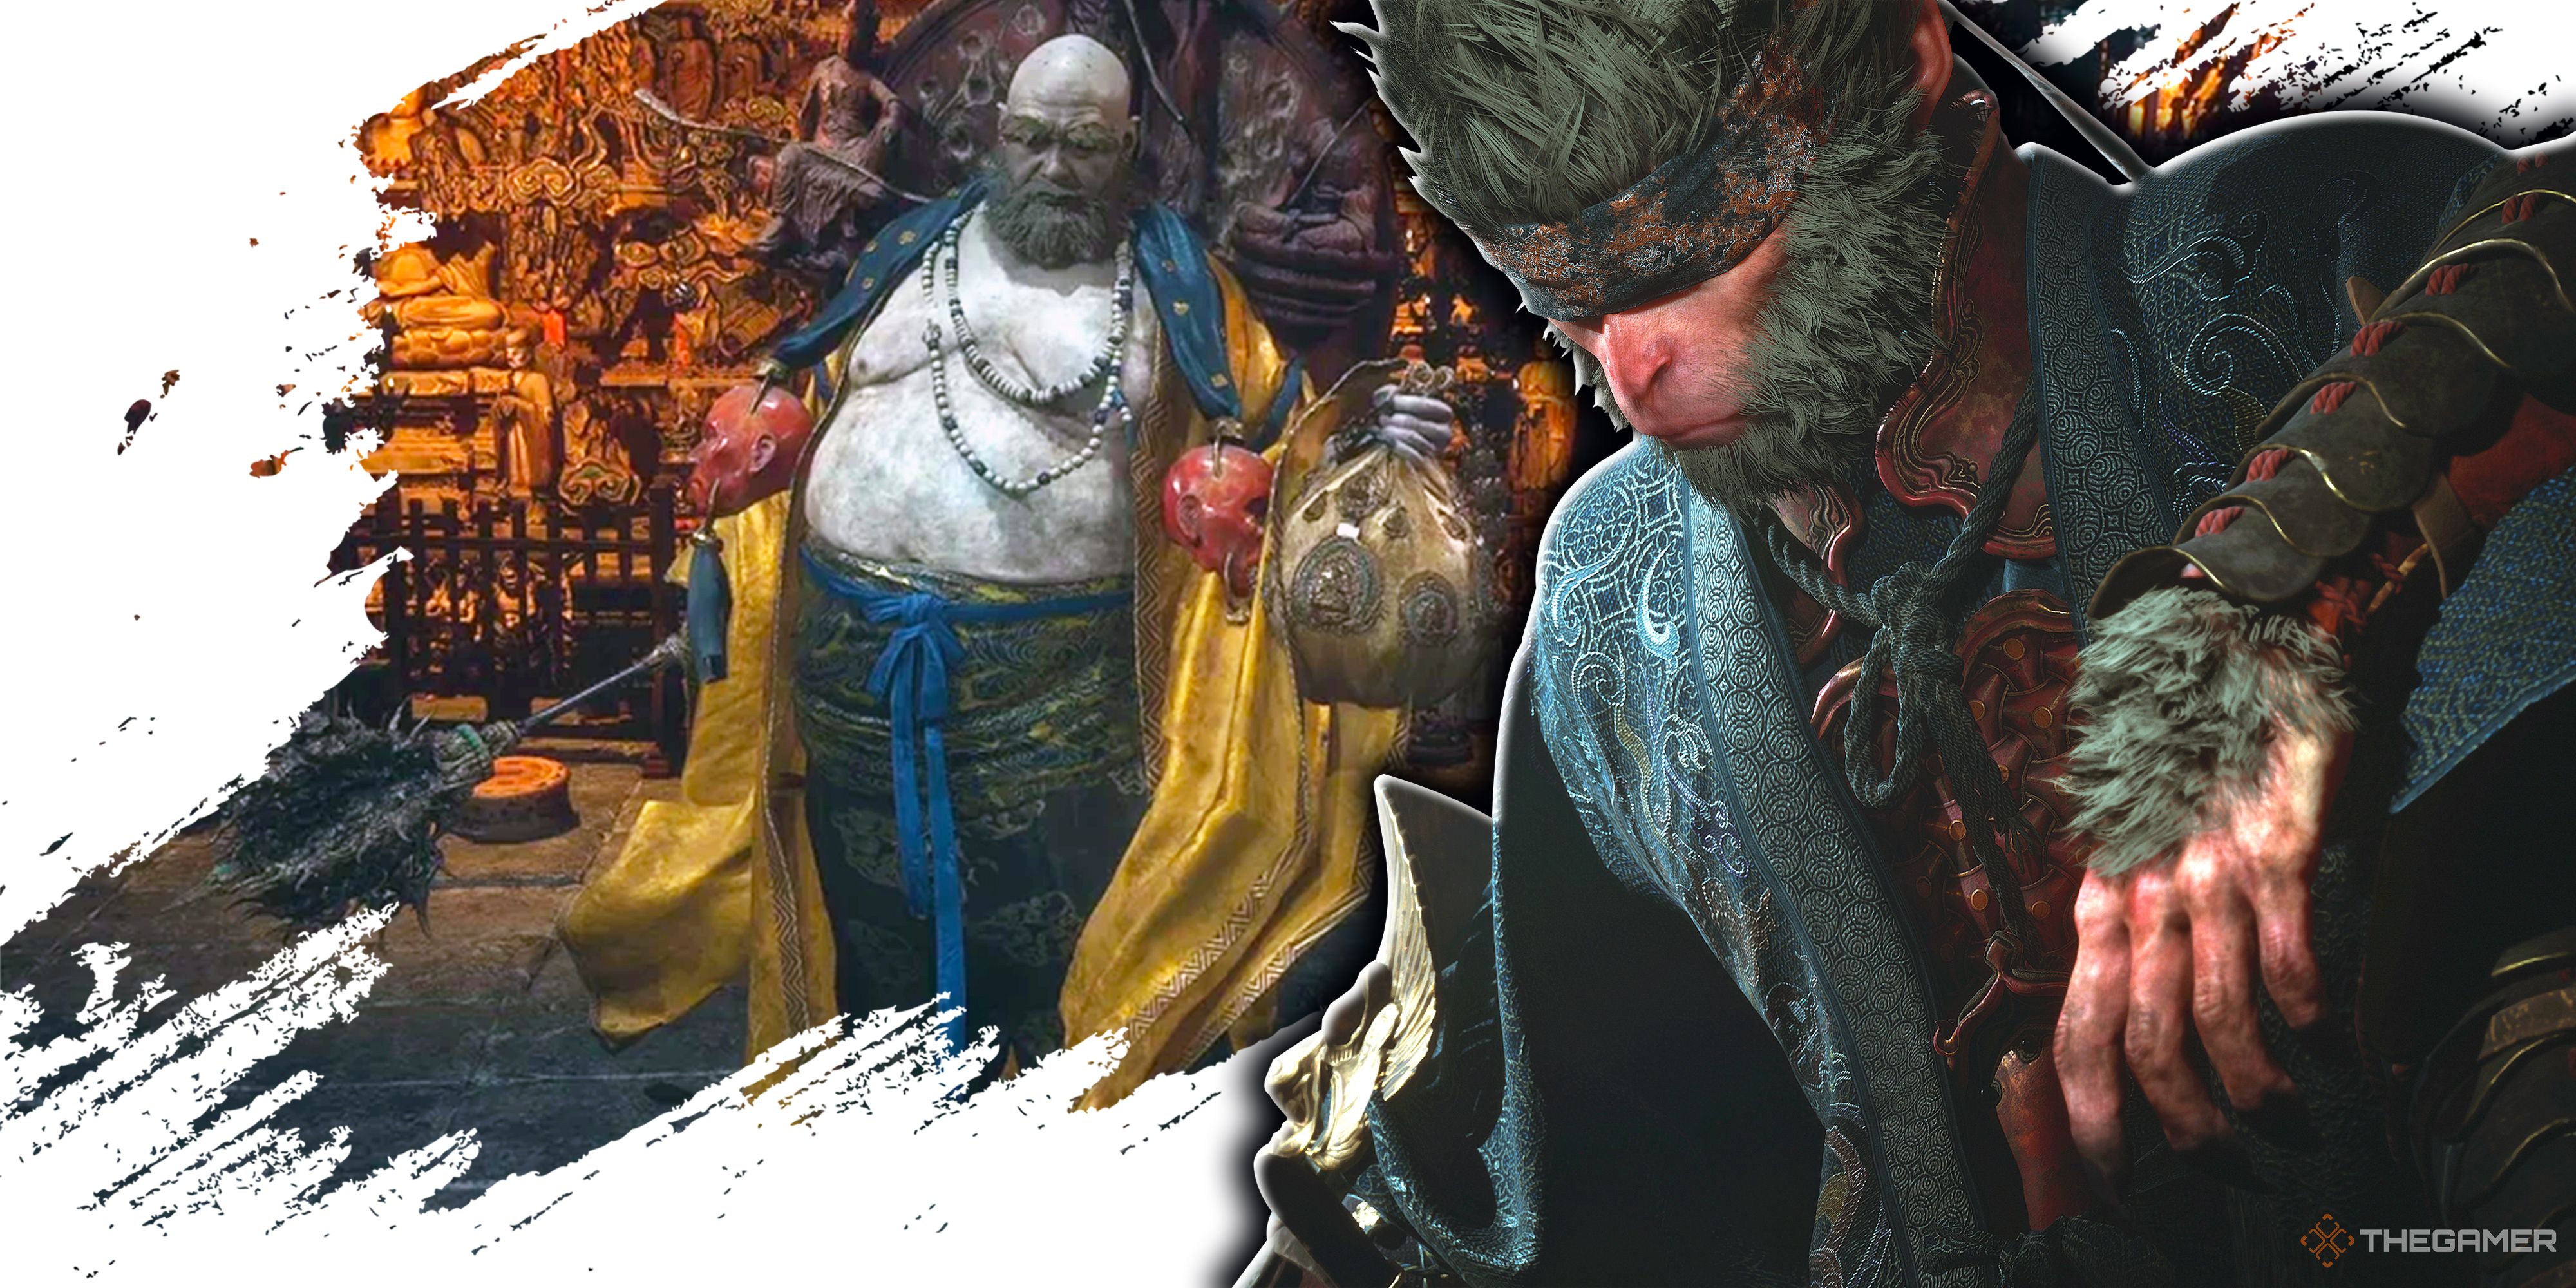
Chapter three of Black Myth: Wukong has absolute cinematic boss fights awaiting the Destined One. As you progress through the snowy mountains, you will realize almost every boss in this region uses Shock elementals, including the final and most daunting boss, Yellowbrow, who explicitly uses Shock and has unique yet arduous phases with a significant twist.
RelatedBlack Myth: Wukong - Who Is Zhu Bajie?
Here's everything you need to know about Zhu Bajie in Black Myth: Wukong.
PostsLocated in the New Thunderclap Temple's Mahavira Hall Shrine, Yellowbrow is a challenging and heavy-hitter, but the fight is relatively straightforward to tackle if you play your cards right. Navigating through the temple can often feel burdensome due to its vastness and valiant, laborious mobs spread around.
Best Equipment For Yellowbrow
While you may not require specific adjustments to fight Yellowbrow, these items will help you to shift tides for this battle if you're facing any hindrances:
- Kang-Jin Staff
- Wandering Wight
- Ebon Flow (Yin Tiger's Transformation)
- Shock-Quelling Powder
Like the initial bosses, you must craft the Kang-Jin Staff to defeat Yellowbrow efficiently. To deliver colossal damage in a single blow, Wandering Wight is your best pal. To fight Yellowbrow, you will need heavy hitters, and the Ebon Flow transformation is perfect for this job. With Ebon Flow, you can transform into Yin Tiger, a secret boss in chapter three who can strain your skills to the maximum.
Lastly, Shock-Quelling Powder is a must-have, as Yellowbrow loves to use thunder attacks that inflict the Shock stat on the Destined One.
Yellowbrow Attack Patterns
Yellowbrow's movement is relatively slow for the most part, but this allows him to charge up his moves to inflict maximum damage. Since he has two phases up his sleeves, Yellowbrow has a vast arsenal of attacks, and avoiding them may become hectic if you're unfamiliar.
Phase One
Attack
Description
How To Avoid
Mace Charge
Once the Destined One enters the temple, Yellowbrow will charge up his mace with electricity and thrust it forward.
When the fight begins, run forward and dodge to Yellowbrow's left side, giving you an edge to attack and dodge.
Shock-Mace Smash
Yellowbrow will use his mace to smash the Destined One near his legs if in close range, and it randomly happens twice in a row.
When you pressurize Yellowbrow from close range, keep an eye on his mace. Once he swings it over his head, that is your queue to dodge right, two times if Yellowbrow tries to hit you again.
Teleportation
Suddenly, Yellowbrow will teleport away after leaving several electrical residues behind.
This is nothing to fret about. Find where Yellowbrow has teleported, and after reappearing, he will provide a massive window for an attack.
Charged Electric Stomp
When the Destined One tries to attack Yellowbrow in close range, he might levitate one of his legs and try to make an AOE thunder stomp.
Yellowbrow takes time to charge up his leg, so if you see his leg raised, dodge backward.
Mace Sweep Thunder Wave
Yellowbrow will put down his mace, creating a minor AOE shock attack, and follow up with a sweep that throws a thunder wave on the arena's floor.
It happens at a certain threshold, and he will put down his mace before he executes it. Immediately dodge backward and jump over the incoming thunder wave.
Homing Electric Waves
Yellowbrow will swing his mace left and right in this attack, releasing two electric waves that follow the Destined One.
Since the electric waves will find a way to follow you, move around to dodge the incoming waves.
Homing Electric Balls
Yellowbrow will wave his mace around at long range and release multiple Electric Balls in the air. These balls will follow the Destined One.
As you see multiple electric balls levitating shortly after he waves his mace, running and dodging will prove helpful.
Summoning ThunderBolts
Similar to the initial bosses of chapter three, Yellowbrow will summon thunderbolts.
Avoid the thunder circles on the floor indicators to dodge these direct shock-inflicting bolts.
Two-Hit Combo
Usually, Yellowbrow will swing his electric mace twice for a devastating combo.
When Yellowbrow swings his mace, dodge either left or right. Since his movement is slow, you may execute a perfect dodge.
Once the health bar depletes, you will be sucked into Yellowbrow's pocket, where you will cross paths with the familiar boss from chapter three's beginning, The Macaque Chief. Fighting them is relatively easy, and since your heals, mana, and stamina are returned to the maximum, you can easily beat him.
After beating him, you must navigate a handful of stairs to where you play as the Macaque chief. Once you reach Yellowbrow again, you will revert to the Destined One, and the ultimate showdown finally begins.
Phase Two
Attack
Description
How To Counter
Lightning Trail
The initial move for the second phase. Once you start fighting Yellowbrow, he will raise his mace to leave a massive trace of Electricity, followed by a smash.
Yellowmace takes five good seconds to ready up this attack. Once you see a huge trail behind Yellowbrow's mace, run left or right. As he tries to smash the mace, make a perfect dodge in either direction
Mace Charge and Explosion
Like the first phase, Yellowbrow charges his mace and thrusts it toward the Destined One. However, it suddenly explodes to inflict Shock.
Follow the same procedure as the first phase, but avoid him for longer.
We Hit Gold!
While fighting Yellowbrow, he will suddenly turn himself into gold and tank your damage.
While your hits don't affect him, a mixture of Focus Point attacks and regular attack combos can remove his gold status.
Shock AOE
In the final moments of the battle, Yellowbrow will charge up Shock near him and then explode, inflicting Shock.
If you see him releasing shocks from all over his body, dodge backward to run away from his shock range.
When Yellowbrow turns gold, use every attack in your arsenal to make him revert to standard so you can deliver significant damage. He remains staggered for a long time, providing a considerable window to attack.
Spells are pretty useless against Yellowbrow. Do not use 'A Pluck of Many' against him in the second phase since he can turn your clones against you. The combination of spells works flawlessly in the first phase, and the second phase is simply a battle of wits and brain.
How To Defeat Yellowbrow
After stepping inside the shrine, you will find Yellowbrow awaiting your challenge. Run forward and dodge left to evade the incoming mace thrust attack and initiate a normal-hit combo. His delayed attacks are pretty annoying, so make sure to dodge them with perfect execution.
The Immobilize spell is useless since its effect wears off after a single hit, so conserve your mana. Keep a mixture of close and long-range, and try to keep up with his moves. Every time he swings his mace, he will expose himself for a combo, and you can deliver a decent amount of damage.
Due to his slow initiations, you can dodge his attacks easily. Once he's down to 50% health, he will recollect electricity from the atmosphere and make his mace extendable. His move set will not change, but the shock infliction has a higher rate, and his attacks are much more deadly.
Within a span of a few minutes, you will be able to take down Yellowbrow's first phase. Shortly after, he will suck the Destined One in his pocket, where you will have to engage the Macaque Chief.
Since the Macaque Chief is a recurring boss in chapter three, his moves are easy to read and dodge. If you're low on health, Zhu Bhaije will come in a clutch and automatically heal you.
Once the chief is defeated, you will be thrown out of the pocket and navigate through an area as the Macaque Chief himself. A few moments later, you will meet Yellowbrow again to have a bout for one last time.
Yellowbrow's Second Phase
Nothing in the majority changes in the second phase, but once Yellowbrow covers himself in gold, he won't take any hits. To wear this effect off, keep hitting him with a combination of light and heavy attacks. While it may look useless, attacking Golden Yellowbrow gives a massive focus build-up.
Yellowbrow's second phase has two health thresholds, where he will make cinematic and unevadable attacks.
Save your Transformation for the final moments of this fight since Yellowbrow will deliver massive damage with every hit.
As you initiate the battle with the second phase, use the Wandering Wight summon to make a devastating attack, and you might be able to hit a combo. Run around and wait for Yellowbrow to create a lightning trail smash; stay away from the trail on the ground as it will build up Shock. Now, combining some tricks from the previous phase, you will be able to defeat him without a doubt.
At the finale of this battle, your gourds may deplete. This is where you must use the Transformation spell to give yourself an edge and ultimately defeat Yellowbrow. When the battle concludes, you will be rewarded with:
- Cosmo Radiance
- Three Cold Iron Leaves
- Two Fine Gold Thread
- Gold Tree Core
- Two Refined Iron Sand
- Mind Core
- 4330 Experience
- 2267 Will
- Third Sage Relic
Black Myth: Wukong - Daoist Mi Quest Walkthrough
Here is a guide on how to complete Daoist Mi quest in Black Myth: Wukong.
Posts