Magic: The Gathering - What Are Duskmourn: House Of Horror's Draft And Sealed Archetypes?
The walls of Duskmourn echo with the screams of its victims. Drafting a new Magic: The Gathering set can also be terrifying, but with a little preparation, you'll be ready to explore the halls and make it out in one piece.
RelatedMagic: The Gathering - What Is Survival?
Survive combat and you'll get great rewards with Magic: The Gathering's survival mechanic.
PostsLike all modern Magic sets, Duskmourn has a series of archetypes to build around in sealed and draft formats. While you don't have to build around them, you'll have a big advantage if you go in already knowing what the archetypes are and what they're capable of. Duskmourn is spooky enough without being left in the dark!
Eerie Tempo (White/Blue)
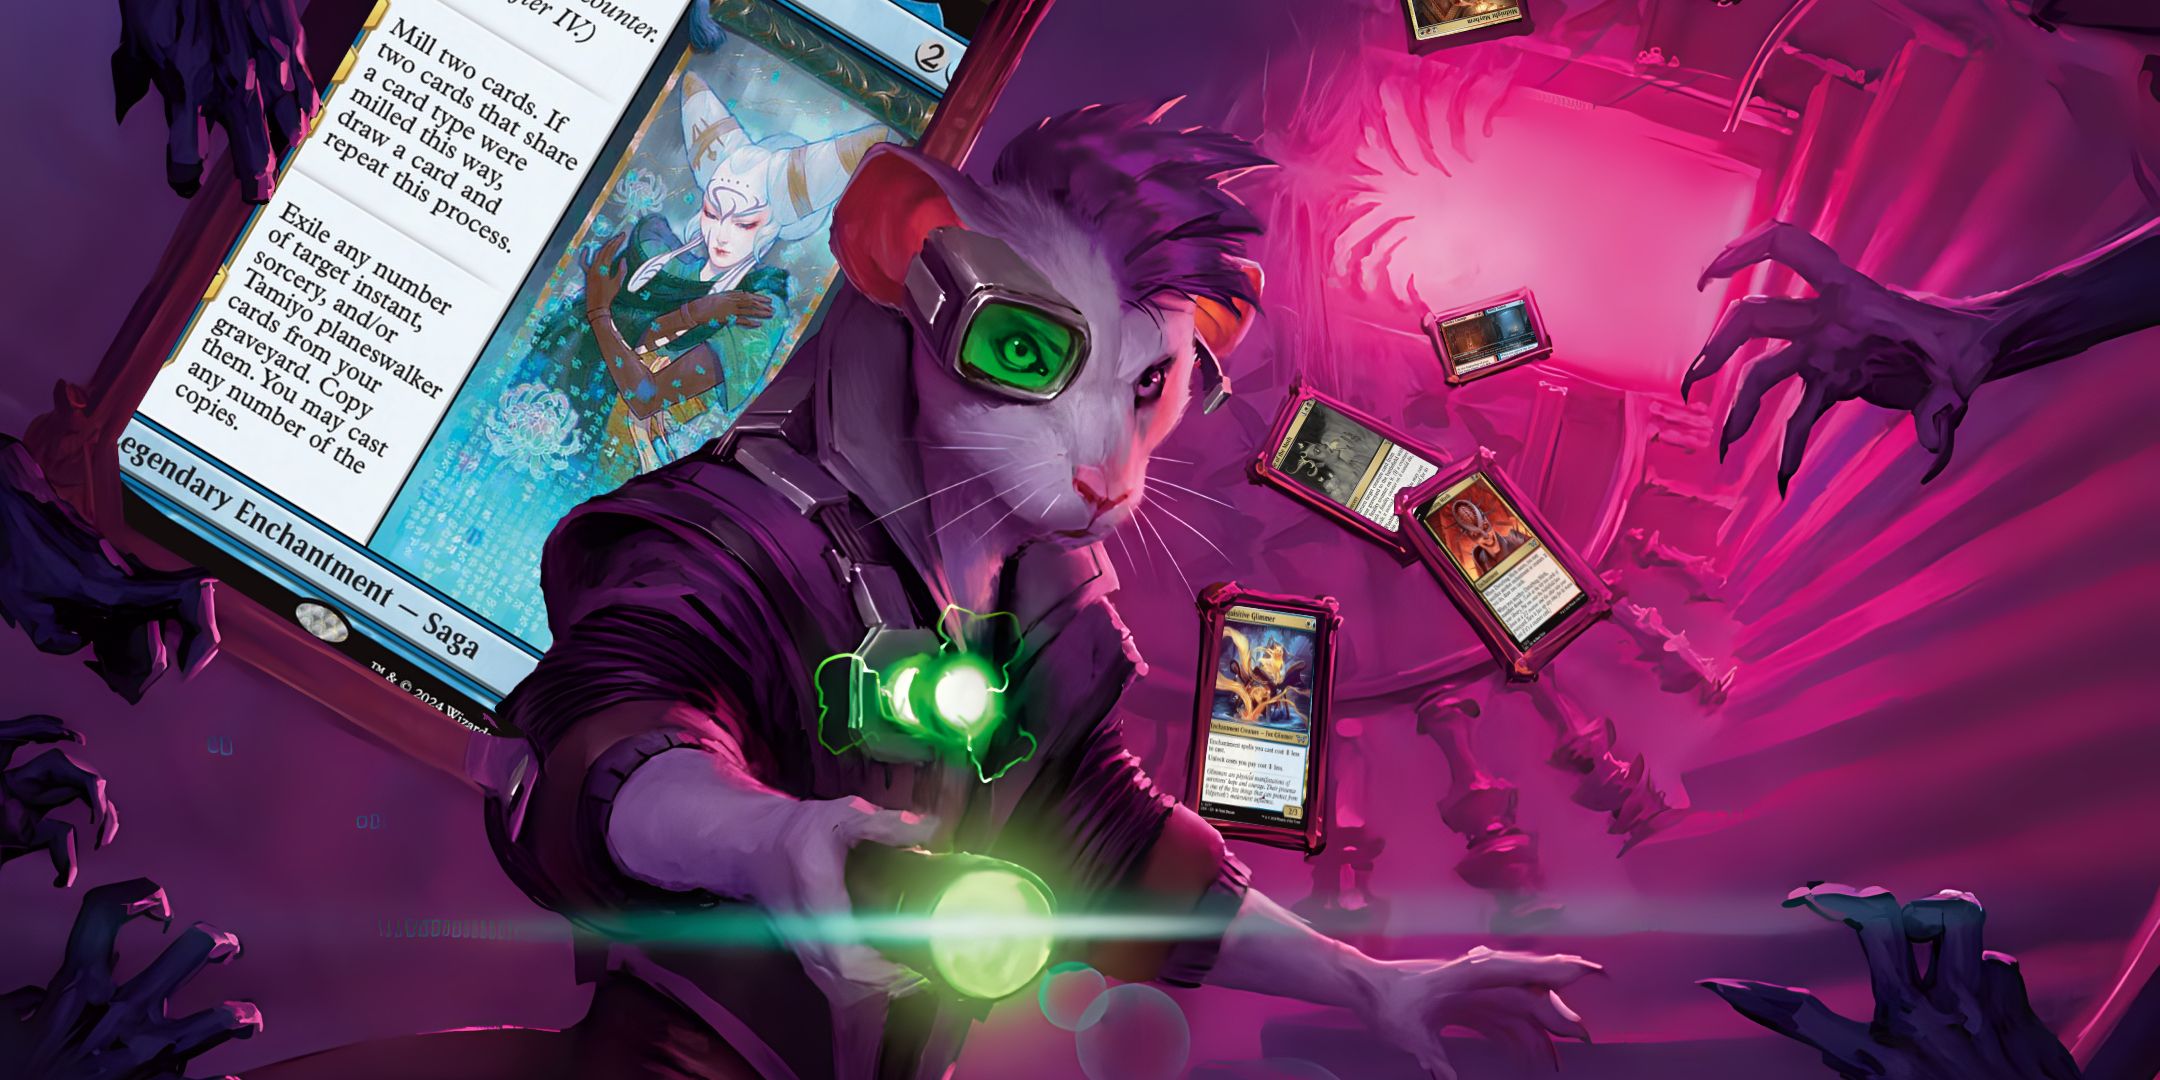
CloseDuskmourn includes a lot of enchantments, including enchantment creatures and the new enchantment type, Rooms. Azorius (white/blue) synergizes with these enchantments with the new ability word, eerie, which triggers whenever an enchantment enters under your control and whenever you unlock the second part of a Room.
Although both playing enchantments and unlocking Rooms will trigger eerie effects, Azorius leans into white's tradition of trying to overwhelm your opponent with creatures, specifically focusing on enchantment creatures. Many Glimmers are particularly effective, since they trigger eerie when you first cast them and again after they die when they return to the battlefield as a noncreature enchantment.
The signpost uncommons, Gremlin Tamer and Inquisitive Glimmer, both help this strategy in their own way: Gremlin Tamer will generate 1/1 Gremlins whenever Eerie triggers, and Inquisitive Glimmer reduces the cost both to cast enchantments and to unlock Rooms.
Azorius eerie tempo can be splashed with a little red or black and maintain most synergies. Izzet (red/blue) focuses on Rooms, which will reward your eerie synergies despite being off-color, while Dimir (blue/black) uses the same eerie synergies for a more control-based strategy.
Eerie Control (Blue/Black)
CloseWhile Azorius players want to overwhelm their opponents with endless Rooms and other enchantments, the Dimir (blue/black) eerie archetype leans more into control. Enchantments with bounce and counter effects will trigger eerie effects for added value.
Skullcap Nuisance allows you to tweak the top of your deck with surveil 1 any time you play an enchantment or unlock a room, throwing away unnecessary cards in order to find the responses you need. If you happen to throw away the other signpost uncommon, Fear of Infinity, you can easily get it back to your hand by playing any enchantment.
Fear of Infinity will be a good pull for any deck that uses discard mechanics, since you can keep returning it to your hand.
Bottomless Pool // Locker Room and Fear of Impostors are excellent game pieces that lean into the control theme while triggering eerie. Bottomless Pool bounces a creature to its owner's hand, allowing you to remove a threat or put an important piece back into your own hand, while Fear of Impostors is Cancel on a 3/2 body.
Like Eerie Tempo, Eerie Control can benefit from splashing in red for access to more damage-based removal and the Room-based effects. Adding white will also provide access to the Rooms and additional eerie effects in the blue/white archetype, and allow you to add in some of the black/white reanimation effects.
Sacrifice (Red/Black)
CloseIn Duskmourn, Rakdos (black/red) is all about sacrifice. There are plenty of creatures and enchantments that yield additional benefits when you sacrifice them to help pay for a spell, allowing you to burn your haunted house to the ground and come out of the ashes even stronger.
Disturbing Mirth is a perfect example: for one red and one black mana you get an enchantment with the primary effect of giving you a creature when you sacrifice it later. But for the extra cost of sacrificing another creature or enchantment, it will also draw you two cards. Sacrifice it to your Sawblade Skinripper to grow the Skinripper, get another creature in play, and ping a target at the end of the turn.
Look for additional triggered sacrifice effects, like Popular Egoist's ability to sacrifice a creature to become indestructible. Popular Egoist is also important for her ability to drain life from your opponent when you sacrifice any permanent, even turning Terramorphic Expanse into a potential kill card.
This archetype requires inexpensive creatures to sacrifice, which can be easily pulled from the red/white aggro archetype. Splashing white will also provide you with some reanimation effects to get your sacrificed creatures back into play while splashing green for delirium will provide you with additional payoffs for having a variety of cards in your graveyard.
Delirium Stompy (Red/Green)
CloseRed and green aren't known for subtlety, and the Delirium Stompy archetype is about as straightforward as you can get: attack aggressively, and as your creatures die, the survivors will get even stronger.
Delirium is an ability word that means the card has an extra effect if you have at least four card types in your graveyard. Allowing enchantment or artifact creatures to die early by attacking into blockers means that you can reach the delirium threshold early and reap the benefits for the rest of the game.
Delirium can be reached with as few as two cards in the graveyard in Duskmourn limited formats, thanks to artifact creatures and Valgavoth's Lair, which is an enchantment land.
Delirium effects tend to be straightforward, but it can be a chore to get the right cards in your graveyard, especially if an opponent has a way to interfere with it. On top of the obvious cards with delirium, look for cards you can put into your graveyard at will, like Terramorphic Expanse and any of the creatures with basic landcycling.
Black is the best color to splash in by far: with red, you get access to sacrifice effects to put more cards into your graveyard when you need to, while black and green is a slower but potentially stronger delirium archetype.
Survival (Green/White)
CloseThe white/green Survival archetype wants you to attack and keep your creatures alive, giving you access to their survival abilities in your second main phase. Unfortunately, Survivors tend to be pretty frail, so you'll need a little strategy.
The survival mechanic doesn't actually care if a creature attacked, only that they're tapped after your combat phase. If you equip a creature with Baseball Bat and use its ability to tap your own Shrewd Storyteller when you attack, you'll get Shrewd Storyteller's survival trigger despite not being in combat. Do this a few times, and your Survivors will be strong enough to attack on their own.
Attacking with Hardened Escort will allow you to make a Survivor indestructible, while Hedge Shredder can be crewed to tap a couple more Survivors. Orphans of the Wheat is an excellent option that allows you to tap all of your Survivors to empower it for big swings into dangerous defenders.
The best color to splash in is red, which provides additional combat tricks, buffs, and removal to keep your Survivors alive. A single Violent Urge to kill a blocker can leave your opponent wondering about other combat trick in your hand for the rest of the game.
Reanimator (White/Black)
CloseThe white/black Reanimator archetype allows you to play prohibitively expensive creatures more easily by bringing them back from your graveyard. You may lose before you get to hard-cast cards like Shroudstomper and Shepherding Spirits, but this archetype includes several ways to get them out cheap.
Selectively discarding cards to effects like Posessed Goat, milling yourself, or cycling cards for lands allows you to put your biggest creatures in the graveyard to reanimate later with Rite of the Moth or similar effects.
You'll need several reanimation effects and large creatures to play this archetype effectively, but be careful not to get too tied up in the late game, or you'll lose before you can pull off your master plan. Look for removal options and smaller synergistic creatures in order to give yourself time to set up.
Green is an excellent option to splash in, thanks to the black/green delirium focus and green's focus on manifesting dread. These interactions will make it easier to get your big creatures into your graveyard, while the growing pile feeds some of the creatures you have in play.
Rooms (Blue/Red)
CloseBoth Azorius and Dimir archetypes use Rooms for synergy, but the Izzet (blue/red) focuses on the Rooms themselves. This archetype gets access to a lot of the synergies from the two eerie archetypes through their shared blue identity, but also gains unique cards like Rampaging Soulrager.
Keep an eye out for the eerie ability word, which will clue you in on cards that synergize with your Rooms, and look out for Fear of Isolation to bounce Rooms that you want to reuse. And if you've already used all of a Room's abilities, it can still feed Intruding Soulrager to shock your opponent.
In a draft environment you'll likely be competing for blue cards, so you may need to focus on the red side and take blue opportunistically. If you find that happening, prioritize blue in early packs and look for red in later ones.
White and black are both good third colors thanks to their focus on enchantments and Rooms. If you find yourself starving for Rooms but have a lot of other enchantments, consider switching to one of those archetypes.
Delirium Grind (Black/Green)
CloseThe black/green pair has always been focused on the graveyard, and Golgari players will feel right at home. In Duskmourn, the focus is on delirium, which rewards you for having multiple card types in your graveyard. Green/black plays a little slower than green/red, the other delirium-focused archetype, but if you can hold out for a few turns, you should come out ahead.
Rather than throw enchantment and artifact creatures at your opponent in order to fill up your graveyard like the red/green archetype, this archetype allows you to mill, manifest dread, and cast removal spells in order to add more card types to your graveyard. This allows you to build a board while working toward the delirium bonus.
Broodspinner provides an excellent payoff later in the game when you have the mana and card types, especially if you're lucky enough to pick up The Swarmweaver, which grants a huge buff to the Insect tokens. Also watch out for Patchwork Beastie, which you can play on turn one and immediately start filling your graveyard.
White and red are both good third-color options for different reasons. White and black work together to reanimate creatures that you discarded or sacrificed, while red adds a little speed from the more aggressive archetype.
Aggro (Red/White)
CloseRed and white often focus on combat tricks, ways to buff your creatures at instant speed or otherwise squeeze extra damage and value out of your army of plucky runts. In Duskmourn, a lot of that value is printed directly on the cards, and they care about how small each creature is.
Cards designed for this archetype, like Arabella, Abandoned Doll, look for other creatures with two or less power, and reward you for how many you have. These rewards can come in the form of direct damage, in card draw, or in other ways.
Key creatures like Midnight Mayhem can help you build a board of small creatures, and then Arabella, Abandoned Doll will give you a payoff for the growing swarm of Gremlins, Toys, and Clowns. You'll be playing cheap cards fast, so watch out for cards like Enduring Innocence in order to keep refreshing your hand.
A lot of creatures in other colors are too big to help this archetype, but most colorless artifact creatures are both a functional and thematic fit.
Manifest Dread (Green/Blue)
CloseGreen and blue know more about your creatures than your opponents do, since the focus on manifest dread means that you'll have a bunch of face-down cards your opponents won't get to see until you show them.
Manifest dread allows you to look at two cards from the top of your library and place one face-down as a 2/2 creature, then throw the other in your graveyard. You can turn your face-down creatures face-up later, or use them to bluff. This archetype is great for players who like to bluff or play mind games!
When you manifest dread, your opponent will only see the card you throw away. So if you put something good in your graveyard you can convince your opponent that the unobtrusive face-down card is an absolute bomb. Paranormal Analyst and Threats Around Every Corner both add benefits to the mechanic, giving you draw and ramp along with your creature.
White and red are good splash options. If you attack with a face-down Survivor that your opponent doesn't think is a threat you can turn it face-up afterwards for the benefits. And the red/green delirium mechanic benefits from manifest dread's mill-like effect to power up easily.
NextEvery Card In Magic: The Gathering's Duskmourn: House Of Horror
Watch where you step in Magic: The Gathering's modern horror-themed set, Duskmourn: House Of Horror.
Posts