Deltarune Chapter 4: Guide to Locating and Defeating the Secret Boss
Deltarune has gained a reputation for featuring secret bosses in each chapter, with memorable encounters such as Jevil and Spamton in Chapters 1 and 2. Chapter 3 offers an incredibly obscure boss, maintaining the game’s air of mystery and challenge. Chapter 4 continues this trend, albeit in a more straightforward manner, allowing players to access the secret boss before sealing any fountains.
This formidable encounter offers both an exciting challenge and a reward: the fourth Shadow Crystal, essential for creating something significant, as hinted by the shopkeeper Seam. The path to this secret boss mirrors the adventure towards Jevil in Chapter 1, requiring players to uncover puzzle parts hidden in slightly obscure locations throughout the initial section of the Dark World.
Cup Climb
Close
Your quest towards the secret boss begins as soon as you acquire the Climbing Gear. After progressing through the game, return to the Study, which will serve as your reference point from this moment onward.
If your only goal is to fight the secret boss, you might be tempted to skip ahead to the piano section of this guide. However, it’s advisable to uncover the clues leading up to it, as the journey is far more enjoyable that way.
From the Study, navigate left, down, and then right to reach the library where Ralsei previously demonstrated his Stoole Mode R. Head left into a dimly lit room filled with lanterns and curious dark orbs.
To access the top left area of this room, dodge the dark orbs and climb up the wall into a new climbing segment amidst flowing water. You can speed up your ascent by charging your climb and releasing at the last moment, ensuring you avoid walls. At the end of this challenge, you will collect the first segment of the piano melody.
Darkest Room
Close
Returning to the library where Ralsei utilized his unique form, proceed to the right and up the first climbable wall you encounter, leading to a door.
This section is straightforward; watch the floor as you maneuver up and to the left, and then travel all the way to the right to discover a golden statue that reveals part of the song at the room’s pinnacle.
This revelation activates a pressure plate, granting you the middle segment of the piano melody to utilize after obtaining the final part of the puzzle.
Bell Climb
Close
From the Study, ascend to the left room filled with towering bookcases, then progress left to find a waterfall you can interact with. Enter the door located behind the fountain, leading you into a dark area.
Navigating this room is manageable by observing the floor and following the yellow waves. When you discover a wave that ends at a wall, interact with it to scale some bells. This next room is equally easy to clear, and at its conclusion, you’ll complete the piano puzzle. A swift return from the Horrors awaits us before we proceed to the secret boss.
Piano Playing
Head up and left from the Study, then scale the climbable books on the right. Ascend the next set of books until you reach the Piano.
Input the following sequence: Up, Neutral, Up, Left, Down, Neutral, Right, Neutral, Right, Down, Left, and Neutral. Completing this will unlock the fireplace in the Study.
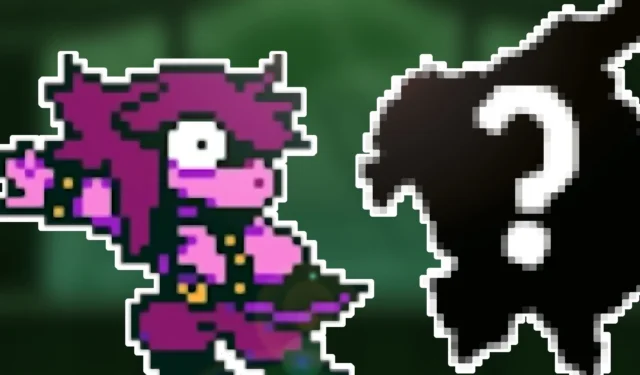
Secret Boss Fight
Close
Before engaging in the battle, equip Susie with the highest possible defense you can muster, alongside the AbsorbAx for added healing. It’s wise to forego stocking up on items for this encounter.
Your opponent will be Gerson Boom, the old man who has been accompanying your journey in his Hammer of Justice guise, accompanied by energetic music.
This fight places you in a one-on-one scenario between him and Susie, thrusting you into the Green Soul mode reminiscent of Undertale, but now incorporating diagonal movements.
Prepare for an intensely skill-focused battle where your items are removed, restricting you to Susie alone, leaving minimal room for strategy. Unlike the previous secret bosses, this encounter does not offer differing rewards for choosing to spare or defeat him, as violence is necessary to progress.
Focus on defending by skillfully grazing the arrows, hitting them just before they make contact, while occasionally using Susie’s healing abilities to sustain your health. Personally, I find using an analog stick enhances the experience, making the guarding mechanic more intuitive, especially since there are no backward arrows to contend with.
You can also attack to gain a slight health boost, but this may cost you valuable TP that could be accumulated through defensive maneuvers.
Boss Rewards
Upon defeating the Lord of the Hammer, you will earn another Shadow Crystal—something Gaster seems surprisingly generous with—and a powerful Axe for Susie. While this weapon lacks the vampiric properties of the AbsorbAx, it does provide an impressive +4 attack bonus, beneficial for the upcoming battles in this chapter.
Although it’s a tradeoff, this axe and the elusive Shadow Crystal constitute the primary rewards for this encounter. Therefore, this battle is most advantageous for players already frequently engaging in combat.
Source & Images
Related Articles:
Top 10 Survival Games Featuring Soulslike Mechanics
14:03July 13, 2025Top 10 Metroidvania Games to Convert You into a Fan
13:05July 13, 2025Comprehensive Reggie Guide: Master the Art of Dating Everything
18:44July 12, 2025Top 10 Iconic Boss Fights From the PS1 Era
15:03July 12, 2025Cozy Puzzler Capy Castaway: Toronto’s Kitten Cup Studio Unveils New Trailer Ahead of PC and Console Release in 2026
Lies of P: Overture DLC Guide – Starting Your Adventure
Leave a Reply Cancel reply
Your email address will not be published. Required fields are marked *