Genshin Impact “To Temper Thyself and Journey Far” constellation selector guide–Liyue edition
A new permanent event coming to Version Luna I will allow players to get free 5-star constellations.
Genshin Impact’s Version Luna I has a ton of new things to look forward to, but the one event every player is most likely incredibly excited for is the “To Temper Thyself and Journey Far” permanent event, simply because its rewards are incredibly worthwhile.
The rewards? Besides the usual level-up materials and mora, completing the event will reward players with a Stella Fortuna for a 5-star of your choice from a pool of 25 characters.
How does it work?
To participate in the event, players will need to be Adventure Rank 14, and they will need to have completed the World Quest “Welcome to the Adventurer’s Guild” as well as the “Knights of Favonius” substory in Archon Quest Prologue: Act I “The Outlander Who Caught the Wind”.
The event is set to last for 12 weeks with every patch starting from Version Luna I, with eight weekly training goals that need to be completed for players to select and redeem 5-star Stella Fortunas. A weekly training goal will be considered complete if a player finishes 5 daily training goals.
The daily training goals will most likely consist of objectives like procuring four Daily Commission rewards, or netting an Original Resin Consumption number of 120.
Since this is a permanent event, this means you can collect 4 constellations every year, BUT you can only do so once per character. It’s going to be a bit of a grind, but in the end, we’re sure it will be worth it.
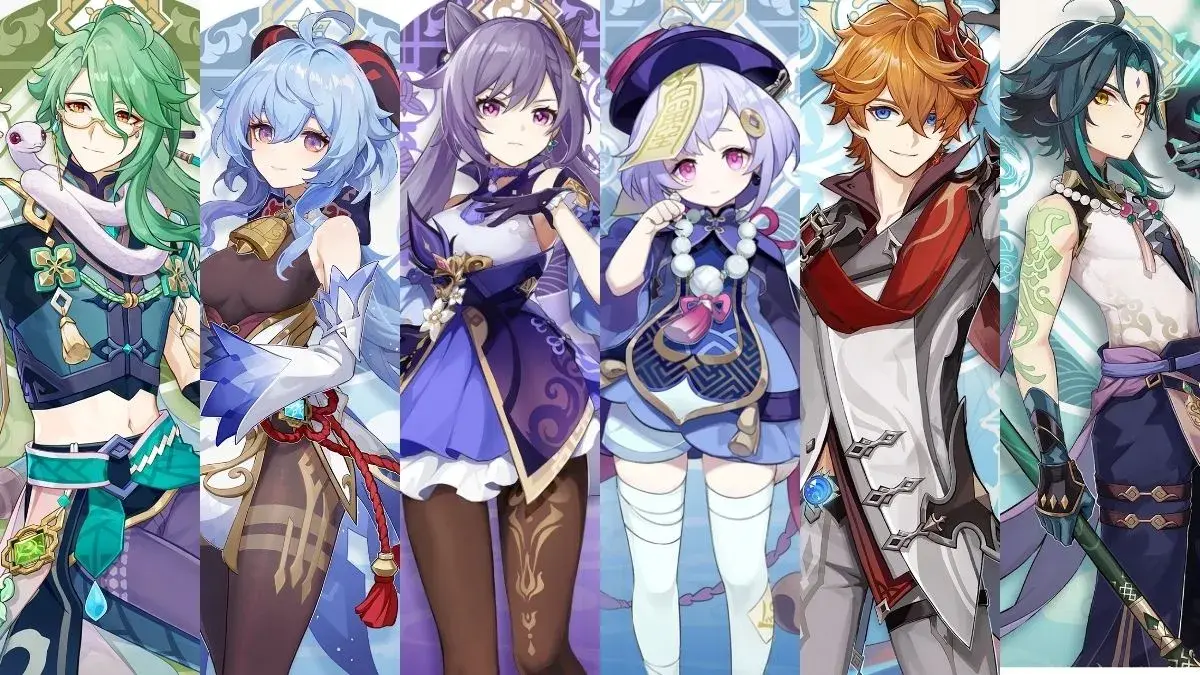
Liyue plus Tartaglia roster: C1 to C4, is it worth it?
The pool of characters for this event is nothing to scoff at. The list consists of 18 event-exclusive characters and seven standard characters. And although the list does not have any of the meta-changing characters for Genshin Impact’s end-game content recently, you can never be too sure about the future of Spiral Abyss or Imaginarium theatre.
But here’s where we get down to the details. If you already have these characters but are lacking their constellations, you may be wondering which character will provide more benefit to your account with whichever constellations you can unlock. In that regard, we’ve got you covered!
Each constellation you’ll be able to unlock may have different effects on how it changes your account per character. We’ll break down each constellation for the Liyue characters included in the options up to C4, and their benefits (if there are any) to unlock:
CharacterC1C2C3C4BaizhuElemental Skill gets one additional charge.Provides additional instance of damage considered as Elemental Skill DMG when a party member hits an opponent.Increases level of Burst by three.Increases all party members' Elemental Mastery by 80 for 15s after Burst is unleashedWhen it comes to Baizhu, there's little reward to gain from his C1 and his C2, as it only provides additional DMG to his kit. Baizhu is essentially not a damage-dealing character, as he works best in being a Dendro applicator and healer.
C3 may be beneficial, as additional levels to his Burst means higher multipliers when it comes to healing, the strength of the shield, and the Dendro DMG it can deal.
But C4 is what can be considered a must-have if you're running Baizhu in a reactive team composition centreing around Dendro. The 80 Elemental Mastery increase is nothing to scoff at. Remember: more Elemental Mastery means higher damage numbers to your reactions. Plus, characters whose kits rely on Elemental Mastery will want for that increase too!
CharacterC1C2C3C4GanyuDecreases opponents' Cryo RES by 15% for 6S after being hit by a Charge LVL 2 Frostflake Arrow or Arrow Bloom.Skill gains one additional charge.Increases Burst level by 3.Opponents within the AoE of Ganyu's burst takes gradually increasing DMG by a maximum of 25%.Ganyu's constellations are designed to fully maximise her DPS capability, and considering how she was at some point at the very top of Genshin Impact's metagame, there's really no question about whether or not you should gun for her constellations. Her C1 all the way to her C4 promises a veritable DPS increase you won't want to ignore.
And with Schnezhnaya, the domain of Cryo, just a few updates or so away, we can expect Cryo to come back strong as an element again.
CharacterC1C2C3C4Hu TaoHu tao's Charged ATKS do not consume stamina while in the Paramita Papilio state.Increases Blood Blossom DMG by 10% of Hu Tao's Max HP. Additionally, Spirit Soother, her Burst, will also apply the Blood Blossom effect.Increases Burst level by 3.All nearby party members will gain a 12% Crit Rate increase if an enemy affected by Blood Blossom is defeated.There's no argument that Hu Tao is an incredibly powerful character. Even though she's one of the earlier DPSs to be released in-game, her kit is essentially designed for imparting massive amounts of damage. However, players will need to sacrifice comfort for it.
Luckily, Hu Tao's C1 already diminishes majority of the issues with her kit by removing stamina consumption through her Charged ATKs when she is in her Paramita Papilio state, making it a must-pull constellation even if it doesn't necessarily increase her damage multipliers like with her C2 and C3.
Her C4 on the other hand isn't a big necessity, as Hu Tao isn't exactly a character who settles for the support role.
CharacterC1C2C3C4KeqingRecasting Keqing's Skill when a Lightning Stiletto is present causes her to deal 50% of her ATK as AoE Electro DMG.Keqing's Normal and Charged ATK has a 50% chance of producing an Elemental Particle once every 5s. Increases Burst level by 3.Provides a 25% ATK increase after Keqing triggers an Electro-related Elemental Reaction.Frankly, Keqing's constellations do not necessarily provide any life-changing buffs or increases to her kit, but it does somehow alleviate some of her kit concerns, specifically with her C2 for Energy needs.
But C4 seems to be the best choice, simply because of the 25% ATK increase it provides.
CharacterC1C2C3C4QiqiQiqi regenerates 2 Energy when her Skill hits an opponent.Normal and Charged ATK DMG against oppopnents affected bny Cryo is increased by 15%.Increases Burst level by 3.Targets affected by a Fortune-Preserving Talisman will have a 15% ATK decrease.Qiqi's constellations are a mixed bag of support and DPS increase, but admittedly, her C1 and C4 are the only ones worth gunning for. C1 gives a much-needed Energy boost for Qiqi, who is notorious for her high-energy cost burst. Her C4 on the other hand, lessens the DMG your team can take from enemies.
Although admittedly, Qiqi isn't really a useful character in today's meta, but that may change once Schnezhnaya releases. Who knows?
CharacterC1C2C3C4TartagliaDecreases CD of Skill by 20%.Regenerates 4 Elemental Energy for Tartaglia when an opponent affected by Riptide is defeated.Increases Skill level by 3.When in Melee Stance, Riptide Slash is triggered against opponents affected by Riptide every 4s.Tartaglia's constellations are nothing special, save for his C1 which significantly lowers the cooldown of his skill, which clocks in at a whopping 36 seconds when said constellation is not yet activated.
C2 also attempts to address Tartaglia's dismal energy requirements, although it doesn't seem to be as reliable as one could hope for. His C4 only deals additional DMG and does not totally increase his DPS in a beneficial way.
CharacterC1C2C3C4XiaoProvides an additional charge to Xiao's skill.Energy recharge is increased by 25% when off-field.Increases Skill level by 3.Xiao gains a 100% DEF bonus when his HP is below 50%.Xiao's constellations are primarily designed to support his DPS, with his C1 providing additional DMG capability to his skill, as well as another avenue for him to garner additional Elemental Particles to charge his burst. His C2 also works well to keep his Burst at an uptime, as he is primarily a Burst DPS. His C3 increases the DMG multipliers to his skill, and finally, his C4 gives comfort to players as his Burst siphons away his HP, making him very vulnerable when it is active.
It's safe to say that if you're a Xiao main, any of his constellations are necessary to improve his position as your main damage dealer.
… Or just get a Masterless Stella Fortuna
Now if the roster of characters for this event aren't to your liking, you can always choose to avail a Masterless Stella Fortuna instead. As the name of the item suggests, it is basically an excess ‘Stella Fortuna’ that can only be received when you have extra copies of a 5-star character’s constellations.
This means that if you’ve already maxed out a 5-star character’s constellations, which is capped at six copies, you will readily have your hands on Masterless Stella Fortuna–given that you pulled another, unusable copy of said 5-star character. or have already reached the maximum constellations for any of the characters included in the roster for “To Temper Thyself and Journey Far” event.
Having Masterless Stella Fortuna will allow you to level up characters of your choosing to 100, which provides additional base stat increases that are worth it in the long run.
And if you want to know which 5-star character is worth maxing their level, then check out our Masterless Stella Fortuna Guide!
And if you're wondering, we also have a Mondstadt roster guide for this event.