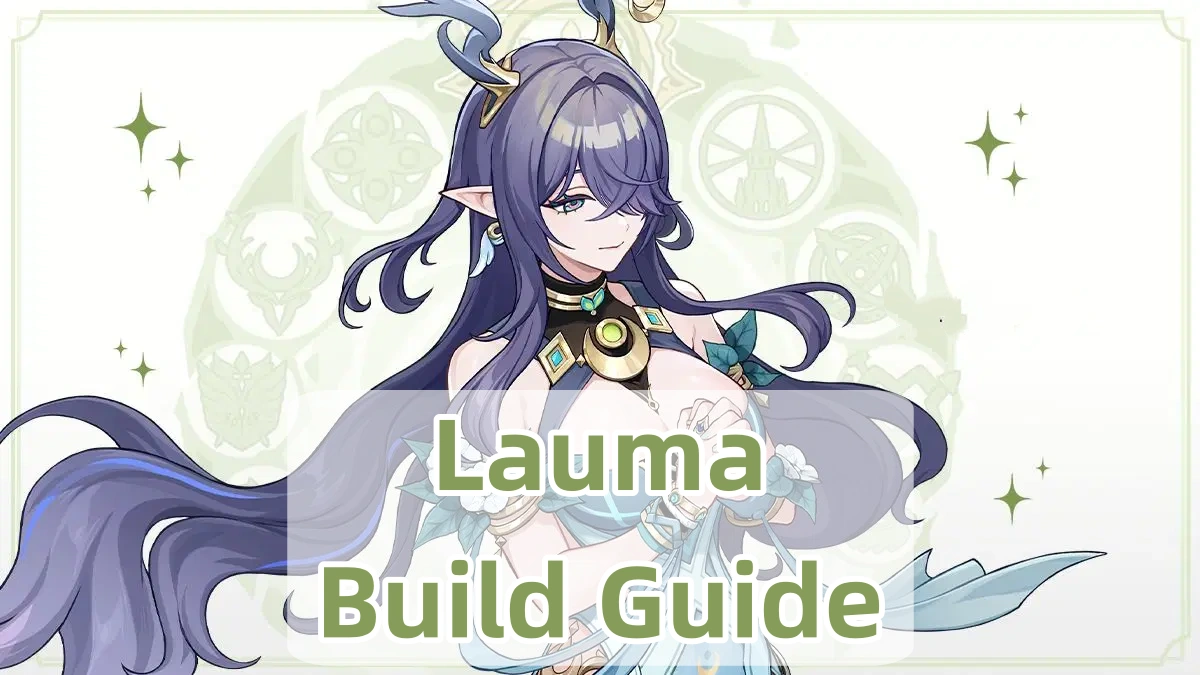
Lauma is an upcoming 5-star Dendro character in Genshin Impact. In this comprehensive Lauma build guide, we’ll break down her talent priorities, recommended weapons and artifacts, and the best team compositions to maximize her potential. Keep reading for all the details.
🔥 Bonus Tip: Don’t forget to visit Lootbar.gg for exclusive discounts on your next purchase!
Secure Your Gaming Top-Up with Smart Savings on LootBar- Enjoy up to 22% off on Game Top-Ups.
- 3-Minute Delivery for Non-Stop Gaming.
- Trusted 4.9/5 on Trustpilot, 10/10 among Players.
- Official Partnership Route, Protect Your Game Wallet.
Lauma Character Profile
Lauma Information
LaumaRarity★★★★★ElementDendroWeapon
Catalyst
Progression BonusElemental Mastery +315.2Combat RoleSupportLauma Gameplay
Lauma, from the Frostmoon Scions, is a 5-star Dendro Catalyst character who specializes in enhancing the Lunar-Bloom, Bloom, Hyperbloom, and Burgeon reactions. When any party member triggers a Bloom reaction, it is converted into Lunar-Bloom instead. After Lauma uses her Elemental Skill, Bloom, Hyperbloom, and Burgeon reactions triggered by party members can score CRIT Hits. Additionally, Lauma's Elemental Burst further boosts the damage of these reactions.
For more detailed info, please check: Lauma Kit.
Talent Priority
Below are the best talent priorities for Lauma in Genshin Impact:
TalentPriorityElemental Burst: Runo: All Hearts Become the Beating Moon★★★★★ (Top)Elemental Skill: Runo: Dawnless Rest of Karsikko★★★★ (High)Normal Attack: Peregrination of Linnunrata★ (Low)Best Weapons for Lauma
As a support character who scales with EM, any catalyst that boosts Lauma’s EM will be a strong choice for her. The following are some recommendations.
Best ChoiceSignature WeaponNightweaver's Looking Glass (5★)
- Base ATK: 542
- Bonus Stat: Elemental Mastery +264.6
- Weapon Effect (R1): When the equipping character's Elemental Skill deals Hydro or Dendro DMG, they will gain Prayer of the Far North: Elemental Mastery is increased by 60 for 4.5s. When nearby party members trigger Lunar-Bloom reactions, the equipping character gains New Moon Verse: Elemental Mastery is increased by 60 for 10s. When both Prayer of the Far North and New Moon Verse are in effect, all nearby party members' Bloom DMG is increased by 120%, their Hyperbloom and Burgeon DMG is increased by 80%, and their Lunar-Bloom DMG is increased by 40%. This effect cannot stack. The aforementioned effects can be triggered even if the equipping character is off-field.
Welkin Moon for just $2?—Claim Yours Now!
Blessing of the Welkin Moon
Limited-Time Offer: $2| $4.99
P.S. This is a limited-time offer from LootBar, exclusively for Genshin Impact players! Only 200 Blessings of the Welkin Moon are available—first come, first served. Don’t miss out—claim yours now!
If all Welkin Moons have been claimed, you’ll receive a 10% OFF coupon instead.
(Nahida's Signature Weapon)
A Thousand Floating Dreams (5★)
- Base ATK: 542
- Bonus Stat: Elemental Mastery +264.6
- Weapon Effect (R1): Party members other than the equipping character will provide the equipping character with buffs based on whether their Elemental Type is the same as the latter or not. If their Elemental Types are the same, increase Elemental Mastery by 32. If not, increase the equipping character's DMG Bonus from their Elemental Type by 10%. Each of the aforementioned effects can have up to 3 stacks. Additionally, all nearby party members other than the equipping character will have their Elemental Mastery increased by 40. Multiple such effects from multiple such weapons can stack.
2nd
(Mizuki's Signature Weapon)
Sunny Morning Sleep-In (5★)
- Base ATK: 542
- Bonus Stat: Elemental Mastery +264.6
- Weapon Effect (R1): Elemental Mastery increases by 120 for 6s after triggering Swirl. Elemental Mastery increases by 96 for 9s after the wielder's Elemental Skill hits an opponent. Elemental Mastery increases by 32 for 30s after the wielder's Elemental Burst hits an opponent.
(Citlali's Signature Weapon)
Starcaller's Watch (5★)
- Base ATK: 608
- Bonus Stat: Elemental Mastery +264.6
- Weapon Effect (R1): ATK is increased by 12%. When the equipping character is off-field, ATK is increased by an additional 12%. After healing, the equipping character and healed character(s) will obtain the "Sweet Echoes" effect, increasing their ATK by 32% for 3s. This effect can be triggered even if the equipping character is off-field.
Option 1
(Craftable Weapon)
Blackmarrow Lantern (4★)
- Base ATK: 454
- Bonus Stat: Elemental Mastery +220.5
- Weapon Effect (R5): Bloom DMG is increased by 96%, and Lunar-Bloom DMG is increased by 24%. Moonsign: Ascendant Gleam: Lunar-Bloom DMG is increased by an additional 24%.
Option 2
(Gacha Weapon)
Sacrificial Fragments (4★)
- Base ATK: 454
- Bonus Stat: Elemental Mastery +220.5
- Weapon Effect (R5): After damaging an opponent with an Elemental Skill, the skill has a 80% chance to end its own CD. Can only occur once every 16s.
Etherlight Spindlelute (4★)
- Base ATK: 510
- Bonus Stat: Energy Recharge +45.9%
- Weapon Effect (R5): For 20s after using an Elemental Skill, the equipping character's Elemental Mastery is increased by 200.
Best Artifacts & Stats
For artifacts, the new set introduced in Version 6.0, Silken Moon's Serenade, stands out as the best option. Alternatively, a hybrid set of 2-pc Gilded Dreams, or 2-pc Wanderer's Troupe can be a solid option for beginners who haven’t yet farmed a full set.
★ Artifacts
Best ChoiceSilken Moon's Serenade
- 2-PC: Energy Recharge +20%.
- 4-PC: When dealing Elemental DMG, gain the Gleaming Moon: Devotion effect for 8s: Increases all party members' Elemental Mastery by 60/120 when the party's Moonsign is Nascent Gleam/Ascendant Gleam. The equipping character can trigger this effect while off-field. All party members' Lunar Reaction DMG is increased by 10% for each different Gleaming Moon effect that party members have. Effects from Gleaming Moon cannot stack.
Gilded Dreams
- 2-PC: Increases Elemental Mastery by 80.
Wanderer's Troupe
- 2-PC: Increases Elemental Mastery by 80.
★ Recommended Stats
Here are the best Artifact main stats and sub-stats for Lauma in Genshin Impact:
Artifact Main StatsSands: EMGoblet: EMCirclet: EMArtifact Sub StatsEM > ER > others
Best Team Comps
Lauma specializes in boosting the damage of Bloom, Hyperbloom, and Burgeon reactions, with a particular emphasis on Bloom. Therefore, her team compositions are built primarily around these reactions. Since Burgeon currently lacks suitable teammates, the focus will be on Bloom and Hyperbloom teams instead. Below are some recommended team compositions for Lauma in Genshin Impact:
1. Lauma Bloom Teams
SupportHydro ApplierDendro Applier
Lauma (5★)
Nilou (5★)
Kokomi (5★)
Nahida (5★)
Lauma (5★)
Nilou (5★)
Aino (4★)
Baizhu (5★)
Lauma (5★)
Lauma (5★)
Aino (4★)
Yaoyao (4★)
2. Lauma Hyperbloom Teams
Dendro ApplierHydro ApplierElectro Applier
Lauma (5★)
Nahida (5★)
Yelan (5★)
Shinobu (4★)
Lauma (5★)
Nahida (5★)
Aino (4★)
Shinobu (4★)
Lauma (5★)
Nahida (5★)
Xingqiu (4★)
Shinobu (4★)
Lauma (5★)
Dendro Traveler (5★)
Aino (4★)
Shinobu (4★)
Lauma is a formidable Support in Dendro-related teams. By prioritizing her Elemental Skill and Burst, selecting the right weapons, and equipping optimal artifacts, you can fully unlock her capabilities in combat. And for players who want to maximize Lauma's potential, don’t forget to top up Genshin Impact at LootBar.
↓ Short on Primogems and Genesis Crystals? Try LootBar! ↓
☛ About LootBar
LootBar is a global, professional, and secure gaming transaction platform offering services such as game top-ups, game coin trading, CD keys, and game items. Our mission is to provide a seamless and hassle-free experience for users worldwide, allowing you to enjoy your favorite games without delays or worries. We currently operate in Europe, America, Japan, Russia, Southeast Asia, and more.
☛ Why Choose Us?
- 100% Safe Transaction
We are committed to providing you with efficient, professional, and secure transaction services. We will provide security guarantees for the process and related data information involved in your transactions on the platform, 100% safe, please rest assured.
- 24/7 Support
We have a strong customer team and multiple ways to access consultations, quickly and conveniently answering any questions you have during the transaction process, including any support needed before, during, and after the sale.
- Full Refund Guarantee
LootBar provides you with competitive product prices and efficient delivery to your account. If the goods are not delivered or cannot be used after delivery, the platform promises to refund 100% and provide 100% financial security guarantee.