Introduction
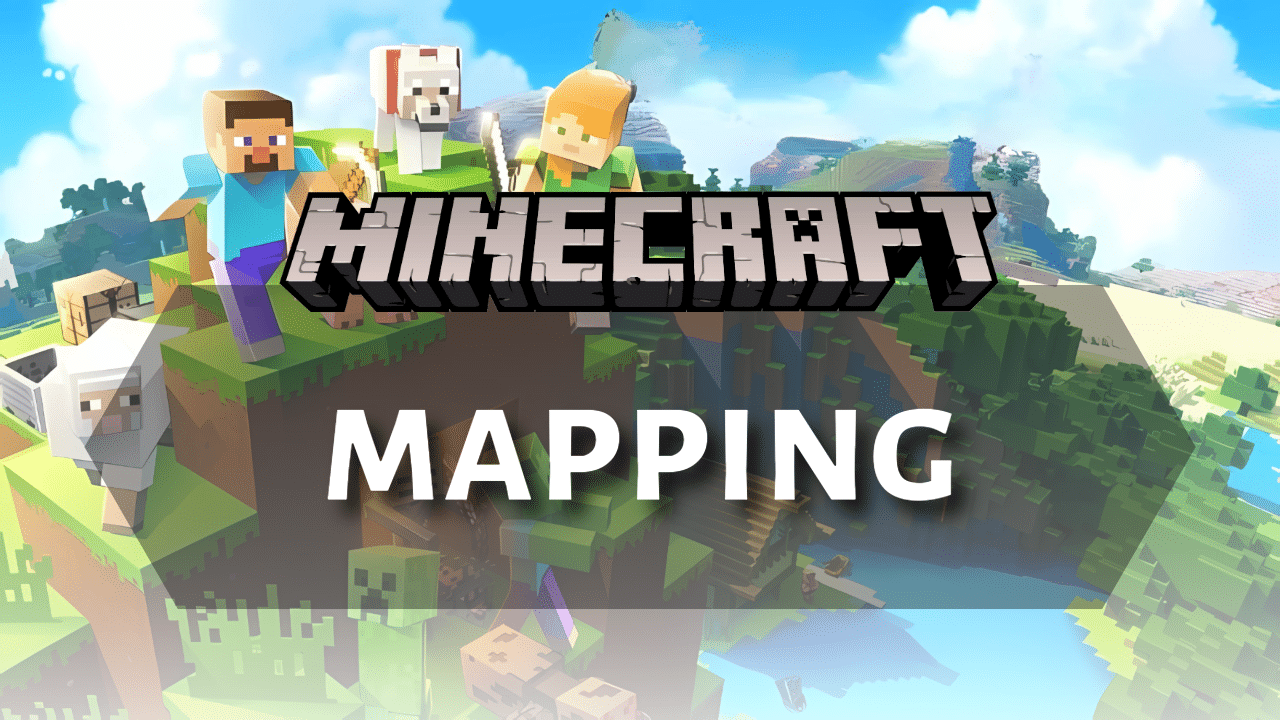
Maps are incredibly valuable tools in Minecraft Bedrock Edition, allowing you to navigate the expansive worlds, document your discoveries, and share your explorations with others. Whether you’re trying to find your way back home, locate specific structures, or create an impressive display of your explored territories, understanding how to create and use maps is essential. This Minecraft Bedrock Mapping Guide will walk you through everything you need to know about mapping in Bedrock Edition.
Crafting Your First Map
To begin your cartographic journey, you’ll need to craft a map. In Bedrock Edition, there are two primary ways to create a basic map. The first method involves a compass and eight pieces of paper.
To craft paper, place three sugar canes in a row on a crafting table, yielding three pieces of paper. Sugar cane can typically be found near water sources.
A compass is crafted by placing one Redstone Dust in the center of a crafting table and surrounding it with four iron ingots. Iron ore and Redstone Dust can be found while mining. Smelt iron ore in a furnace to obtain iron ingots.
Once you have a compass and eight pieces of paper, place the compass in the center of the crafting table and surround it with the paper to create an empty locator map. This type of map will show your current location with a marker
Alternatively, and unique to Bedrock Edition, you can create an empty map by placing nine pieces of paper in all slots of a crafting table. This map functions similarly by recording the terrain as you explore, but it will not show your current location. You can later add a location marker to an empty map by combining it with a compass on an anvil, crafting table, or cartography table. You can also start a new Bedrock world with a map already in your inventory by enabling the “Starting Map” option in the World Preferences before creating the world; this map will be an empty locator map with a zoom scale of 1:8.
Using Your Map to Explore
Once you have an empty map or an empty locator map, you need to activate it by holding it in your hand and tapping the “Use Item” button on your screen. Upon activation, the map will begin to fill in the terrain around you as you explore. If you crafted an empty locator map, a white pointer will indicate your current position on the map.
The map displays a top-down view with North oriented towards the top. While holding the map, you can view it in full screen by long-pressing or interacting with the hotbar. Remember that a newly created map does not automatically center on your location but rather displays a specific 128×128 block area of the world, based on an invisible grid.
Expanding Your View with Zooming
The initial map covers a relatively small area. To see more of your world on a single map, you can zoom out the map to four different levels. This can be done using either a crafting table or a cartography table.
Using a crafting table, place your existing map in the center and surround it with eight pieces of paper to zoom out one level. You can repeat this process up to three more times, requiring a total of 32 pieces of paper to reach the maximum zoom level (Level 4/4).
A more efficient way to cart out maps is by using a cartography table. A cartography table is crafted with four wooden planks and two pieces of paper.
To zoom out a map using a cartography table, place your map in the top slot and one piece of paper in the bottom slot. This will zoom the map out by one level. You can do this four times to reach the maximum zoom.
Each zoom level doubles the area the map covers.
Map LevelSize (Blocks)Level 0/4128 × 128 blocksLevel 1/4256 × 256 blocksLevel 2/4512 × 512 blocksLevel 3/41024 × 1024 blocksLevel 4/42048 × 2048 blocksAs you zoom out, the details on the map become less specific, showing larger geographical features.
The Versatile Cartography Table
Beyond zooming, the cartography table offers other useful functions. It can be used to copy or duplicate existing maps. To do this, place the map you want to copy in one slot and an empty map (crafted with nine paper) in the other. This will create a duplicate of your filled map. Copying maps is useful for sharing your explored areas with other players or for having a backup in case you lose your original. You can also copy maps in a crafting table by placing a filled map alongside empty maps.
Another important function of the cartography table is locking maps. To lock a map, place your map in one slot and a glass pane in the other. A locked map will never update, even if the terrain in the depicted area changes. This is useful for preserving a snapshot of an area at a specific point in time.
In Bedrock Edition, you can also use a cartography table to add a pointer (location marker) to an empty map or a map crafted with only paper. Simply place the map and a compass in the cartography table to create an empty locator map or add a pointer to an existing one.
Marking Important Locations
To further enhance your maps, you can mark specific locations using banners. Craft a banner using six pieces of wool (all the same color) in the top two rows of a crafting table and one stick in the middle of the bottom row. Once crafted, place the banner at the location you want to mark. Then, hold your map and interact (tap and hold on mobile) with the main part of the banner.
A marker with the color of the banner will now appear on your map, making it easier to navigate back to important places like villages, bases, or strongholds. Using banners is a great way to highlight key points of interest without altering the natural landscape or relying solely on memory.
You can also name banners using an anvil, which is crafted from iron blocks and ingots. By placing a banner in the anvil and renaming it, you can customize your map markers to indicate specific locations, such as “Home Base,” “Mineshaft Entrance,” or “Village Outpost.”
Naming a banner costs one experience level, but it can be a valuable investment for long-term navigation and organization. If you decide to change or remove a marker, simply break the corresponding banner, and the marker will disappear from the map. This flexibility makes banners an excellent tool for dynamic map updates as your world expands and changes.
For even more advanced mapping, you can use multiple banners of different colors to categorize locations. For example, you could use red banners for danger zones, green banners for safe locations, and blue banners for water-related structures.
When playing on multiplayer servers, banners can also help coordinate activities by marking resource-rich areas, meeting spots, or battle locations. By strategically placing and naming banners, you can create a highly functional and visually organized map that improves both solo and cooperative exploration.
Displaying Your Cartographic Achievements
Maps can be displayed on walls using item frames. Craft an item frame with one leather in the center and eight sticks surrounding it. Place the item frame on a wall and then interact with it while holding a filled map to place the map inside. Multiple adjacent item frames can be used to create a large map wall, showcasing a vast area of your explored world.
Maps placed in item frames will always orient themselves with North facing upwards. Glow item frames, crafted with a regular item frame and a glow ink sac, will illuminate the maps they hold. If a map in an item frame is within the area it depicts, it will show its current location with a green indicator.
Maps in the Nether and End
Maps function differently in the Nether and the End dimensions compared to the Overworld. In the Nether, maps can be held, but instead of displaying the terrain, they show a red-and-gray static pattern, making them practically useless for navigation.
The player marker will also spin randomly, preventing players from using maps to track their position. However, while Nether maps do not work properly, banners placed within the Nether will still be marked on an Overworld map, allowing for some indirect mapping of Nether locations when cross-referencing with Overworld coordinates. This means that if you place a banner at an important Nether location, such as a Nether Fortress or Bastion Remnant, you can still see its position on a corresponding Overworld map.
In the End dimension, maps function somewhat better than in the Nether but still have limitations. A regular map will display the terrain of the main End island, including key landmarks such as obsidian pillars. If you are using a locator map, your player marker will appear purple, helping you track your position within the End.
However, using an Overworld map while in the End will only display a magenta dot, which represents the player’s spawn point in the Overworld. This can be useful for quickly referencing your return location, but it does not provide real-time navigation for the End itself.
Additionally, Nether maps cannot be used in the End, and End maps will not function in either the Overworld or Nether. This makes it important to rely on other navigation methods, such as coordinates or visual landmarks, when exploring these dimensions. Players who frequently travel through the Nether or End may find it beneficial to use manual waypoints, such as placing torches, blocks, or banners to mark their routes. Since maps are limited in these dimensions, utilizing alternative tracking methods like writing down coordinates or building noticeable markers can significantly improve exploration efficiency.
Trading for Maps with Cartographers
Cartographer
Cartographer villagers are essential for explorers, offering map-related items through trades. At the novice level, they sell empty maps (around 7 emeralds), useful for quick exploration without crafting.
As they level up, cartographers offer explorer maps that lead to rare structures like Woodland Mansions and Ocean Monuments, making them key for discovering hard-to-find locations.
Ocean Monuments
Woodland Mansions
Previous NextExplorer maps can be duplicated at a cartography table by combining the original with an empty map—perfect for sharing in multiplayer or keeping backups.
Cartographers are also a reliable source of ocean maps, guiding you to underwater structures like ruins and shipwrecks. Mastering cartographer trades enhances exploration by helping you navigate, track discoveries, and collaborate on large map projects. For any serious explorer, they’re an invaluable resource.
Creating Map Art
Beyond their navigational uses, maps can also be employed to create pixel art. Since each pixel on a level 0 map corresponds to a single block, players can strategically place different colored blocks over a large area and then capture it on a map to create intricate images. This can be done at various scales, with larger maps requiring correspondingly larger block structures. You can even convert real-world images into Minecraft block palettes to guide your map art creation. Displaying large-scale map art on map walls can result in impressive visual displays.
Tips for Efficient Mapping
Conclusion
In conclusion, maps are essential tools in Minecraft Bedrock Edition for navigation, exploration, and documentation. They can be crafted using paper and a compass or just paper for an empty map. Activating a map records the terrain, and locator maps display your position.
Maps can be expanded using a cartography table to cover larger areas, duplicated for backups, and locked with a glass pane to prevent updates. Banners can be used to mark important locations, and maps can be displayed in item frames to create large map walls. While maps work in the End, they do not function properly in the Nether.
Cartographer villagers offer valuable trades, including explorer maps that lead to rare structures. Mastering map usage helps players efficiently explore, mark locations, and create detailed representations of their world.
If you’re looking for more guides, be sure to explore the website for more tips and tricks. Enjoy your adventure, and happy mining!
Frequently Asked Questions(FAQs)
🍄Do I need a compass to make a map?
No, but without it, the map won’t show your position.
🍄Can maps show player markers?
Yes, if you have locator maps (with compass) and everyone is in the same dimension.
🍄Why is my map blank?
You need to move around to fill it, and make sure it’s activated (held and opened).


