You can trust VideoGamer. Our team of gaming experts spend hours testing and reviewing the latest games, to ensure you're reading the most comprehensive guide possible. Rest assured, all imagery and advice is unique and original. Check out how we test and review games here
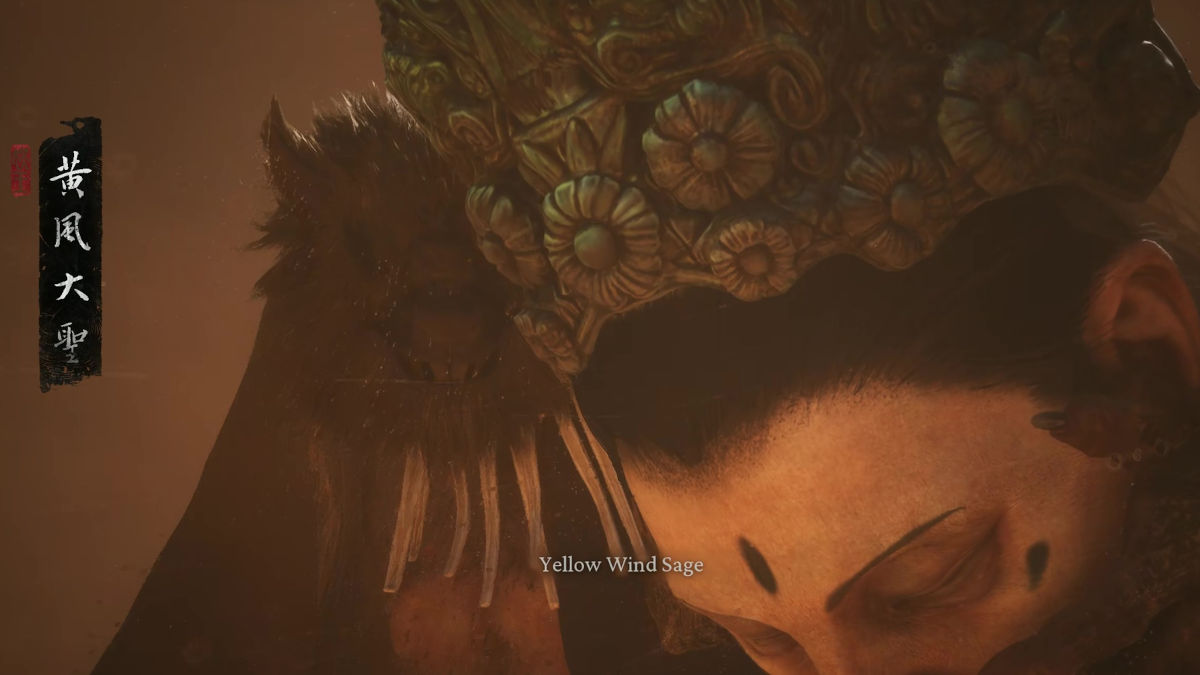
Contents hide How to beat Yellow Wind Sage in Black Myth Wukong Phase one Phase 2 Phase 3A trident-swinging hulk sure to cause you some strife, the Yellow Wind Sage rears its ugly head at the end Chapter 2 in Black Myth Wukong. Like all bosses in Black Myth Wukong, learning the combos and making the most of those precious openings to retort and get in some damage is the key to coming out on top. In this guide, we’ll walk you through how to beat Yellow Wing Sage down in Black Myth Wukong.
How to beat Yellow Wind Sage in Black Myth Wukong
If you’re looking to beat the boss on easy mode, we recommend completing the optional content at the end of Chapter 2. There’s a valley you can explore after beating the Stone Vanguard boss with small village to the left and a large chasm to the right. The area is dotted with NPCs, including the Drunk Pigs, who’ll give you a quest line that unlocks a secret area with a boss who drops vessels that directly counter the Yellow Wind Sage’s tornado and storm attacks. This makes beating back the sand spells that the boss throws at you significantly easier in Phase 3.
We recommend crafting physical defense improvement flasks and damage improvement Medications at a Wayshrine or at an NPC vendor. You can use your blue quality mushrooms to craft the damage improvement one. The basic defense Mecication is easily made using very common materials you find out in the world.
The Ground Wolf spirit is very effective against this boss. Its stagger keeps the boss down for a few seconds, giving you a window to light attack combo. Typically, the finisher does a minor stagger, which you can then follow up with a heavy attack for an even bigger stagger and burst hit. You can get the Wolf Spirit from the mini-boss inside the village.
As for the fight itself, there are three phases, each with a spread of difficulty.
Avoid basic combos and heavy hitting stomps to unlock windows to combo. Image via VideoGamer.Phase one
During Phase 1, the boss will use a few key attacks:
- Range slashes – Sends two horizontal slashes back-to-back, followed by a vertical slash.
- Standard combo – A four-move combo where it swings its trident horizontally and, occasionally vertically. The final move is typically a slam down, which sends forth a yellow magic AoE attack. Perfect dodge the skills normally, then dodge sideways or towards the boss to avoid the fourth attack.
- Foot stomp and slash – Slams its foot forward very slowly. Sometimes it can slash at you, too, so be mindful of the attack.
- AoE – Repeatedly generates wind accompanied by several wide slashes. Roll out of range of the combo to avoid the wind AoE effect and melee damage. It can occasionally throw ranged spells at you, too.
- Charged attacks – After the combo attack, you can engage it with a near-full combo. By the time you get to the finisher, the boss will likely strike at you with a charged attack you can dodge.
The best time to attack the boss and trade blows is after the foot stomp and basic combos. You can often get a near-full light attack combo off after these moves. Bear in mind you can’t execute your finisher without needing to dodge. We recommend having the perk unlocked that maintains your combo progression while dodging. This allows you to land your finisher while dodging any attack they do as you’re about to land the finisher. The finisher is an important part of the fight as it often briefly staggers the boss, setting you up for a heavy attack, heal, spell, or spirit.
During Phase 2, the boss can use illusions to attack you. Image via VideoGamer.Phase 2
Phase 2 typically begins when the boss is around 60% HP. The transition is signalled by the boss using illusion spells. These illusion spells typically perform the same basic combo, ground stomp, and double jump attack:
- Double Jump Attack – Jumps at you with a big charge. It then jumps backwards at you with another heavy attack.
- Roll – Flings it body at you and rolls across the floor.
- Tornado Arena – Jumps out of the arena and traps you inside a tornado.
- Kick – A special kick combo that chews through around 50% of your Max HP. It’s a must-dodge move.
- Rock Channel Throw – Channels a spell and after a very minor delay, summons a giant rock from the sky that crashes down on you. It can be dodged and cancelled with an Immobilize spell.
- Kick up – Uses its illusion to perform a long pole attack, which causes magic to shoot up from the floor in a straight line. Dodge sideways as he extends his weapon to avoid it.
This phase is mainly about dodging. Try to position yourself in the centre of the arena. This reduces visual distortion so you can check for oncoming hits easily. The other benefit is that when the boss does its double jump or body throw, it likely won’t land outside of the tornado. These moves typically offer good chances to combo the boss yourself.
When the boss does its rock throw spell, be mindful that it can be interrupted. You’ll see him start flailing his arms around. When this happens use Immobilize. You can also get a few free hits in before dodging if you time it well.
In phase 3, be careful of the newly formed tornado, as it can CC you into other combos. Image via VideoGamer.Phase 3
Around 30% HP, the boss will transition to phase 3. The boss’s magical power grows, giving it more ground-based AoE spells. It channels a spell to indicate the phase transition. and conjure another mini tornado that tracks your movements. This is where you can try to interrupt the spell. Alternatively, you can get at least a combo off. This is where you want to use your attack damage potion, alongside offensive spells like the Wukong clones to max out your DPS.
When the boss goes back to normal, it will perform all of its previous moves from phase 1 and 2. The tornado that follows you around does very minor damage but can fling to the ground. While on the floor, the boss can use its combos and spells like normal, so you need to avoid this tornado at all costs.
Continue to trade when the boss does its jump moves, roll, or kick, using openings as and when they become available. Slowly whittle the boss’ health down to beat it, dodging all the same moves as before.
About the Author
Craig Robinson
Craig is a Guides Writer for VideoGamer. He is a big-time MMO fan, with interests in competitive games like League of Legends, and Rainbow Six Siege. When he’s not sweating games, you can find him get
Black Myth: Wukong
- Platform(s): PC, PlayStation 5, Xbox Series S/X
- Genre(s): Action, RPG
Related Topics
- Black Myth Wukong
Subscribe to our newsletters!
By subscribing, you agree to our Privacy Policy and may receive occasional deal communications; you can unsubscribe anytime.
Share


