Like A Dragon: Infinite Wealth - Yokohama Underground Dungeon Guide
One of the best ways to get stronger in Like a Dragon: Infinite Wealth is to take on the dungeons and their bosses available in each city. One of these dungeons in Yokohama, the Yokohama Underground, allows you to train your party while earning some handy crafting resources and job-specific equipment.
RelatedLike A Dragon: Infinite Wealth - Hawaiian Haunt Dungeon Guide
Care for some spooky dungeon crawling in sunny Hawaii?
PostsYou will challenge some tough opponents in each location, with even some of the mini-bosses posing unique challenges and significant threats, no matter your level. The good news is that there are plenty of unique rewards that exist for those willing to face the hordes waiting below the surface.
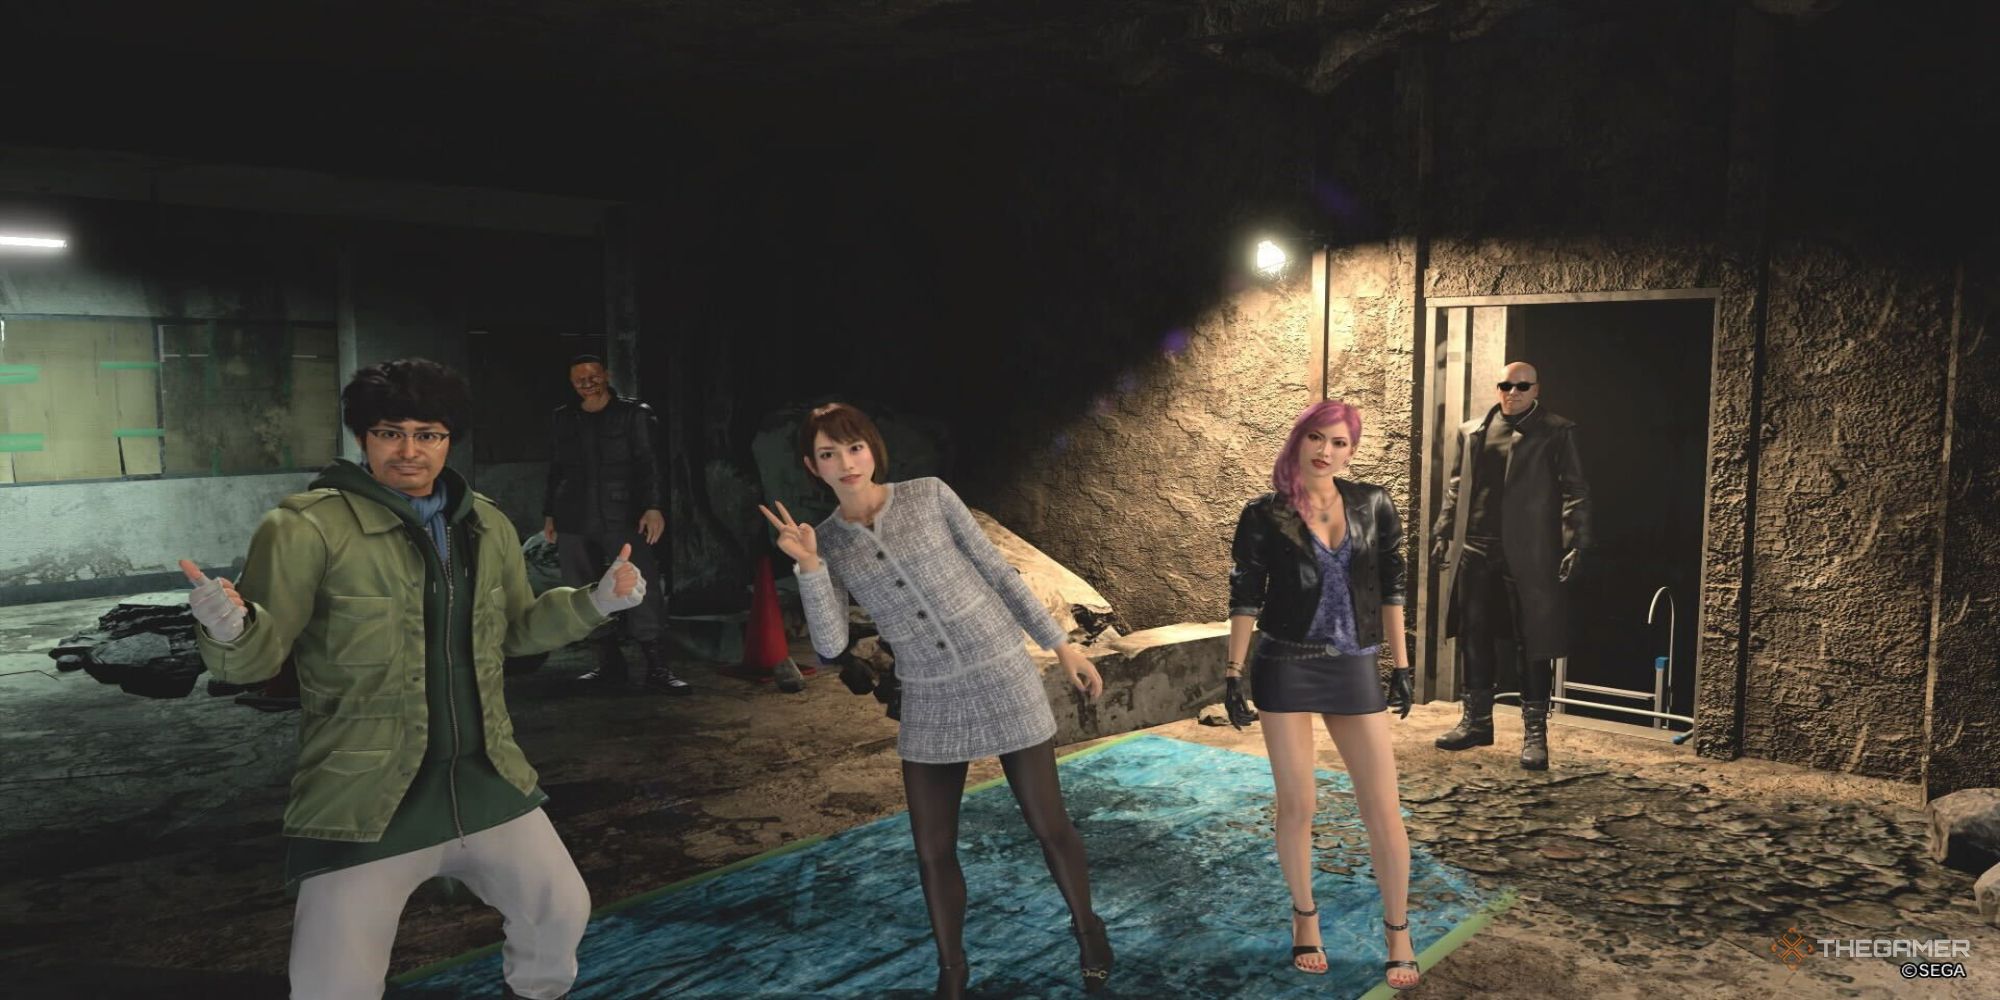
Yokohama Underground Structure
As with the Hawaiian Haunt dungeon, Yokohama Underground is split into three sectors of increasing intensity.
The more intense remixed 'Ex Sector' floors 30 through 40 become available once you defeat the dungeon's level 30 boss.
Each sector has a midpoint mini-boss and a final boss, allowing you to unlock new travel checkpoints once defeated.
Level
Boss
Backup
B5
Five Hollow Followers
None
B10
Nicotine Lich
Three Massacre Mascots
B15
Sparkle Juggernaut
Three Twitchy Streamers
B20
Angel of Megadeth
Two Metal Headsmen
B25
Edison of Anarchy
CA-087
B30
Utamaru
None
B35
Arminator
Three Ghillie Men
B40
Jo Amon
Three 'Amon' Ultimate Assassins
Many of the enemies in the Yokohama Underground dungeon can spawn backup, with the 'Death's-hed' and 'Metal Headsman' being standout examples.
This culminates with the Ex Sector's final boss, Jo Amon, who will immediately spawn three similar assassins with varying weaknesses.
When you get Jo Amon to half health, he will immediately spawn any of the three assassins you've taken out, also at half health, and do a combo attack.
It's important to try and take out enemies as fast as possible in the Yokohama Underground or you risk going through waves of the same enemies in an endless loop. A key to this is recognizing the weaknesses and remembering them throughout the dungeon.
Later sections are great opportunities to grind for money, especially as you get to a higher level and can progress through the battles automatically.
There is a lot of loot to be found in Yokohama Underground, be it actual weapons or the crafting materials you'll find lying around.
When you enter a hallway or room with an item, Kiryu or someone in the party will call out that an item can be found nearby. Every time.
Much of the following loot can be found as shiny objects on the ground, in containers, or picked off enemies.
Sector
Floors
Recommended Level
Estimated Data Drops
Loot Found
Clear Reward
First Clear Reward
One
B1-B10
32 or more
2000 or more
Consumables, Stacks of multiple Geodes, Tier 4 Weapons and Gear, Keys
Survival Boots
Bewitching Snake Blade
Two
B11-B20
37 or more
3000 or more
Consumables, Stacks of multiple Geodes, Job Manuals, Tier 5 Weapons and Gear, Keys
Cyber Boots
Cyber Armor
Three
B21-B30
44 or more
4000 or more
Consumables, Crystals, Tier 7 Gear for Specific Jobs, Job Manuals, Keys
Knight's Greaves
True Dragon's Suit
EX
B30-B40
52 or more
6000 or more
Consumables, Stacks of multiple Crystals, Tier 7 Gear for specific Jobs, Keys
Sacred Leather Socks
Squid Tentacles
In addition to the actual materials and equipment, you'll also find Geomijul Data lying around that can be redeemed at the dungeon entrance with Utamaru.
Yokohama Underground Item Exchange List
While exploring the dungeon, you'll occasionally come across shiny objects on the ground that are revealed to be Geomijul's Survey Data. When you've left the dungeon and spoken to Utamaru, you can exchange the data for new items and resources.
Due to the ease at which you can earn Geomijul Data in later sectors, this is a great way to get specific crafting resources.
Most of the crafting resources are affordable, with the items only going up in cost from there.
Item
Description
Cost
Lava Fragments
Material that can be used to create weapons.
10
Lava Geode
Material that can be used to create weapons.
50
Lava Crystal
Material that can be used to create weapons.
250
Ice Fragments
Material that can be used to create weapons.
10
Ice Geode
Material that can be used to create weapons.
50
Ice Crystal
Material that can be used to create weapons.
250
Electric Fragments
Material that can be used to create weapons.
10
Electric Geode
Material that can be used to create weapons.
50
Electric Crystal
Material that can be used to create weapons.
250
Rainbow Fragments
Material that can be used to create weapons.
10
Rainbow Geode
Material that can be used to create weapons.
50
Rainbow Crystal
Material that can be used to create weapons.
250
Empty Cough Drop Tin
A tin that once held Asame Ade cough drops. There's nothing inside now, but it could be used to enhance weapons.
2,000
Tennis Ace's Racket
Like a polished gem in the rough. A tennis racket with endless possibilities.
3,000
Safe Key
A key that lets you open a safe or container that's locked.
1,000
Phantasy Star Online 2: New Genesis Soundtrack CD 1
CD featuring the track "A World Beyond the Sky" from the game Phantasy Star Online 2: New Genesis.
160
Phantasy Star Online 2: New Genesis Soundtrack CD 2
CD featuring the track "Song of War: Against Fate" from the game Phantasy Star Online 2: New Genesis.
160
Phantasy Star Online 2: New Genesis Soundtrack CD 3
CD featuring the track "Song of Mourning: The Eternal Wind" from the game Phantasy Star Online 2: New Genesis.
160
Street Surfer Wheels (Gold SP)
Shine like a superstar with these sparkling golden wheels.
2,000
Squid Tentacles
Material that can be used to create weapons.
18,000
Thanks to the range of currency you'll find in the Yokohama Underground dungeon, you should have no problem affording the resources and weapon upgrades to get ahead of any challenge.
NextLike A Dragon: Infinite Wealth - Karaoke Guide
Karaoke is a great way to bond with friends, in life and in Like A Dragon: Infinite Wealth. We'll tell you how to use it to maximum effect.
Posts