Helldivers 2 lets players use Stratagems to even the odds against swarms of Terminids and clusters of Automatons. Requesting new gear, calling in orbital strikes, and replacing dead teammates are all important to winning the Galactic War. While you start out with only the most basic Stratagems available, upgrading your ship will unlock more powerful effects that let you tailor your tactics to the mission at hand.
RelatedHelldivers 2: Beginner Tips
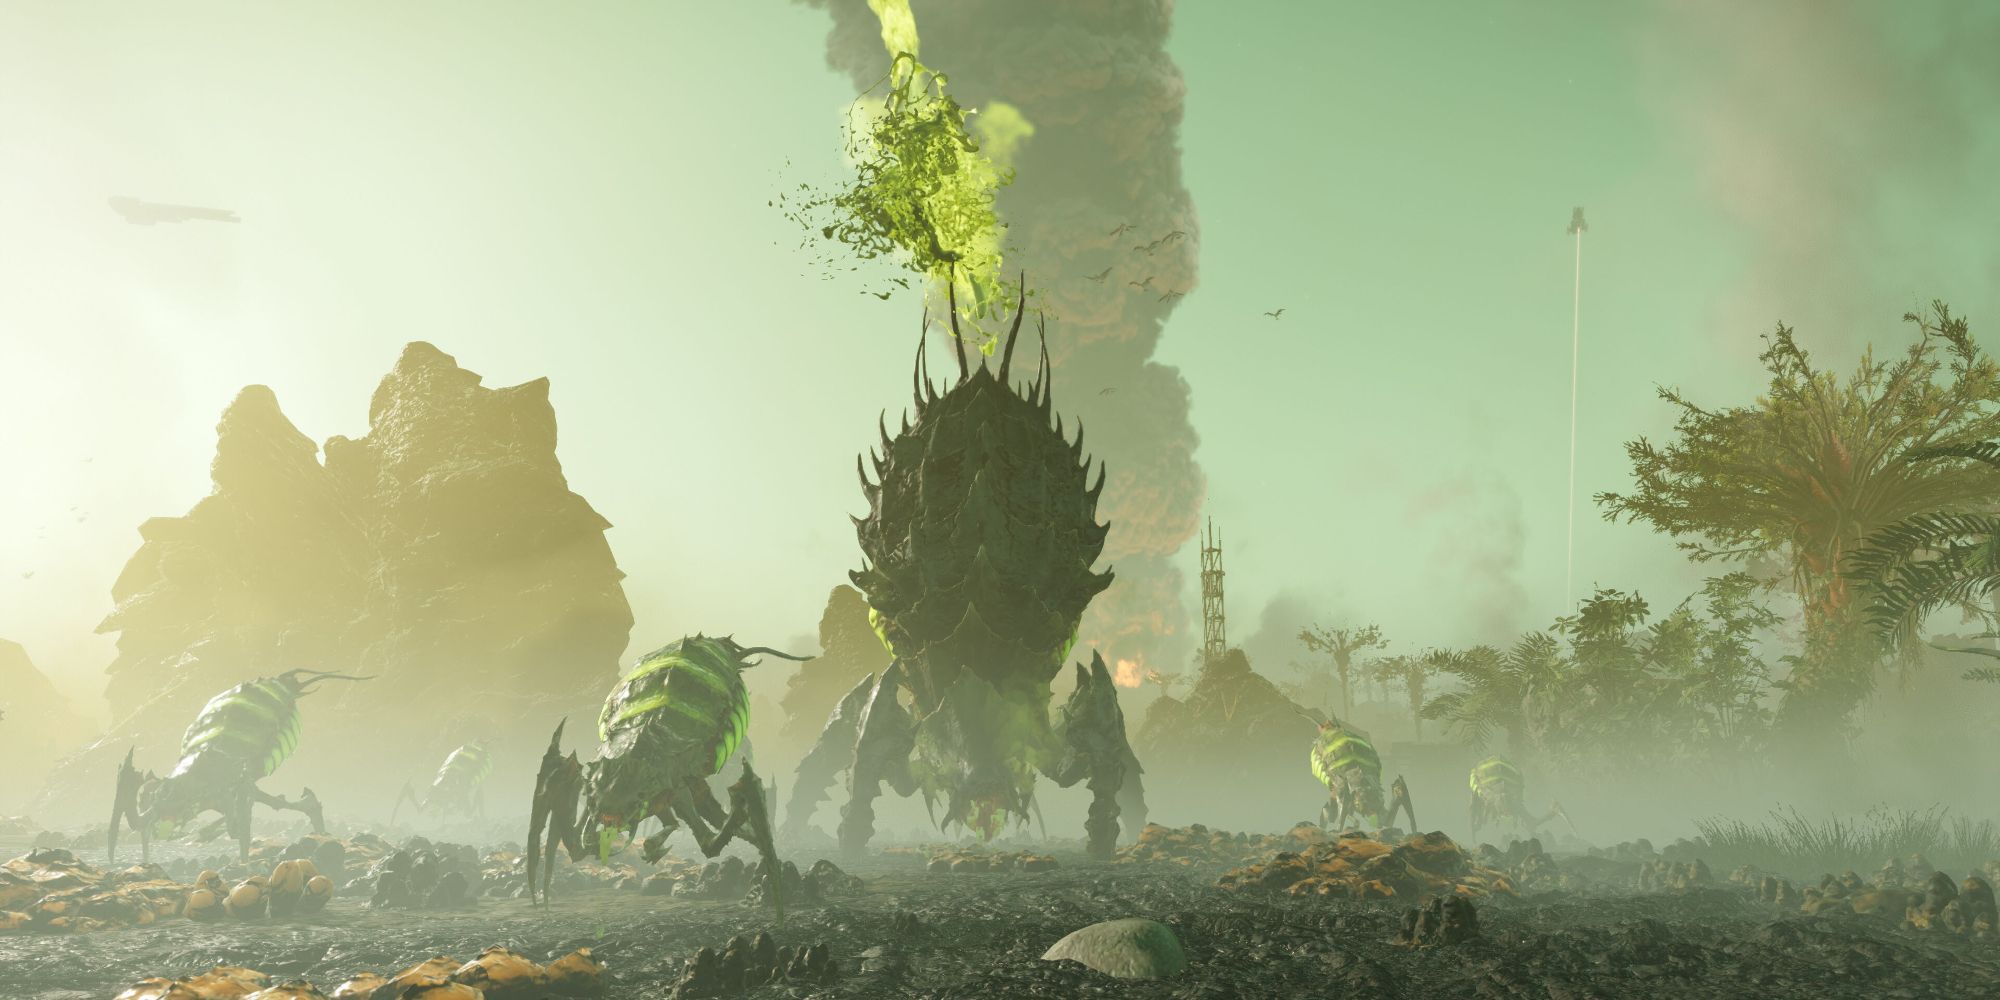
Make Super-Earth proud with these tips for playing Helldivers 2.
PostsIt takes a long time to unlock everything, since you'll need to level up and save your Requisition Slips for big purchases. Be on the lookout for these Stratagems that stand out from the rest of the pack.
Reinforce and Resupply are crucial to every mission, but we won't be including them on this list - you'll always have access to them as part of your standard loadout.
Updated on April 8, 2024 by Matt Arnold: We've added two more Stratagems to this list. That's twenty-five percent more Managed Democracy in the galaxy! From new Stratagems that weren't available at launch to great oldies that we passed on the first time, you'll find the perfect fit for your loadout below.
10 EXO-45 Patriot Exosuit
The Arsenal Of Democracy
Calling in a big, stomping mech might not be the ideal strategy for every situation, but it's certainly the most satisfying. When your Helldiver climbs into the cockpit of a Patriot Exosuit, it's time to really shred some bugs and scrap some bots.
Helldivers fought and died to liberate the factories where the Exosuits are produced and add them to Super-Earth's war effort. Honor their sacrifice by suiting up and letting loose.
9 B-1 Supply Pack
Sharing Is Caring
Resupplies are vital to success, but once the supply pod drops it stays put; if you need to replenish grenades, ammo, or stims, you'll have to trudge back to the nearest intact pod. The B-1 Supply Pack lets a Helldiver carry refills on the go, giving them to teammates to keep everyone topped up.
Managing the team's inventory is a great way of providing support, and the B-1 Supply Pack is available fairly early on. Taking on this role is a great way for new players to learn the ropes alongside more experienced Helldivers, and everyone will appreciate the extra ammo.
8 A/G-16 Gatling Sentry
Pewpewpewpewpew!
While the basic Machine Gun Sentry will be most players' first turret, the Gatling is a strict upgrade in almost every regard; it's more powerful overall and easier to summon. Its high rate of fire lets it tear through large groups of enemies, effectively securing lanes against most threats.
The Gatling is best used against small enemies, clearing their numbers so you can focus on the larger, more daunting foes. The only real downside is that it runs through its ammo quickly.
7 MD-6 Anti-Personnel Minefield
Watch Your Step
Placing Minefields is a great way to defend a position, especially while you're waiting for the extraction shuttle. The mines are powerful enough to take out most small and medium-sized enemies, and can potentially do some preliminary damage or crack open the armor of larger foes.
Mines are especially good against Terminids, who often have armored shells but soft underbellies.
Not only will a Minefield slow an enemy advance, but it also serves as a warning system - when you hear explosions, you know there's a wave of enemies coming from that direction. Be sure to watch out for red lights if you have to move through the field yourself, though!
6 FX-12 Shield Generator Relay
Block The Bots
You'll need to be at least Level 10 before the Shield Generator Relay becomes available, but it's worth the wait. Once it lands, it creates a protective bubblethat deflects projectiles. It's of limited use against the melee-focused Terminids, but invaluable when fighting the Automatons.
RelatedYou Can See Helldivers 2 Players Using Their Stratagems From Space In Real-Time
Helldivers 2 really is showing the Galactic War in real-time.
PostsTheoretically, the Relay will also protect you from stray bullets fired by teammates from outside the bubble, but by Level 10 most players should be able to avoid causing friendly fire... right?
5 Eagle 500kg Bomb
Freedom, Now In Metric!
Airstrikes courtesy of the Helldivers' Eagle Squadron don't have the same destructive power as orbital bombardments, but they don't have a delay when you request them. This usually makes the choice between air and orbital a matter of personal preference, but the 500k Bomb courtesy of the Eagles is a special case.
This high-level Stratagem lets you turn almost anything into a smoking crater at a moment's notice. Even elite enemies will be hard-pressed to survive the blast. Just remember to warn your teammates - they won't have much time to get out of the blast zone once the Eagles are on their way.
4 Gas Strike
What's That Smell?
Look, we get it - you joined the Helldivers to blow stuff up. However, a Gas Strike in the right time and place can deal with entire swarms of enemies without you and your team having to fire a single round. That's more ammo for later!
Gas deals damage over time to anything caught in the cloud, organic or otherwise. The Automatons might not breathe, but this stuff will still corrode their circuits and shut them down for good. Just be sure that you and your fellow Helldivers stay out of the cloud, since your helmets aren't rated for this kind of chemical.
3 Laser Cannon
Zzzap!
The Laser Cannon is notable for solving a lot of early game problems. Once you unlock it, it's a good idea to call one in as soon as you land at the start of a mission. It doesn't require ammo, so as long as you don't let it overheat you'll never be completely unarmed.
The focused beam of the Laser Cannon also cuts through armor with relative ease, making it a sensible answer to bosses like the Charger. Several players firing Laser Cannons at once can quickly wear down elite enemies.
2 Orbital Railcannon Strike
No Kill Like Overkill
Many strategies revolve around quickly cleaning up lesser enemies to focus fire on the big ones. The Orbital Railcannon Strike lets you turn that idea on its head, blowing the biggest target in the area to smithereens. After all, you can handle the small fry!
Once deployed, the Railcannon targets the largest enemy within the beacon's range. It then shoots that target with a gun normally used for destroying spaceships. It's the perfect opener for any boss fight.
1 Orbital 380mm HE Barrage
Knock Knock!
Orbital Strikes are a great way to start assaulting an enemy outpost or nest; the starting guards will mostly be damaged or killed outright, and the survivors will rush out to fight - usually into your carefully-prepared defenses. Of all the Stratagems used for this purpose, it's hard to beat the 380mm High Explosive Barrage.
The barrage covers a large area, ensuring that it hits as many targets as possible. If your objective includes destroying Terminid eggs or other targets, it can do a lot of the work for you. Once you reach Level 8, be sure to unlock this Stratagem and try it out - you won't be disappointed.
RelatedHelldivers 2: How To Unlock Weapons
Fighting the Galactic War in Helldivers 2 requires firepower. Here's how to get it.
Posts