Quick Links
- Level Start: Get To The First Ability Scroll
- Go To The Opposite Side
- The Mid-Game: Choosing Abilities And Facing Bosses
- Late Game: Standing Still and Beating the Hydra
- Beating The Lord Of Despair
- Trait Progression Path
Halls of Torment is widely considered a spiritual successor of Vampire Survivors; an unforgiving, roguelike action game seasoned with RPG elements. The game features a total of seven classes and dozens of hero customization options to make each run unique and exciting, from stat-boosting equipment to overpowered ability upgrades.
Related: Halls Of Torment - Character Tier List
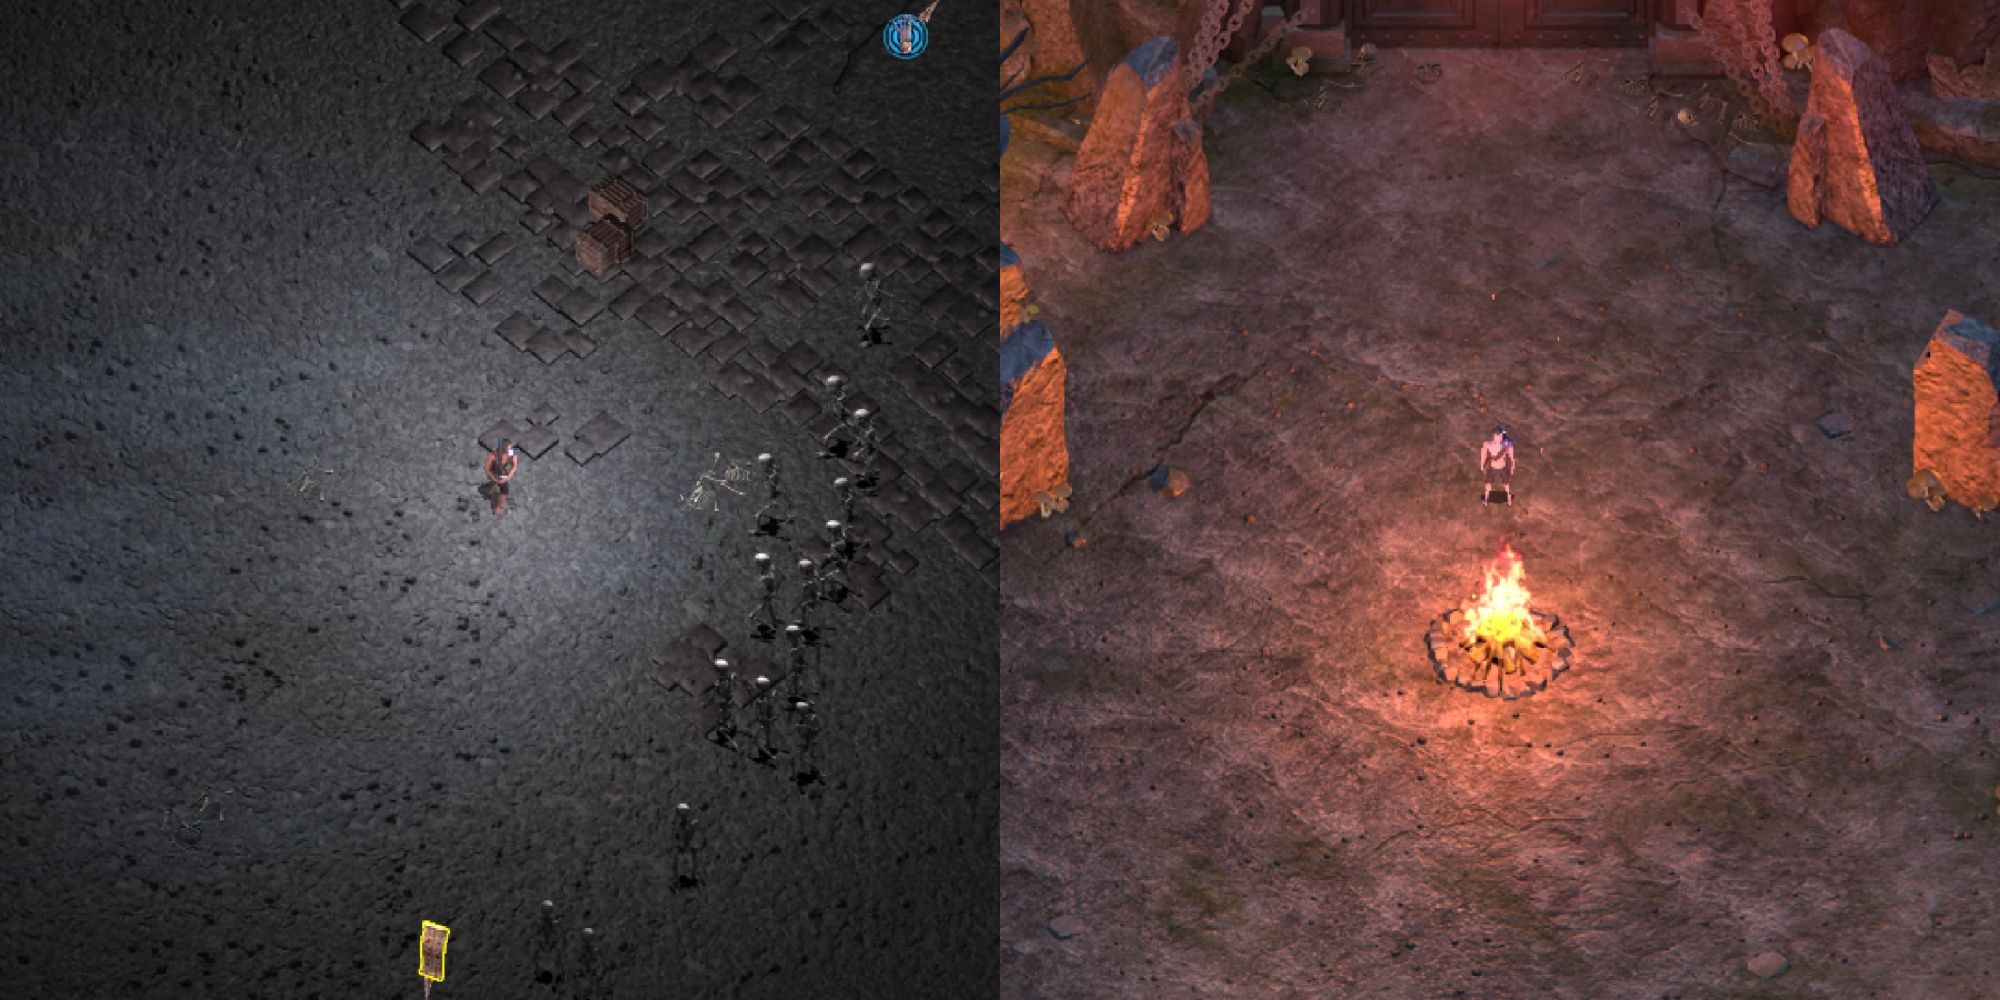
Forgotten Viaductis the last and arguably most difficult dungeon in the game, and even with maxed-out traits and decent equipment, players may still struggle to beat this level without the right strategies. Follow our strategy guide to make the most out of ability scrolls, overcome every challenge, and dominate the Lord of Despair in the Forgotten Viaduct.
Level Start: Get To The First Ability Scroll
Upon starting the Forgotten Viaduct, take advantage of the low mob count to get as close as possible to the Ability Scroll at the bottom of the map.
Hug the top railings to easily maneuver around enemy minions and try to kill the ones in your way. Defeating a few minions allows you to gain a few quick levels for your first trait or ability upgrades.
Focus on maximizing your damage early on. You don't need survivability traits since enemies are still really easy to avoid.
Hugging the top railings in the Forgotten Viaduct also forces minions into columns below you. This makes it easier to clear them to gain some breathing room and generate experience crystals.
After around two minutes, if you already rescued the Cupbearer, you'll come across a potion ingredient that spawns a mob of green zombies. Sweep them up in a counter-clockwise manner to soak in the extra experience.
You will also encounter the first elite enemy, which also drops an ability scroll. Try to flank it so you also hit minions when you attack.
For this particular run, you should aim for AOE abilities with reliable damage potential, namely:
- Ring Blades — High-damage projectiles that can be upgraded to shoot more blades while applying fragile and slow effects. It is great for dealing with enemies that get too close, as well as hitting enemies from afar.
- Radiant Aura — A versatile AOE ability that can apply on-hit effects to multiple enemies via upgrades. You can also use this ability to nuke single enemies when they're isolated, such as bosses.
- Transfixion — Reliable, targeted damage that also applies "fragile." This, along with the upgraded Ring Blades and Radiant Aura that apply fragile, are useful for clearing the white wraiths that appear late in the Forgotten Viaduct.
If you didn't roll any of these abilities, feel free to restart the level. Of course, you're welcome to continue the run with another AOE ability, like Astronomer's Orbs and Dragon's Breath.
If you picked up the Radiant Aura ability, isolate elites to deal heavy damage with each hit. This allows you to defeat enemies with high health quickly.
Below are other optional abilities you can choose whenever the abilities above nor their upgrades aren't available:
- Kugelblitz — Shoots a ball of electricity toward a random enemy, emitting a shockwave that inflicts AoE electric damage.
- Meteor Strike — Fires three projectiles in an arc in a random direction, and the projectiles explode when they hit the ground, dealing AoE damage.
- Phantom Needles — Spreads needles at random enemies in quick succession, and hitting multiple times will increase the attack speed.
Go To The Opposite Side
When you reach the Ability Scroll at the bottom, hug the railings again, and make your way to the opposite side of the map. Be prepared to face the Wraith Horsemanwhile you make your way to the Ability Scroll at the top.
The key here is to keep moving laterally through the map, sticking close to the walls, and picking up health restoration items from the crates whenever necessary.
Killing the Wraith Horseman unlocks the Shieldmaiden—another playable character. It also drops equipment, which you can wear or deposit into the well at the center of the map.
If the Wraith Horseman doesn't drop anything worth keeping, go past the well and continue toward the Ability Scroll at the top. You'll get another chance to visit the well near the end of the level.
Avoid picking up the Hand of Greed or "magnet" for now. You can get a huge experience boost later in the game once you're strong enough tostand still and farm experience crystals.
The Mid-Game: Choosing Abilities And Facing Bosses
Around the 15-minute mark, you should be able to reach the top end of the map and pick up the Ability Scroll. Take note that the Frost Knight also spawns around this time.
Again, focus on avoiding this boss's projectiles while dealing as much damage as possible. This can be difficult because of the White Wraiths that move fast and have increased armor.
The good news is, you can easily defeat these wraiths—along with the Frost Knight—if you have an ability that applies fragile. This includes Transfixion along with the upgraded versions of Ring Blades and Radiant Aura.
Late Game: Standing Still and Beating the Hydra
With around 12 minutes left on the level, you should be strong enough to stand still and generate upgraded experience crystals. But first, move to the center of the map where the Hand of Greed pickup is located.
Press R while standing still to automatically aim at enemies when auto-attacking (right-click). Sit back, watch out for elite enemies, avoid their attacks, and repeat.
Pick up the Hand of Greed with around seven minutes left in the timer. At this point, you should have enough experience crystals to reach level 70 or higher—just in time to defeat the Hydra when it spawns at the top railings.
Stay directly below Hydra and keep attacking from a safe distance, giving you enough room to dodge its projectiles. After defeating the Hydra, you still have around five minutes left to farm experience points.
Take note that the opposite ends of the bridge will be lined up with unkillable wraiths. These wraiths will walk toward the center of the map until the Lord of Despair appears.
As such, avoid generating experience crystals near the edges, because unless you can pick up another Hand of Greed, you'll end up losing the crystals once the wraiths pass over them. Instead, stay at the center of the map and farm experience crystals there.
With just around 30 seconds in the timer, you should have enough experience crystals to reach level 90. Pick them up and prepare for the Forgotten Viaduct's final boss.
Beating The Lord Of Despair
The Lord of Despair is a large monster that primarily relies on summoning specters to deal damage. As long as you can avoid these summons, you should be fine.
When battling the Lord of Despair, it's often beneficial to stop movingfrom time to time and observe the direction of its summons. If you have enough movement speed, you won't have any problems dodging them, although being in constant movement is one of the most important things to keep in mind.
While the Lord of Despair has a ton of health, it has low movement speed. This makes it easier to stop and focus on avoiding its summons while you deal consistent damage.
If you deal consistent damage and dodge attacks reliably, it's only a matter of time before you beat the Lord of Despair and finally finish the Forgotten Viaduct.
Trait Progression Path
Not sure where to spend your upgrade points when leveling up? From levels one to thirty, it's recommended to prioritize offensive traits to kill mobs and level up faster.
You can push through the first half of the Forgotten Viaduct without a defensive trait due to the low density of mobs, which makes it easy to avoid enemies. But once you reach level 30, it's important to invest some points in defensive traits to improve survivability.
If you lost a good chunk of health, focus on Metabolism to regenerate them before the later bosses and elites. Otherwise, pour your upgrade points into traits like Parry, Vitality, andThick Hide.
Around level 60 and beyond, you need to circle back to ability upgrades, movement speed, defensive traits, andoffensive traits. Prioritize ability upgrades to maximize your AOE damage, then choose Swift Feet whenever it comes up.
Lastly, distribute your remaining upgrades evenly between defensive and offensive traits. Use your discretion to decide which trait upgrades offer bigger bonuses.
Level 1-30 (DPS)
Trait
Description
Weapon Proficiency
Increases two offensive stats, such as attack range, attack speed, and base damage.
Proficient Stance
Increases combat efficiency by improving offensive and defensive stats like attack range, critical hit chance, base defense, block strength, and more.
Strength
Adds +10% damage.
Cunning Technique
Increases critical hit chance by 5%.
Ruthlessness
Applies +20% critical hit damage bonus.
Multihit
Adds 10% additional attacks.
Quick Hands
Increases attack speed by 8%.
Ability Upgrades
Improves (or alters) the damage, range, size, and effects of abilities.
Collateral Damage
Increases attack area/cone size by 8%.
Level 31-60 (Escape, Recovery, and Abilities)
Trait
Description
Dedication
Increases a combination of two defensive stats, including health, regeneration, movement speed, block strength, and defense.
Metabolism
Regenerates 0.1, 0.15, or 0.2 health per second.
Swift Feet
Increases movement speed by 6% or 9%.
Long Fingers
Increases item pickup range by 40%.
Parry
Adds +2, +3, or +4 block strength.
Thick Hide
Increases base defense by +2, +3, or +4.
Vitality
Increases health by +30, +50, or +70.
Level 61-90 (Endgame)
Trait
Description
Swift Feet
Increases movement speed by 6% or 9%.
Ability Upgrades
Improves or alters the damage, range, size, and effects of abilities.
Weapon Proficiency
Increases two offensive stats, such as attack range, attack speed, and base damage.
Dedication
Increases two defensive stats, including health, regeneration, movement speed, block strength, and defense.
Vitality
Increases health by +30, +50, or +70.
Ruthlessness
Applies +20% critical hit damage bonus.
Metabolism
Regenerates 0.1, 0.15, or 0.2 health per second.
Multihit
Adds 10% additional attacks.
Next: Halls Of Torment - How To Unlock All Classes