Final Fantasy 14: Dawntrail - Worqor Zormor Dungeon Guide

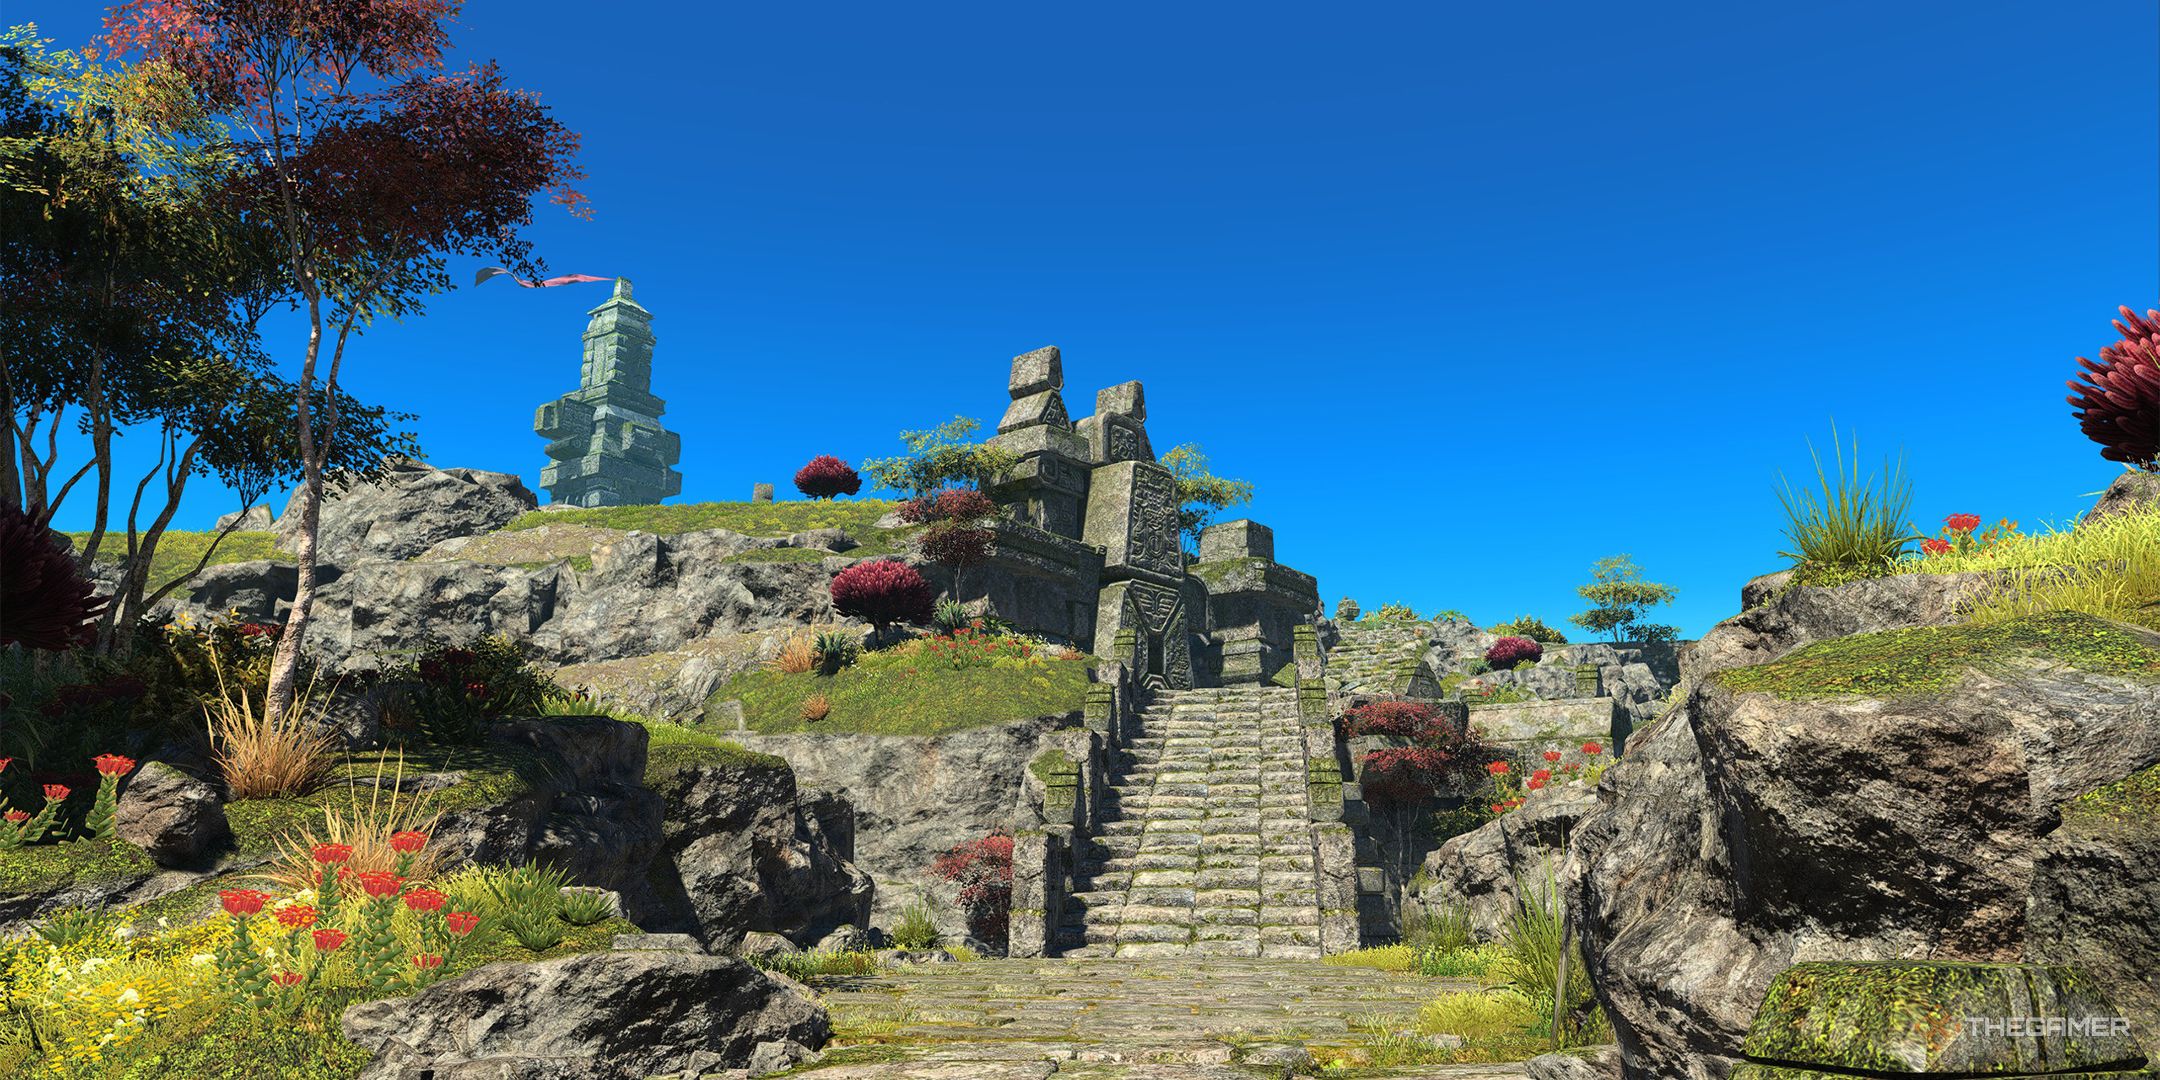
Worqor Zormor is a level 93 dungeon in Final Fantasy 14: Dawntrail, and the second in the expansion. After a slight setback, Wuk Lamat is ready to continue on her quest to gather all seven Keystones and pass the rite of succession to become Tural's next Dawnservant.
RelatedFinal Fantasy 14: Dawntrail - Ihuykatumu Dungeon Guide
Here's how to defeat every boss in Ihuykatumu, Final Fantasy 14: Dawntrail's first dungeon.
PostsThe next step is the Feat of Proof, but to conquer this trial, you'll need to climb up the massive mountain of Worqor Zormor. Below, we'll take a look at everything you need to know about this dungeon, including how to beat all three of its bosses.
How To Unlock Worqor Zormor
Worqor Zormor is unlocked after progressing through the following level 93 Main Scenario Quest.
- Quest Name: The High Luminary
- NPC Location: Wuk Lamat - Urqopacha (X:13.2, Y:32.4)
Ryoqor Tarteh
The first boss of Worqor Zormor is the cute but deadly Ryoqor Tarteh. Here are all of its mechanics.
Attack Name
Type
Details
Frosting Fracas
Roomwide AoE
Deals damage to all party members while covering the edge of the arena in an AoE that deals damage if you enter it.
Fluffle Up/Cold Feat
Summon/AoE
Four Rorrloh Teh will be summoned, facing different directions. Two will then start casting Ice Scream, a quarter-circle shaped AoE, to their front. Shortly after, the other two will also begin casting this attack. Then, the boss will freeze the two Rorrloh Tehthat began casting first, pausing their cast timer.
- Move into the area of the frozen Rorrloh Teh's casts until the others finish, then move out to avoid both AoEs.
The next time this attack is used, four Qorrloh Teh will be summoned, which will use the circular AoE Frozen Swirl around themselves. Like before, the boss will also freeze a pair of these enemies to pause their cast timer. You can avoid this attack in the same way as before.
On the third instance of this attack, both types of enemies will be summoned at the same time. This time, two of each type of enemy will be frozen, creating a safe space in one quadrant of the arena. Like before, you can avoid this attack by staying near the frozen enemies, then moving out of their position after the other AoEs have resolved.
Snowscoop
Line AoE
Ryoqor Tarteh will summon several snowballs around the edges of the arena that will then roll forward in a line AoE. This attack occurs in two sets; avoid the first set by standing in the AoE of the second set, then move to the newly created safe spot to avoid the next set of AoEs.
Sparkling Sprinkling
AoE Markers
At the same time as Snowscoop, all party members will be marked with an AoE marker. Spread out to avoid overlapping these while dodging the line AoEs of Snowscoop.
The third usage of Fluffle Up and Cold Feat can be quite hectic, but by just focusing on the frozen enemies, you'll be able to make it through this attack.
Kahderyor
The second boss of Worqor Zormor is the Kahderyor. All of its mechanics are detailed below.
Attack Name
Type
Details
Wind Unbound
Roomwide AoE
Deals damage to all players. Recover with AoE healing.
Crystalline Crush
Stack Pillar
Creates a pillar that all players need to stack on to spread out its damage. The boss will then jump to this pillar, dealing damage, while shattering the pillar and scattering small purple stones of the ground.
Wind Shot
Ring AoE Markers
All players will be targeted with a ring AoE marker, while the entire arena is covered in an AoE with a safe spot on the purple stones. All players should group up together to avoid overlapping their AoE markers while staying inside the safe spot.
Earthen Shot
AoE Markers
Immediately after Wind Shot, all players will be targeted again with a circular AoE marker, while the purple stones will become a larger circular AoE. Move away from this AoE while spreading out.
Crystalline Storm
Line AoE
Deals damage with three thin line AoEs around the arena. These will leave behind purple stones. The boss will then use Earthen Shot and Wind Shot, which function the same as earlier, but these lines of purple stones will become the safe/unsafe spots instead.
Seed Crystals
AoE Markers/Summon
Targets all players with an AoE marker; spread out to avoid overlapping these with another player. After the AoE explodes, you'll be partially encased in Crystalline Debris, making you unable to move. Destroy the debris to regain movement, then help free your allies if they haven't been already.
Sharpened Sights/Stalagmite Circle/Cyclonic Ring
Gaze/AoE
Kahderyor will prepare two Gaze-based attacks that will be paired with Stalagmite Circle, a large circle AoE, and Cyclonic Ring, a large ring AoE. Turn away from the boss when the gaze ring appears while avoiding these AoEs.
There's quite a bit to keep track of during this fight, but the most important is the purple stones that are created after Crystalline Crush and Crystalline Storm. These can be a bit difficult to see, so try to remember where the initial attacks took place as well.
Gurfurlur
The final boss is Gurlurfur, the Elector of this trial. Here are his mechanics.
Attack Name
Type
Details
Heaving Haymaker
Roomwide AoE
Deals damage to all party members while covering the edge of the arena in a dangerous AoE.
Stonework
Special
Summons an elemental stone tablet that does various things depending on the element.
- Earth: A series of consecutive AoEs followed by AoE markers.
- Water: Deals damage while pushing players to one side.
- Wind: Pushes all players outward from the center of the arena while summoning four tornadoes that move along a straight line across the arena. When the tornadoes are near the center of the arena, another push attack will occur.
Later in the fight, Stonework will summon both Earth and Water tablets at the same time, combining both of their effects.
Sledgehammer
Continuous Stack Marker
Targets a player with a line-stack marker before dealing three hits of damage to the area. Group up with the affected player to spread out the damage of this attack.
Arcane Stomp
Special
Several orbs will spawn around the edges of the arena and begin moving toward the boss. Moving into one of these orbs will apply a stacking damage buff that lasts for one minute, but the boss will also get a damage buff if any reach him.
Enduring Glory
Roomwide AoE
Deals damage to all party members and removes the boss's damage buff stacks. If Gurfurlur has too many stacks when casting this attack, your party will wipe.
These mechanics will repeat until Gurfurlur is defeated. Luckily, this fight is pretty easy compared to the first two bosses of this dungeon. The main thing to watch out for is to collect enough damage buffs from Arcane Stomp. Not only will this speed up the fight, letting you deal more damage, but it will also save you from a potentially lethal attack.
Once Gurfurlur is down, you'll be one keystone closer to the Dawnservant's throne!
NextFinal Fantasy 14: Dawntrail - Urqopacha Aether Current Location Guide
Want to fly through the air in FFXIV's Urqopacha area?
Posts


