Destiny 2 Lightfall: First Contact Legendary Mission Walkthrough
Quick Links
- Modifiers And Recommended Loadout
- Sabotage The Cabal Fleet
- Gain Access To The Restricted Area
- Survive The Tormentor
- Destroy The Computer Core
- Gain Access To The Reactor Room
- Destroy The Ship's Reactor
- Find A Way Off The Ship
- Gain Access To The Drop Pods
- Find And Rescue Osiris
Destiny 2: Lightfall features a Legendary campaign that spans eight missions, similar to the Witch Queen campaign. Beating the entire campaign on Legendary grants some high-level items, a guaranteed Exotic, and plenty of Upgrade Modules to make leveling a breeze. And for those looking for a good source of powerful gear, these missions can be replayed on Legend and Master difficulty through Neomuna's weekly campaign playlist.
Related: Destiny 2 Season Of Defiance: Vexcalibur Exotic Quest And Hidden Chests Guide
First Contact is the first mission in the Lightfall campaign. Infiltrate the Shadow Legion's fleet, rescue Osiris, and use the power of Strand to stop the Cabal. This guide will give an in-depth breakdown of each encounter for all difficulties, including Legendary and Master. We'll also be giving loadout recommendations to make this mission as easy as possible on higher difficulties.
Modifiers And Recommended Loadout
Legendary
Power Level
1,610
Mettle
Your effective Power is capped at 1,600
Legendary
Heavily shielded and highly aggressive combatants appear in great numbers.
Chaff
Radar is disabled.
Galvanized
Combatants have more health and are more difficult to stun.
Multiplicity
Greater fireteam size scales combatant difficulty and adds limitations on revives.
Master
Power Level
1,840
Mettle
Your effective Power is capped at 1,820
Master Modifiers
Extra Champions, Locked Loadout, Extra Shields
Champion Foes
You will face Barrier and Unstoppable Champions.
Pestilence
When defeated, Psions spawn Void grenades at their feet.
Void Threat
25% increase to incoming Void damage.
Solar Surge
25% increased damage to outgoing Solar damage.
Strand Surge
25% increased damage to outgoing Strand damage.
Overcharged Weapons
Shotguns and weapons overcharged from the Seasonal Artifact deal 25% increased damage.
Kinetic weapons are overcharged if your subclass element matches an active surge.
Legendary works the same way as the Witch Queen campaign, restricting your Power Level to -10 under the activity while adding a few more modifiers, notably Galvanized and Chaff. You can expect these modifiers on all Legendary campaign missions, not just this one. We recommend bringing hard-hitting Primaries like SMGs or a double Special loadout to deal with tougher foes (explained in the loadouts section). The Multiplicity modifier has been greatly toned down in Lightfall's campaign, so it's recommended to play with others if possible.
Master caps your Power Level to -20, adds Barrier and Unstoppable Champions throughout the mission, increases Void damage taken, and enables Pestilence—causing Psions to explode on death. Thankfully, Master difficulty also features Surges and Overcharge. Surges increase your damage output with certain damage types (Solar and Strand for this mission), and Overcharge grants your weapons a 25% damage buff if your weapon is buffed through Champion modifiers or the playlist itself. In this case, Shotguns are overcharged, so any Shotgun you use will deal 25% more damage. Surges and Overcharge do not stack.
As for the mission itself, it isn't much harder than Legendary or the weekly Legend difficulty. Take it slow, engage your targets from a distance, and you should have no issue racking up a high score. We also recommend bringing some form of Void Suppression or Arc Blind to counter Tormentors (explained below).
read moreSubclass
Hunter
Nightstalker or Arcstrider
Titan
Sentinel or Sunbreaker
Warlock
Voidwalker or Shadebinder
Hunters can rely on Nightstalker or Arcstrider here. Nightstalker has access to invisibility, Devour, and Volatile Rounds through Gyrfalcon's Hauberk. Bring your favorite Void Machine Gun to maximize your add-clearing potential. If you don't like Void, Arcstrider paired with Assassin's Cowl can tear through this mission without much issue. Use a One-Two Punch Shotgun, Tractor Cannon, and Combination Blow to decimate your targets with a single punch.
Titans shouldn't be surprised that we recommend Sentinel and Sunbreaker here. Sentinel is the add-clearing Champion of Titan specs, turning your screen purple through constant Volatile spam. Pair this class with a Repulsor Brace weapon to stay alive and benefit from Offensive Bulwark. If survivability is a pressing issue, Sunbreakers can rely on Sunspots and the Loreley Splendor Exotic to maintain x1 Restoration, making you nigh-unkillable when paired with 100 Resilience.
Warlocks should use either Voidwalker or Shadebinder here. Voidwalkers can use Devour and a Void Machine Gun to decimate through crowds on Legendary. If you're attempting Master, you might want to use Contraverse Hold with Le Monarque to deal passive damage through grenade and poison DoTs. Alternatively, use Shadebinder's Bleak Watcher turrets to lockdown entire arenas, giving you some much-needed breathing room for certain sections.
read moreWeapons
Artifact Weapons (Master Only)
Any weapons boosted by the Artifact will deal more damage on Master difficulty. Some passives also give your guns anti-Champion properties.
Trinity Ghoul
Excellent for clearing adds.
Witherhoard
Versatile Special weapon that damages everything.
Machine Guns
Deal fantastic damage to red bars and majors while preserving ammo.
Leviathan's Breath
Counters Unstoppables and deals massive damage.
Arbalest
Counters all shield types, including Barrier Champions.
Tractor Cannon
Effectively disables Tormentor AI.
Artifact Weapons refer to any guns that are buffed through the Seasonal Artifact. These are Overcharged in Master-tier content, giving you an edge against the -20 Power delta. If you're playing on Legendary, don't worry about this.
Trinity Ghoul shreds through adds if you have it Masterworked. Get a kill to charge your Bow, then let the chain lightning do all the work. It's also great for countering Champions in harder content if you have access to Radiant or Artifact counters.
Witherhoard is never a bad option. Launch this grenade at spawn points to passively kill enemies, or stick the grenade onto a target to deal passive damage. This is a great pick for Legendary.
Machine Guns are also a great pick for Legendary difficulty. They deal great damage against red bars, majors, and have a ton of reserve ammo. Use this if your Primary feels too weak.
Leviathan's Breath is a fantastic Heavy weapon for killing tougher enemies, minibosses, and Champions on Master difficulty. It can also stun Unstoppable Champions.
Arbalest counters Barrier Champions in Master difficulty and deals a ton of damage. Use this if you need a good long-range weapon but hate using Sniper Rifles.
Tractor Cannon is an amazing pick for making the Tormentor fight easier. This gun's Suppression debuff forces the Tormentor boss to stop fighting for a short time, giving you a clear window to break its weakpoints and deal some serious damage.
read moreReturn to Quick Links
Sabotage The Cabal Fleet
You'll find yourself in the depths of a Cabal ship. Osiris will tell you to find a way deeper into the vessel. Destroy any vent grates that get in your way and proceed forward. After a little bit of exploring, you'll find the first group of Cabal guarding a hangar bay. Kill the Psions beside you but stay at your current position; this is a great vantage point.
Tech Pack Shields
Certain Shadow Legion carry backpacks that deploy on death, projecting a dome that shields all Cabal inside. This shield grants a massive damage resistance buff to the Cabal, so it's highly recommended you break these tech packs whenever possible.
After you clear out the Psions and a durable Legionary, a group of Cabal will spawn at the backend of the hangar, one of which will be a Colossus (upgraded to a Barrier Colossus on Master difficulty). Kill the adds first, running back to your previous vantage point right after they spawn. Focus the Colossus when everything else is dead, using your abilities or Heavy weapon to kill it. With the adds dealt with, you can proceed through a vent right above the Colossus you just killed. Follow the path until you reach a restricted area.
Return to Quick Links
Related: Destiny 2: Every New Weapon In Lightfall
Gain Access To The Restricted Area
Two Psions will be guarding a door that's locked by a symbol. You won't be able to open this door without a keycard, so you'll need to look for a miniboss enemy in the area. When you enter the room, turn around and jump up the wall on your left to find the path forward. A few Cabal enemies will stand in your way, one of which is a tanky Legionary. Play it safe on higher difficulties, damaging them from a distance while behind cover.
CloseAt the end of the upper floor will be a Keymaster. This is a Centurion that's fairly tanky and guarded by a small army of Cabal. Now is a perfect time to use your Super (if charged) or your Heavy weapon. Kill the pack of adds as quickly as you can. Once the Keymaster is slain, pick up the keycard they dropped. A few more enemies are going to spawn on the path you just came from, one of which is an Unstoppable Incendior on Master difficulty. Hang back at this part, picking off the new group of adds before you backtrack to the locked door.
When you drop down to the lower floor, they'll be another pack of Cabal you'll need to deal with. Most of these enemies are Phalanxes with shields, although one of them is a fairly dangerous Colossus (upgraded to a Barrier Champion on Master). Hang back for this part. Kill the Phalanxes first, then use your abilities and Heavy to kill the Colossus. There's a Rally Banner right after this part, so don't be afraid to use your Heavy ammo. Once the adds are dead, open the locked door with your keycard. Run through the underbelly of the ship to reach the next encounter.
Return to Quick Links
Survive The Tormentor
While not an encounter itself, you'll be ambushed by a Tormentor shortly before the next section. Tormentors are boss units that only take full damage at their weak points. You do not need to kill the Tormentor to proceed. The second the Tormentor spawns, run away and do not let it get close. Tormentors can grab you in melee range, siphoning nearly all of your HP. On Master, this will instantly kill you. Kite around the central pillar in the room, avoiding the Tormentor's purple projectiles until it despawns.
Return to Quick Links
Destroy The Computer Core
Encounter Breakdown
Objective
Defeat a Keymaster to access the ship's computer core.
Notable Enemies
Cabal Colossus, Phalanxes, Psions
Champions (Master Only)
Barrier and Unstoppable
Before you walk into the bridge, be sure you deploy a Rally Banner, a flag that restores all of your ammo and ability energy. This doesn't cost anything on your end. We also recommend destroying the explosive barrels before you walk in to prevent any accidental deaths.
This encounter requires you to defeat the Cabal on the bridge to gain access to the underbelly, then destroy the ship's computer core. A horde of Cabal soldiers will spawn once you enter the room. Find some cover behind a nearby box, or pop your Super to quickly deal with the Shadow Legion. One of these Cabal is a Colossus (Barrier on Master) that holds the key you need. Kill all the enemies before grabbing the key.
CloseWith the key in hand, a group of Cabal will spawn near the underbelly entrance. Pick the enemies off from a distance before you open the locked doors. One of these enemies will be an Unstoppable Incendior on Master. When you're ready, enter the lower section to reach the computer core. Kill the Psions guarding the core before you start damaging it. Once you've broken all the energy cells on the computer core, the encounter will end. Head back to the upper floor to find the path forward.
Gain Access To The Reactor Room
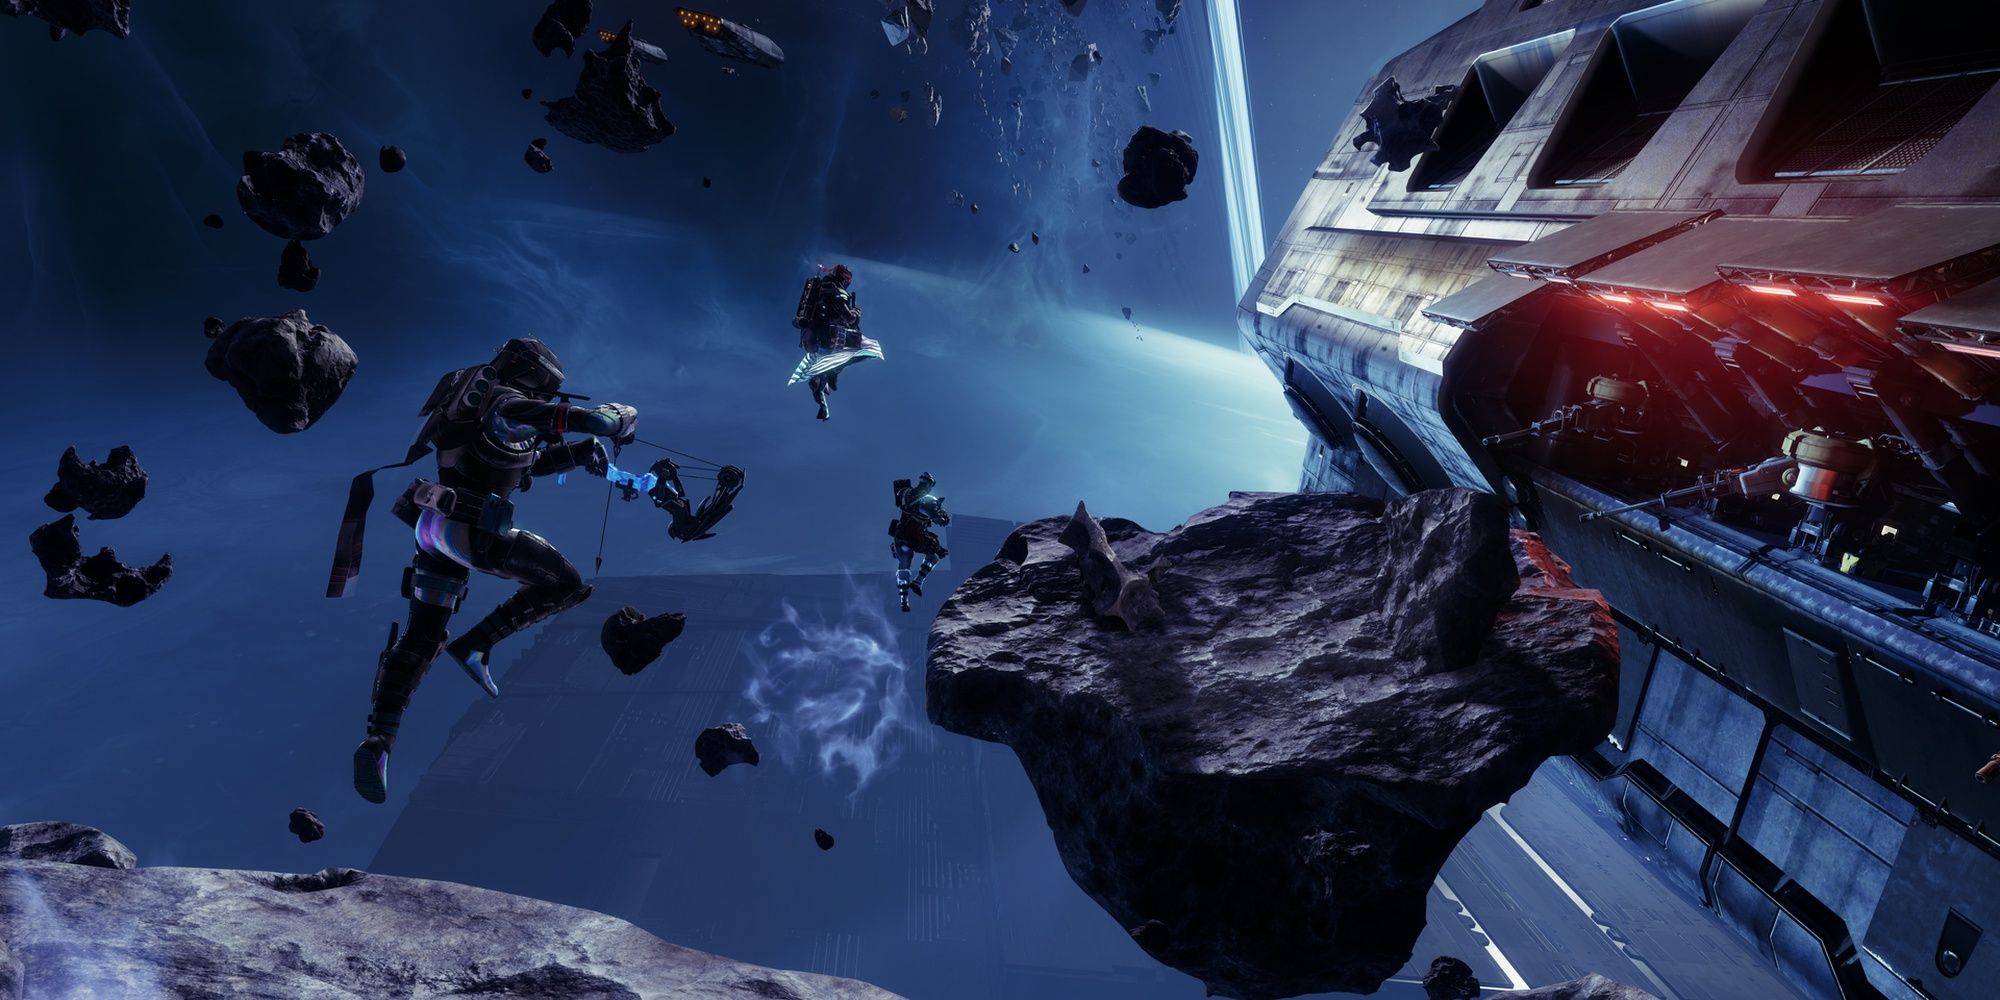
Shortly after destroying the ship's computer core, you'll find yourself outside of the ship. Cross the various rocks floating in space, killing any Cabal you see from a distance. Before you jump onto the ship Osiris is on, hang back and kill the Cabal enemies from a distance. One of these enemies will be a Colossus (Barrier on Master), so don't get aggressive here. When it's clear, hop onto the ship and head inside.
Osiris figures that to stop this invasion on Neptune, you'll need to destroy this ship's engines. You'll find a path to the reactor room through nearby vents and a claustrophobic maintenance room. Inside this maintenance room will be a small group of Cabal you need to kill, one of which is a durable Incendior (upgraded to an Unstoppable Champion on Master). Hang back if possible, picking off the Cabal one by one. When clear, head up to the adjacent room to start the next encounter.
Return to Quick Links
Related: Destiny 2: How To Reach Max Power Level Quickly
Destroy The Ship's Reactor
Encounter Breakdown
Objective
Defeat two radiators tied to the ship's engine.
Notable Enemies
Cabal Colossus, Phalanxes, Psions
Champions (Master Only)
Barrier and Unstoppable
For this encounter, you'll need to destroy two radiators without dying to Cabal forces. You'll find one radiator in adjacent rooms on either side of the room, guarded by a small army of Shadow Legion. We recommend dealing with the enemies near the center first, taking out the Colossus (Barrier Champion on Master) and various Legionaries. You can stick near the entrance of the arena if needed, using the nearby crates and machinery as cover.
The first radiator room you clear won't be difficult. They'll be a few Phalanxes and a Centurion elite guarding the room, but you can easily clear them out with a grenade or a Super. The back of the room will have the radiator exposed. Shoot it a few times to destroy it, then head to the opposite end of the arena.
More Cabal are going to spawn at this point, including two Unstoppable Incendiors on Master. The first Incendior will spawn in the central room. Kill that enemy first before proceeding. You'll find most of the Cabal huddled around the radiator in the next room, including a Barrier Colossus right as you walk in. Avoid walking into the radiator room if possible. Lure the Cabal to your position and pick them off from a distance.
Head into the radiator room when you've dealt with the Incendiors and other fodder units. If you haven't dealt with the Gladiator and Colossus units yet, now is a great time to use your Super or Heavy weapon. Clear out the Cabal inside the radiator one at a time, running back to the central room when combat gets tough. Generate distance between your enemies, and you should have no issue clearing the radiator of enemies. Break the second radiator when you're done to finish the encounter.
Return to Quick Links
Find A Way Off The Ship
With the engines dealt with, it's time to get off the ship. Osiris will direct you to the escape pods at the other end of the ship. There aren't many noteworthy sections here. Look for vents wherever possible, and avoid dying to any Cabal you run across. The only noteworthy enemy is an Incendior miniboss found towards the end of this section, upgraded to an Unstoppable Incendior on Master. This enemy isn't supported by any other Cabal, so they shouldn't pose a huge threat. Continue climbing through vents until you reach a hangar bay.
Return to Quick Links
Gain Access To The Drop Pods
Encounter Breakdown
Objective
Obtain keycards to reach the escape pods.
Notable Enemies
Tormentor, Centurions, Colossus
Champions (Master Only)
Barrier and Unstoppable
This is the final encounter for this mission and arguably the hardest. You won't get a Rally Flag until you clear the first hangar, so take this part slow. Stay in the vents that lead into the hangar, peaking out to kill the Cabal guarding the area. If you're a Warlock or Titan, now is a great time to use a Rift or Barricade, respectively. Peak out of the vent when it's safe to slowly pick away at the enemies.
Once you kill the Esteemed Legionary, you'll need to drop down from the vents to proceed. A new wave of Cabal will spawn shortly thereafter, consisting of mostly fodder units and a single Colossus (upgraded to a Barrier Colossus on Master). Kill that Colossus as soon as you can. When the coast is clear, make your way to the adjacent hangar bay. A Rally Flag will be waiting.
Rally Flag
Place a Rally Flag to restock on ammo and ability energy. The next room will have roughly a dozen Cabal you'll need to kill, most of which will jump atop the docked Threshers. We recommend staying in the Rally Flag room if possible, picking off the Cabal one by one. As before, kill the Esteemed Centurion and proceed into the hangar to spawn the next batch of Cabal.
Defeating the Centurion will spawn the next set of Cabal at the opposite end of the room, directly across from the Rally Flag. One of these enemies will be an Incendior Keymaster, upgraded to an Unstoppable Incendior on Master. You must kill this enemy to receive a keycard. Try to stay atop the ships or nearby platforms to avoid the Incendior's flame attacks. When slain, grab the key and open the locked door at the other end of the hangar.
Tormentor Fight
The next room will be guarded by another small group of Cabal, including yet another Keymaster that's upgraded to a Barrier Champion on Master difficulty. We recommend staying in the previous room and picking the Cabal off from a distance, throwing the occasional grenade to clear a few targets. Once you kill the Keymaster and grab its key, a Tormentor will spawn. Be sure you're ready. If you can, equip Tractor Cannon or some form of Void Suppression before proceeding.
A Tormentor will spawn near the exit and must be killed. Tormentors are quite durable and take reduced damage from body shots, so you'll want to aim for its critical spots, staying far away as you do so. Aim for its shoulders first until they break, then focus on damaging its chest. The Tormentor will enrage when you break both of its shoulders, allowing it to leap in the air and generally attack faster. Normally this is a death sentence on Master, but there's a useful trick you can use: blind, freeze, or suppress the Tormentor.
If you can inflict any of those debuffs, it'll stop attacking you for a short time, giving you an opportunity to dish out some serious damage. Use your Heavy weapon or a Super to damage the Tormentor's chest. Perform a finisher once the Tormentor reaches 25% HP, then clear out the other Cabal to open the exit door.
The final hangar will have a few more Cabal units, most of which are fodder units. There will be one more Keymaster you'll need to slay before you can escape. This enemy will be Unstoppable on Master, so have a Champion counter at the ready. Clear out the enemies, grab the key, then regroup with Osiris to leave the ship. If you're playing on Master, the mission ends here. For Normal and Legendary, there's one more section after this.
Return to Quick Links
Find And Rescue Osiris
This section only occurs on Normal and Legendary difficulty. The weekly campaign version of First Contact omits this section entirely.
This section is quite straightforward. Your goal is to make your way to Strider's Gate and find Osiris. You technically don't need to kill any Cabal here, so don't feel pressured into clearing the zone of hostiles. We recommend playing it safe here, picking off the enemies from the rooftops with your Primary or Special. The road to Strider's Gate is guarded by a Colossus and various turrets. Use a Super or your Heavy to take care of them.
Once you reach Strider's Gate and kill the nearby Cabal, you'll find a pillar of Strand nearby. Interact with the energy pillar to harness the powers of Strand. This section introduces you to Strand's grappling hook, melee ability, and Super. You'll have drastically shorter cooldowns during this part, so take full advantage of your abilities. The mission will end once the Cabal have been dealt with. If you're struggling to use Strand effectively, check out our Strand guide for information on abilities, keywords, and how to upgrade this subclass after the campaign ends.
Return to Quick Links
Next: Destiny 2: Armor Mods And Armor Charge Explained