Baldur's Gate 3 has no end to the possibilities when it comes to taking silly, obscure, uncharted paths. With so many magical items, boons, character progression, and more, it's easy to make a wholly original build. But in a land of high fantasy, of swords and shields, have you ever found yourself wanting a gun?
RelatedBaldur's Gate 3: Best Great Old One Warlock Build
High Charisma and incredible cosmic power: everything you need to succeed in Baldur's Gate 3.
PostsFocusing on Thunder damage and thrown items, you'll be blasting your opponents from afar with the best—albeit wackiest—Thunder build of all: the Thunder Gun. It's only possible in Act Three, but for those of you who have made it to the final chapter, your perseverance will be rewarded with a build capable of fulfilling your grandest shenanigan-incitingdesires.
What Is A Thunder Gun Build, And How Does It Work?
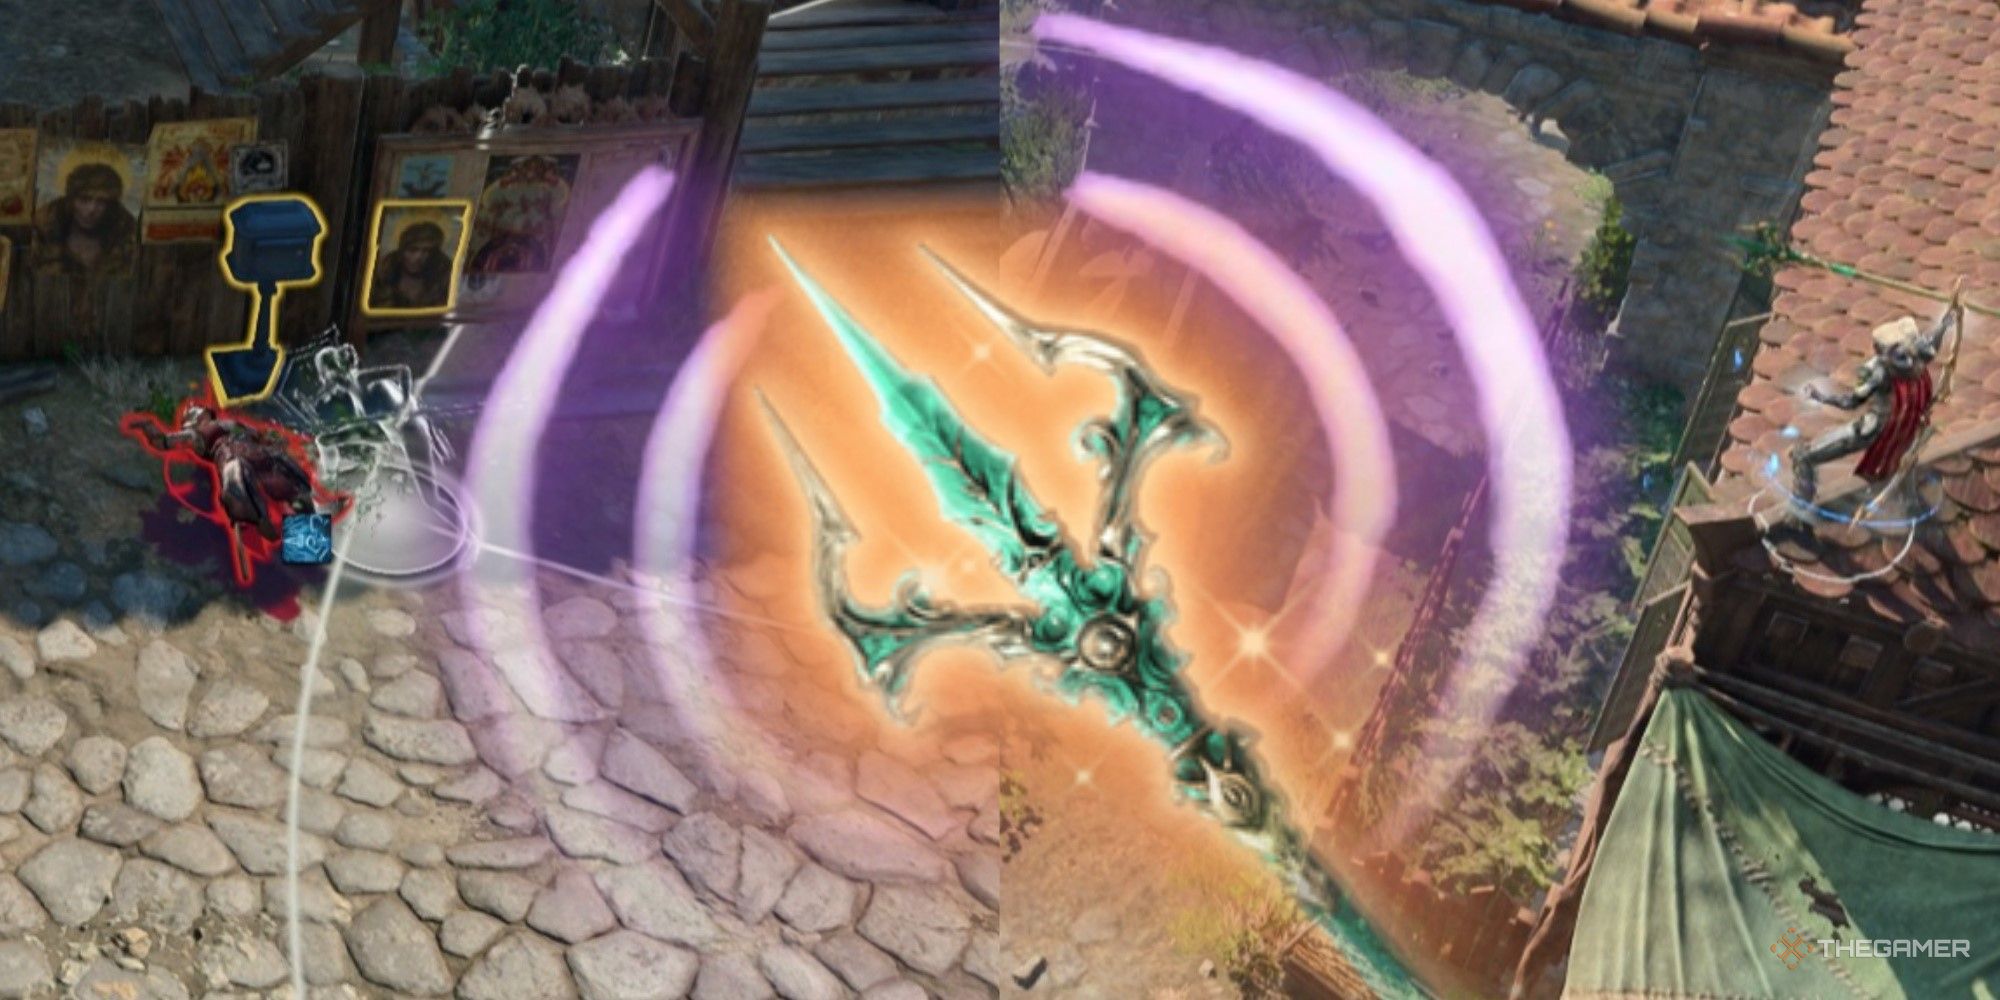
The Thunder Gun is completely built around the item, Nyrulna:
Nyrulna (Legendary Trident; Versatile): Deals 1d8 (1d6) + Strength Piercing damage + 1d6 Thunder damage. This weapon cannot be dropped. When thrown, it deals 3d4 Thunder damage in a 6m blast and returns to the hands of its thrower. The wielder enjoys a 3m bonus to Movement and Jumping as well as Immunity to Fall damage. It radiates a glowing light in 3m.
Its importance lies in its ability to cause blast radii and immediately return to the thrower's hands. With the help of other items, you'll also cause mass-Daze, mass-Prone, and additional Reverberation damage.
In principle, this build focuses on using this trident from afar to strike groups of enemies and cause explosions repeatedly. It works well for high volumes of damage, crowd control, and dominance of the battlefield space.
To get this trident, you'll have to take on the djinn at the Circus of Last Days. If you see through his ruse and elect to be sent to the jungles of Chult, you will find this trident in a chest just beside the exit portal.
For our full guide on the topic, you'll want to check out our official walkthrough on this quest.
Best Thunder Gun Starting Race And Background
No particular race will significantly outpace others with this build. You could be anything and make the Thunder Gun build work.
If you're sold on min-maxing, then the best recommendations are:
- Halfling - Gain the Lucky feat
- Githyanki - Gain Misty Step
- Half-Orc - Gain Savage Attacks for triple Critical damage
- Wood Elf/Half-Elf - Gain additional movement speed
As the build on this page is based on Strength, we recommend taking the Soldier Background.
Best Thunder Gun Build Ability Scores
Ability
Base Score
Goal Scores
Method Achieved
Strength
17
24
Araj Oblodra's Potion +2, Ability Score modifier +2, Tavern Brawler +1, Mirror of Loss +2
Dexterity
16
16
--
Constitution
10
23
Amulet of Greater Health
Intelligence
8
8
--
Wisdom
14
14
--
Charisma
8
8
--
Strength will determine your attacking and hitting for everything in this build. As such, you'll want your Strength modified by these boons:
- The Everlasting Vigor potion from Araj Oblodra in Act 2
- The trade for the Necromancy of Thay knowledge at the Mirror of Loss
- Level 8 Ability Score Modifier increase
You can elect to take the Hair from Auntie Ethel if you wish, but it's better used on another character as you'll end up with an odd-number in any category (which won't change your stats at all). It won't work on Constitution as the Amulet will set it there permanently.
Dexterity is important for deciding who will go first in battle, so we'll want to pour into Dexterity as much as possible. We don't want your enemies closing the distance too fast. Wisdom will prevent several types of charm spells that may affect your ability to attack properly (like Hold Person).
Intelligence and Charisma aren't needed here; Thunder Guns are persuasive without the need for high Charisma.
Best Thunder Gun Class And Feat Progression
There are several ways to make this class work well. But to take full advantage of it, you'll always want a minimum of three levels in Barbarian. We'll take the Berserker class, as you'll be able to make Throwing attacks as a Bonus Action.
For this particular build, we've decided to take the bombastics of this build further by tri-classing Barbarian(5)-Rogue(3)-Fighter(4).
We'll be following this progression approach:
Level
Class
Feats
Reason of Importance
1
Barbarian
- Unarmoured Defense
- Rage
Unarmoured Defense is nice, but we don't plan on getting hit. Really, the importance here is on Rage, allowing us access later to the important subclass features.
2
- Danger Sense
- Reckless Attack
Danger Sense will increase survivability, but Reckless Attack will be important for ensuring that your trident consistently hits even the most slippery targets.
3
Subclass Choice: Berserker
Will give access to Frenzy: Throw. This will give a Bonus Action throwing attack, giving one full extra attack every round.
4
Feat Choice: Tavern Brawler
Will increase the damage of thrown items and hit rate by doubling your Strength modifier.
5
- Extra Attack
- Fast Movement
Increase your mobility and your number of attacks per round.
6
Rogue
Sneak Attack, Expertise
Nothing here is critically important, but Expertise is always appreciated.
7
Bonus Action Dash/Disengage/Hide
Nothing here is important either, but Bonus Action Disengage will allow you to back away from opponents and keep throwing your trident from a comfy distance.
8
Subclass Choice: Thief
This will give you an additional Bonus Action. Because this build is centered on throwing your trident, this is essentially an entire extra attack where needed (or a potion, Rage, or Disengage).
9
Fighter
Second Wind
Nice healing opportunity.
10
Action Surge
This is an opportunity for two more attacks on the same turn. Incredibly powerful for first-turn domination.
11
Subclass Choice: Battlemaster
Allows manoeuvres to add more damage to your attacks, push enemies away when stuck in melee, and cause enemies to fall Prone when Reverberation isn't stacked.
12
Feat Choice: Ability Score Modifier
Added +2 Strength for more damage, higher Hit Rate.
The Loviatar's Love boon gained by withstanding the torture at the Shattered Sanctum can be very useful for this build, though it's unlikely you'll ever see your HP beneath 30 percent. It's not an important part of this build, but it wouldn't hurt to have.
Best Thunder Gun Build Equipment
Equipment Type
Equipment Piece
Act Available
Effect
Method Obtained
Helm
Sarevok's Horned Helmet
3
Gain or enhance your Darkvision. Reduce Critical Hite DC by 1. Become immune to emotion-altering conditions such as Frightened.
Defeat Sarevok at the Murder Tribunal.
Armour
Flame Enamelled Armour
3
Gain +2 to Initiative and Resistance to Fire damage. Gain +2 to Saving Throws and one free cast per long rest of Fire Shield: Warm.
Chest item inside Wyrm's Rock Fortress.
Gauntlets
Gloves of Belligerent Skies
1
Each time you deal Thunder damage, lay 2 stacks of Reverberation on the struck target(s).
Chest item found inside Creche Y'ellek's Inquisitor's Chamber.
Boots
Boots of Persistence
3
Increase Dexterity Saving Throws by +1 and gain Lonstrider and Freedom of Movement permanently.
Sold by Dammon at the Forge of the Nine in Baldur's Gate: Lower City.
Cape (Option A)
Thunderskin Cloak
2
When attacked by a Reverberating creature, it must make a Constitution save or be Dazed.
Sold by Araj Oblodra in Moonrise Towers.
Cape (Option B)
Shade Slayer Cloak
3
Reduce Critical Hit requirement by 1 (effect is stackable).
Sold by Sticky Dondo at the Guild Hall, Lower City Sewers.
Amulet
Amulet of Greater Health
3
Increases Constitution of the wearer to 23 and gain Advantage on Constitution saves.
Found within the Archives inside the House of Hope.
Ring #1 (Option A)
Ring of Flinging (Honour Mode Only)
1
Deal an extra 1d4 damage on a Thrown attack.
Sold by Aaron in the Druid's Grove.
Riing #1 (Option B)
Strange Conduit Ring
1
Deal an extra 1d4 Psychic damage on weapon attacks when Concentrating on a spell.
Chest item found inside Creche Y'ellek's Inquisitor's Chamber.
Ring #2
Ring of Spiteful Thunder
2
When dealing Thunder damage against a Reverberating creature, it must make a Constitution Saving Throw or become Dazed.
Sold by Roah Moonglow at Moonrise Towers.
Melee Weapon
Nyrulna
3
Deals 1d8 (1d6) + Strength Piercing damage + 1d6 Thunder damage. This weapon cannot be dropped. When thrown, it deals 3d4 Thunder damage in a 6m blast and returns to the hands of its thrower. The wielder enjoys a 3m bonus to Movement and Jumping as well as Immunity to Fall damage. It radiates a glowing light in 3m.
A reward found in a chest at the end of the Chult portal area. Must see through Akabi the Djinn's ruse at the CIrcus of Last Days.
Shield
Sentinel Shield
2
Increase initiative by +3 and gain Advantage on Perception checks. Enemies that strike you can be pushed Prone with your Reaction on a failed Dexterity Saving Throw.
Sold by Lann Tarv at Moonrise Towers.
Ranged Weapon
The Dead Shot
3
1d8 + 2 Piercing damage. Lower required Critical Hit by 1 (stacking effect). Double proficiency bonus when attacking with this weapon unless you have Disadvantage. +2 weapon.
Sold by Fytz the Firecracker in Lower City.
read moreAs previously stated, Nyrulna is the foundation of this build. Every other item serves to bring out the best in this weapon and the build that supports it.
The greatest items for this build include:
- Gloves of Belligerent Skies - Starts building up Reverberation with your attacks.
- Ring of Spiteful Thunder - Uses those Reverberation stacks to potentially Daze your opponent, stripping them of their Reactions and bonuses to AC.
- Ring of Flinging* or Strange Conduit Ring - Adds additional damage to each attack.
The Ring of Flinging is only available if you are playing in Honour Mode. If you are not, you can use the Strange Conduit Ring instead, as Gontr Mael's Haste counts as a Concentration spell.
We've added the Sentinel Shield to help ensure you'll go as early in the turn order as possible. Meanwhile, Sarevok's Horned Helm and the Boots of Persistence will prevent unwanted setbacks that may paralyze you (literally or emotionally).
There are two choices for your cloaks:
- Shade-Slayer Cloak will combine with Sarevok's Horned Helm and Dead Shot for an additional lowered Critical Hit Rate (works best with a Half-Orc).
- Thunderskin Cloak will add an additional chance for Daze.
The Flame Enamelled Armour is a decent enough item to help with Initiative and not get in the way of the Rage feature. Other armours can also work well with this build, depending on your needs.
You can choose the Displacement Cloak for an added chance to avoid being hit, but this feels redundant in this build as it is not often you are close enough to be struck. The same can be said for the Deathmantle Cloak.
How To Use A Thunder Gun Build - Battle Tips, Strategy, And Analysis
Ability Scores
Strength
Dexterity
Constitution
Intelligence
Wisdom
Charisma
24 (+7)
16 (+3)
23 (+6)
8 (-1)
10 (0)
8 (-1)
Health
151
AC
23
Save DC
11
Feats
Danger Sense, Extra Attack, Fast Movement, Dueling, Fast Hands, Second-Story Work: Falling, Tavern Brawler, Unarmoured Defense
Before starting any round of combat, we do recommend two things for the smoothest experience:
- If possible, find some high ground. Another team member with Fly is useful but not required.
- If you have a teammate with Haste or a Potion of Speed, we recommend its use.
With these two steps out of the way, you'll be able to start any combat encounter with the odds heavily in your favour.
From your advantageous position, you can begin throwing Nyrulna toward any enemy, preferably a group of enemies together.*
On turn one, you'll be doing a lot of set-up if you didn't prepare before the battle, but an optimized turn one with proper set-up looks similar to this:
- Rage (Bonus Action)
- Throw, using final Bonus Action
- Two throw attacks
- Action Surge
- Two more throw attacks
That's six attacks in the first round. In your subsequent rounds, you'll always be able to attack four times every round if you use all your Actions and Bonus Actions on attacks.
If there are enemies that can be pushed together, you can use your Pushing Attack manoeuvre to control the shape of the battlefield. However, you cannot use anything except Precision Attack on Thrown Weapon attacks.*
Where needed, you can use potion effects, a Dash, Second Wind, or Disengage instead of an attack with one of your Bonus Actions.
If you start a round of combat Surprised or unable to find high ground, you can use Zephyr Flash or Zephyr Break (Nyrulna's Gust of Wind) to push away overzealous enemies. Once pushed away, you can begin abusing your throw mechanic again.
No matter where you are or what enemy you're facing, you'll soon find that no enemy in Act Three will be able to withstand your thunderous might. Perhaps next time, they'll remember not to bring swords to a gunfight.
NextBaldur's Gate 3: Best Storm Sorcerer Build
This guide details everything you'll need to build a powerful Storm sorcerer in BG3.
Posts