Baldur's Gate 3: How To Defeat Minthara And Dror Ragzlin
Inside the Goblin's Camp in Baldur's Gate 3 lie two enemies with some of the best drops in the first act: Minthara and Dror Ragzlin. Both are not to be underestimated, and you'll need to be clever if you plan on standing up for justice (... or simply looting them for their wondrous items).
RelatedBaldur's Gate 3: Complete Guide To Rogues
The Rogue is BG3's sneakiest class and offers some fantastic ways to control the battlefield. Here's everything you need to know.
PostsYour first step will be breaking into the Goblin Camp. Whether you come in blades-blazing or sticking to the shadows, Minthara and Dror will take a certain type of strategy and nuance the goblins you're used to don't require. You'll want your best party members and your sharpest thinking cap.
Updated on September 16, 2024, by Alexis Campbell: In line with adjustments made in Patch 7, Dror Ragzlin's ability to coax the spiders to his side has been added to this guide. Workarounds and tips for dealing with new Honour Mode actions and spells have been added to reflect this change.
Fight Preparation: Recruiting Halsin
Regardless of how you've managed to get into the Goblin Camp, you'll want to grab Halsin before marching in against the big bads that are Minthara and Dror Ragzlin. You can find him in the prisons in the far back left room of the Goblin Camp's temple.
Speak with the two goblins terrorizing the bear in the cage to begin a fight sequence where Halsin breaks out of prison with your aid.
Prioritize killing the two young goblins terrorizing him. They'll run out and alert more guards to come in and fight you, both of which are dangerous Ranger classes.
Once Halsin is free, convince him to join your team in wiping out Minthara, Dror Ragzlin, and the Priestess Gut. This will give you a total party of five rather than four.
With Bear-Halsin at your side, march out and begin taking out the goblin rangers on the other side of the door.
How To Defeat Minthara
Basic Information
HP
57
AC
15
Speed
9m
Size/Weight
Medium/50kg (Humanoid)
Stats
Str
Dex
Con
Int
Wis
Cha
15 (+2)
12 (+1)
15 (+2)
12 (0)
18 (+4)
16 (+2)
Feats
Darkvision
Minthara can see in the dark up to 12m.
Fey Ancestry
Minthara cannot be put to sleep by magical means and has advantage against being Charmed.
Sunlight Sensitivity
When in sunlight, Minthara has disadvantage on attack rolls and Perception checks that rely on sight.
Aura of Protection
Minthara and allies within 3m have +3 on all Saving Throws.
Dual Wielder
Can use two weapons in dual-wielding even if they aren't Light.
Extra Attack
Minthara can make 2 attacks.
Focused Stride (Boots)
Minthara gains Momentum for 1 turn after casting a Concentration spell. During Concentration, she cannot be pushed or knocked Prone.
Xyanyde's Fire (Weapon)
Once per short rest, a target is encased in Faerie Fire for 2 turns after missing a strike with the Xyanyde weapon.
Spellcasting
Minthara can cast the following spells:
- Bless
- Cure Wounds
- Guiding Bolt
- Hold Person
- Mirror Image
- Divine Smite
- Soul Branding
- Vow of Emnity
- Lay on Hands: Greater Healing
Attacks
Xyanyde (Mace)
+5 to hit, 5ft; 1d6 + 2 Bludgeoning damage. Xyanyde's Fire: On a missed hit, encase the target with Faerie Fire (once per short rest).
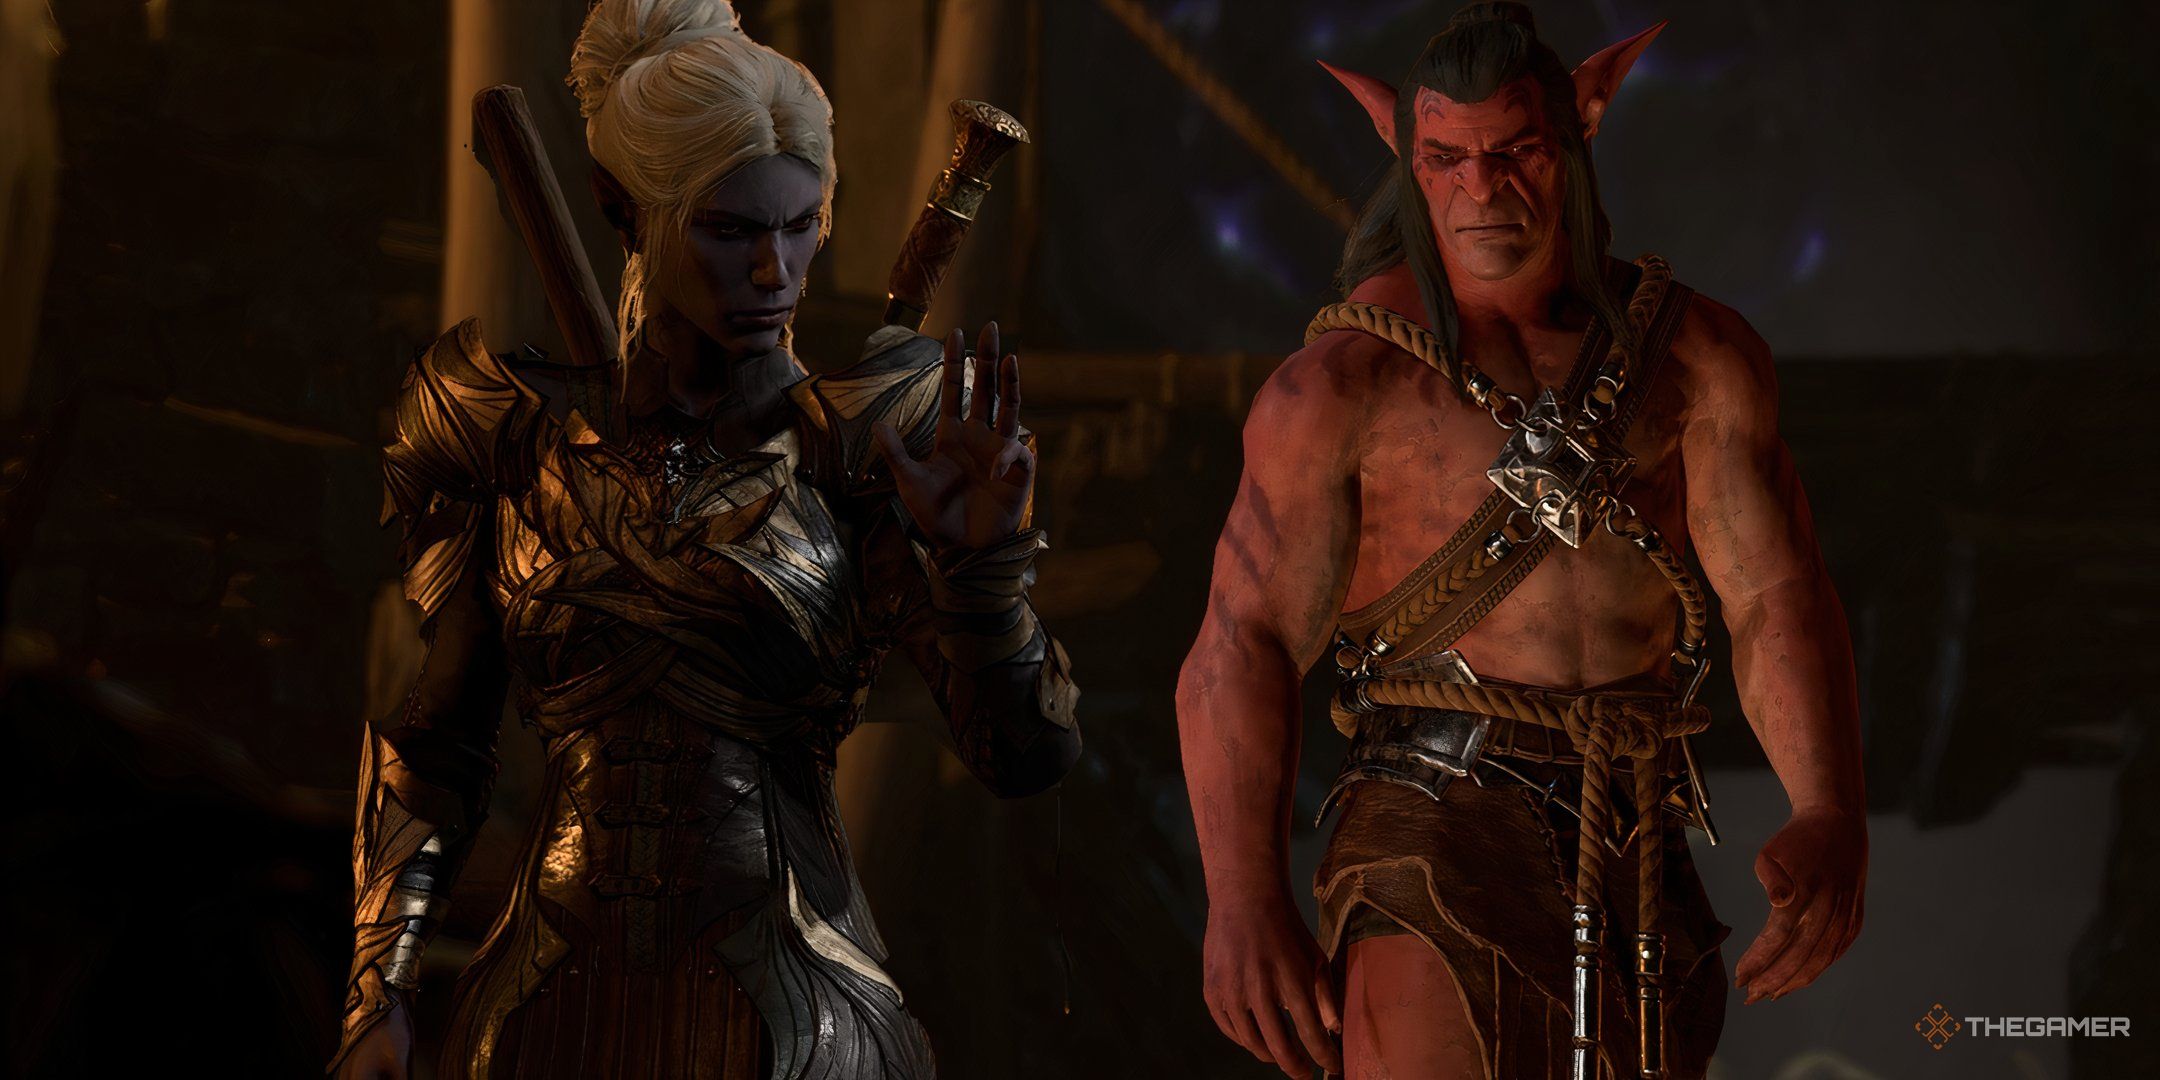
Minthara is located in the room to the right of the great double doors leading to Dror Ragzlin. She's recommended to fight first out of the two due to rare, unintended instances where she might accidentally be added to Dror Ragzlin's fight.
On approach, take out the scrying eye (if possible; it is weak to Thunder damage and can be thrown in the pit by the bridge) and then the goblin patrolling the area in the room before reaching her. This will leave only Minthara and a goblin named Rozzak.
In preparation, place a Rogue or a ranged character up the ladder on the right side of the room before crossing the bridge to Minthara. Place Halsin and another tanky character at the end of the bridge to prevent Minthara from getting past. The rest of your characters can shoot over them.
When you're ready, use one of the characters behind Halsin to shoot Minthara's minion, Rozzak. He's a liability since he'll be focusing on reaching the war drum up the rock face on the far side of the room.
Do not let him touch the War Drum under any circumstances. He is your first priority. Otherwise, you'll have the entire building rushing toward you for reinforcements.
With Rozzak defeated, Minthara will rush forward toward the bridge chokepoint. With your high AC character's blocking the way, she'll only be able to use Guiding Bolt or Hold Person on your ranged characters.
Team up against her with all of your characters, and she honestly doesn't stand much of a chance. In a 5v1, Minthara is very quickly packed up and tossed aside.
Rewards For Defeating Minthara (And How To Recruit Minthara)
You can defeat Minthara by killing her or knocking her unconscious. To knock her unconscious, you must:
- Toggle Non-Lethal damage, located in your character "Spellbook" under Common Abilities
- Strike Minthara with a melee weapon attack. Ranged attacks and spells will kill her.
Should you knock her unconscious, you can find her again in Moonrise Towers in Act Two. After persuading Ketheric Thorm to spare her life (and before completing the Gauntlet of Shar), you can rescue her in the prison dungeons below the towers to add her to your party.
Whether you knock her out or kill her, however, you can loot her magical mace, Xyanyde, and her much-appreciated Spidersilk Armor +1, which gives +1 to Stealth and Advantage on Constitution saving throws.
If you take Minthara's armour set off of her, even if you replace another armour set in her inventory, she will appear dressed down or naked during her re-introduction cutscene in Act Two.
How To Defeat Dror Ragzlin
Basic Information
HP
75
AC
14
Speed
9m
Size/Weight
Medium/50kg (Hobgoblin/Humanoid)
Stats
Str
Dex
Con
Int
Wis
Cha
18 (+4)
12 (+1)
16 (+3)
12 (+1)
10 (0)
15 (+2)
Feats
Darkvision
Dror can see in the dark up to 12m.
Martial Advantage
Deal an extra 2d6 each turn when hitting with a melee weapon attack beside an ally who is not incapacitated within 2m of the target.
Extra Attack
Dror Ragzlin can make two attacks with his weapon.
Danger Sense
When Ragzlin isn't Blinded or Incapacitated, he has Advantage on Dexterity Saving Throws.
Devoted Galvanism (Legendary Action; Honour Mode Only)
Ragzlin will grant all allies within 5m a single spendable Action Surge. He may do this once each round.
Attacks
Aura of Leadership (Spell)
Can cast Aura of Leadership for nearby allies to gain +1d4 Force damage on attacks. Tactician/Honour Mode Only: Enemies of Dror Ragzlin are marked as the "Absolute's Enemies." Dror Ragzlin's allies have Advantage on all attacks against marked creatures.
Faithbreaker (Weapon)
+6 to hit, 5ft; Onehanded: 1d8 + 5 Bludgeoning damage; Twohanded: 1d10 + 5 Bludgeoning damage. Absolute Power: 1d6 Force damage accompanies a strike and on a failed Strength save, the target is pushed back 5m.
Arachnid Compulsion (Honour Mode Only)
This spell can be cast if Dror Ragzlin is pushed into the spider pit. Casting this spell allows Dror Ragzlin to take control of the nearby spiders, turning them into allies.
Dror Ragzlin is a fairly concerning boss by himself. His Faithbreaker weapon is nothing to sneeze at, and he
hits like a truck. However, the fear Dror elicits is made even more potent by the sheer number of enemies that accompany him in his room in conjunction with his "Aura of Leadership" spell.
Inside his room, he is assisted by:
- x2 humanoid Rangers
- x1 Goblin Ranger
- x1 Goblin Devout
- x1 Goblin Warlock
- x1 Goblin Bouyahg (melee)
With Dror Ragzlin, that's a total of seven enemies. Having Halsin makes a big deal here in evening putting the scales more in your favor.
To begin, split your party thusly:
- Group One: Halsin and a tank
- Group Two: Two ranged characters (likely one a spellcaster)
Your fifth can be placed anywhere that feels most comfortable for your play style. If your fifth is a melee fighter, it's recommended, however, to place them in Group One.
From here, you'll want to move Group Two into position in the rafters by:
- Climbing the ladder in the room with the bookcase (towards Minthara).
- Jumping a gap of stone over to a path above the doors into Dror Ragzlin's room
- Jumping onto the tall, stone pillar to reach the rafters (some characters may need Enhance Jump cast on them to reach it).
Meanwhile, your melee characters should swiftly remove any remaining enemies in the room with the goblin prisoner in the hanging cage (left of Dror Ragzlin's room's open door).
Once both are done, you can move your ground party into Dror Ragzlin's room through the open door.
As you officially enter the room, Dror will be busy with his disciples giving a speech.
- Group One: If there are three characters, leave two on the ground behind the rangers and one up on the ledge to the left of Dror Ragzlin.
- Group Two: Put your ranged characters in position to have a clear shot at any goblins with nearest access to the War Drum.
When you're ready, attack stealthily with your melee characters on the farthest outside enemies first. If you're lucky, you will be able to kill a few without the rest of the group noticing.
Inevitably, however, they will, and when they do, you can follow up with your ranged attacks from above against any goblins that can reach the drum.
Leave Dror for last. Your priority is cutting down the number of enemies quickly (especially on Tactician and Honour Mode).
Halsin and any other tank can be moved forward just enough to bait enemies away from the ranged characters above.
Once the smaller enemies are dealt with, you can begin focusing on Dror Ragzlin. His low AC makes him particularly susceptible to most ranged attacks, and his low Dexterity can also make him weak to an assortment of other feats and spells.
Halsin can take the brunt of a few hits from Dror all right, while the rest of your characters go ham on Dror. Giving him aBane spell, a Hex, or tripping him up with Grease can also be really effective here.
On higher levels of difficulty, you'll want to ensure that Dror Ragzlin has no way of using his Aura of Leadership ability or, in Honour Mode only, his Legendary Action while you're facing him.
As all his abilities are reliant on other allies to work, taking everyone else out first will ensure you have smooth sailing when you take Dror on.
You may be tempted to throw Dror Ragzlin into that conveniently placed spider pit in his room, but we only recommend this on levels that are not Honour Mode.
Should you do this during Honour Mode, the spiders within the pit will be converted into extra enemies you'll have to contend with. More enemies is not welcome in such levels of difficulty, so it's best avoided.
If you aren't on Honour Mode, however, try pushing him with a well-executed Thunderwave(Halsin has it, if you don't). You can then fire from above with ranged attacks with comfort as Dror doesn't have many ranged options himself.
Rewards For Defeating Dror Ragzlin
Once Dror Ragzlin is defeated, you can take Faithbreakerfrom him for an especially effective hammer weapon and a key to his treasure room.
The treasure room is located on the second floor above the throne and behind a metal gate. Use Dror's key to access it and receive:
- 400-500 gold
- Helmet Of Grit - When the wearer has less than half health, they receive an additional bonus action. Also passively gains +1 to Dexterity saving throws.
- Springstep Boots - When the wearer dashes or takes a similar action, they gain improved Movement.
- Amulet Of Selûne's Chosen - Gain the Selune's Dream Cantrip (heal an ally with a chance to accidentally put them to sleep).
With all your treasure stashed away in your bags of holding for safekeeping, you can return to the Druid's Grove with Halsin (provided Gut is also dealt with) and let the druids and tieflings in on the good news. And a special bonus: you get one hell of a party, too (pun intended).
NextBaldur's Gate 3: Short Rest And Long Rest, Explained
Not every moment has to be grandiose adventure, after all.
Posts