Animal Crossing: New Horizons - How To Build Bridges And Inclines
Quick Links
- How To Build Bridges And Inclines
- Bridge And Incline Options
- Project Completion
If there's one thing that Animal Crossing: New Horizons is good at, it's giving you near absolute freedom to do as you please on your own island. When building your island, you might want an easier way to get across a river or climb up a cliff, and that's where bridges and inclines come in.
RELATED: Animal Crossing New Horizons: The Easiest Daily Tasks For Quick Nook Miles
Bridges and inclines are a great way to beautify your island, and they're also extremely helpful when it comes to getting elsewhere fast without having to resort to inventory items such as the vaulting pole and the ladder. Learn how to build your bridge and inclines with the help of this guide.
How To Build Bridges And Inclines
How To Build Your First Bridge
For the first infrastructure project, it'll be slightly different. Once you've opened Nook's Cranny, you will be tasked with building the first bridge on the island by crafting the bridge construction kit.
You can create the bridge construction kit by gathering four Clay, four Stone, and four Log Stakes (12 Wood is necessary as each stake requires three Wood to craft.)
You can place it near a river, and the bridge will appear the following day.
How To Build More Bridges And Inclines
Once you've moved in your first five villagers and upgraded the tent to the Resident Services building, you can start building more bridges and inclines.
Head inside the building and sit on the chair on the left to summon Tom Nook to the construction consultation counter.
First, select the "Let's talk infrastructure" dialogue option. After this, press "About bridges/inclines." Then, you will have to choose either the bridge or incline option in order to build it.
Tom Nook will give you a bridge or incline marker kit that you can place wherever you decide you want to build the infrastructure, and you can finance it over time.
How Many Bridges And Inclines Can You Have?
You can have up to a maximum of ten bridges and ten inclines across your island since the 2.0 update. Previously, the limit was eight of each type.
How To Place Bridges And Inclines
Once you have the kit in your inventory, it's time to leave the Resident Services building and find the perfect spot for your upcoming bridge or incline.
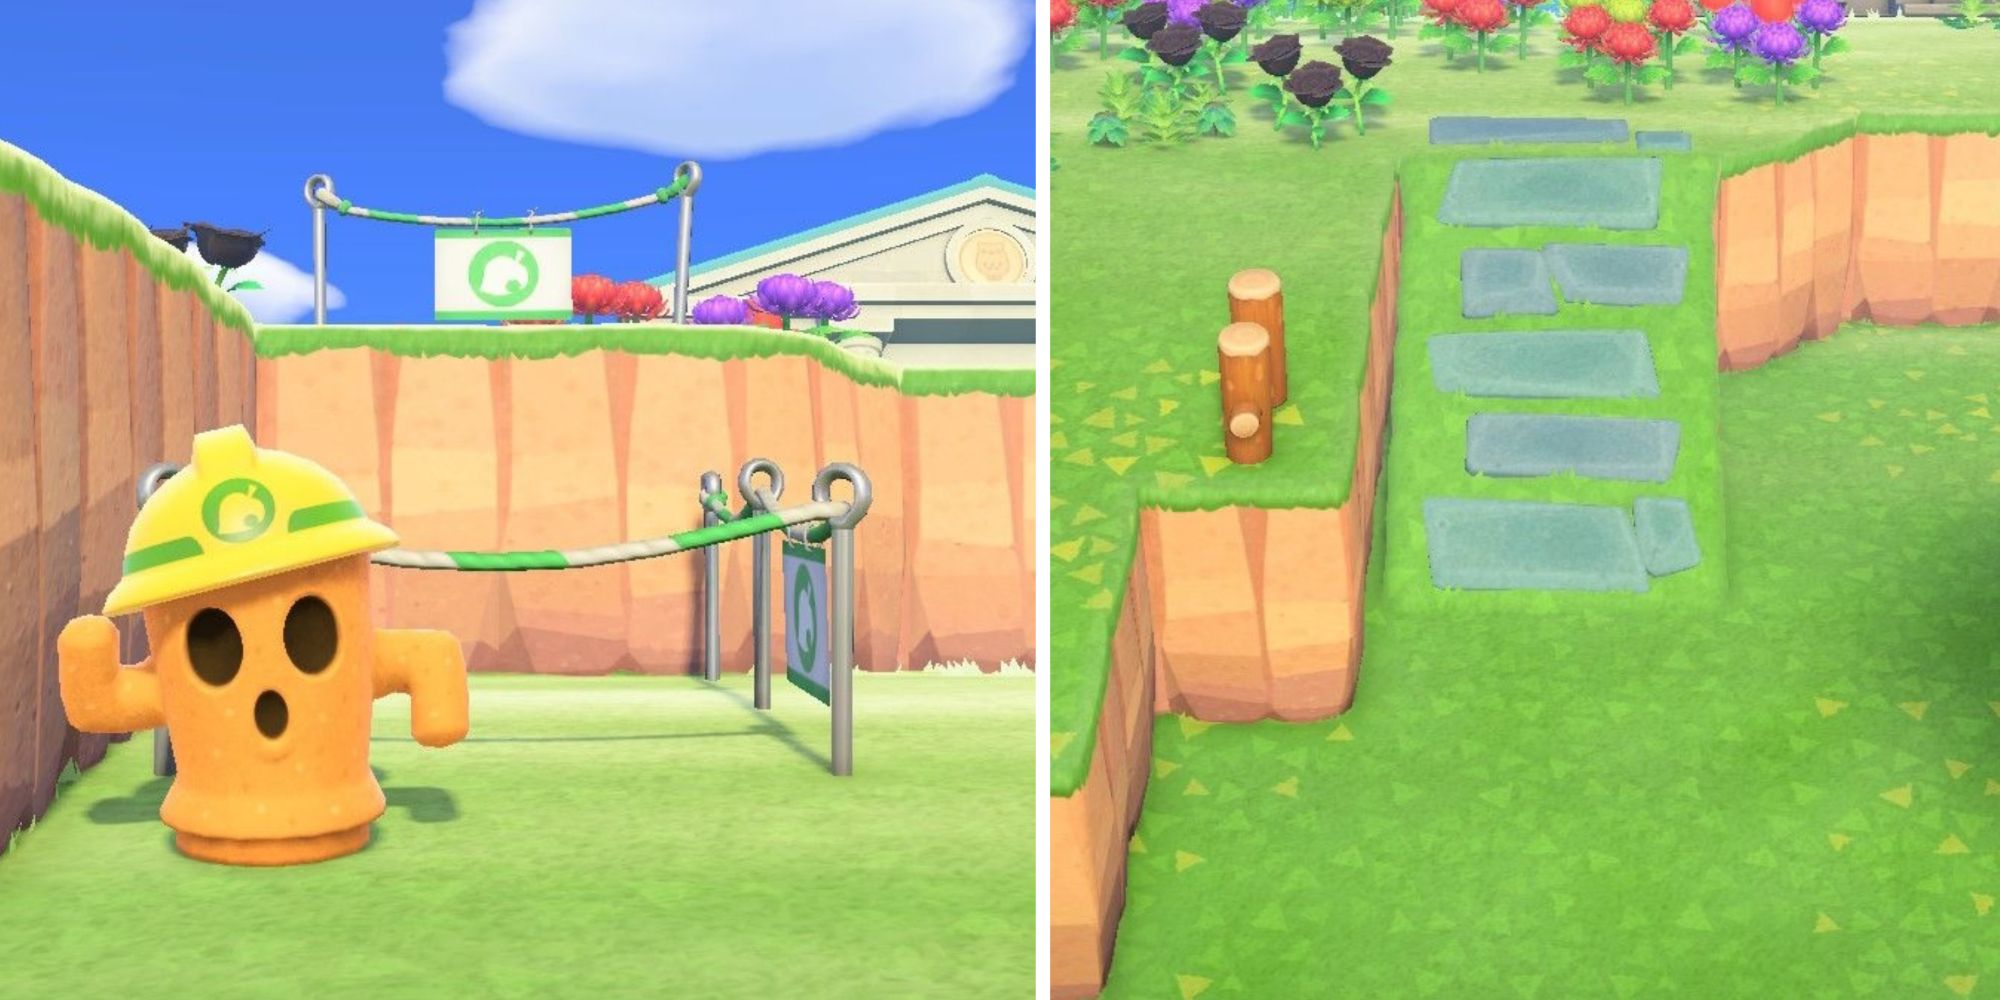
Tobuild an incline, you must stand at the base of a cliff and then place the incline marker kit. To build a bridge, you must stand on one side of a body of water and then place the bridge market kit.
If you believe the location is suitable, have your character face it, open the inventory, find the market kit, and then select the "Build here" option. If you don't meet the requirements, a message will appear on the screen and explain why you must choose a different area.
If the location is eligible, the game will ask you if you should reserve the spot.You can then confirm right away, decline, or select the "Let me imagine it" option to visualize how it'll look before committing to it.
As soon as you've decided on the right location, Lloid will appear and you will be able to donate to the incline or bridge project.
Unfortunately, villagers won't be a big help in reaching the goal, so it is up to the players on the island to get there as soon as possible.
Bridge And Incline Options
The bridge and incline catalogs are wide and varied. Previously, you could only have eight of each infrastructure on your island, but after the final update for the game, at this point in New Horizon's life stage, you can now build a total of ten bridges and ten inclines.
Bridge Type
Cost
Log bridge
98,000 Bells
Suspension bridge
129,800 Bells
Stone bridge
168,000 Bells
Wooden bridge
168,000 Bells
Brick bridge
198,000 Bells
Iron bridge
228,000 Bells
Red zen bridge
228,000 Bells
Zen bridge
228,000 Bells
Incline Type
Cost
Natural ramp
98,000 Bells
Blue-plank ramp
128,000 Bells
White-plank ramp
128,000 Bells
Log staircase
168,000 Bells
Stone staircase
168,000 Bells
Brick staircase
198,000 Bells
Blue steel staircase
228,000 Bells
Red steel staircase
228,000 Bells
Easy Trick To Get Built-In Inclines
If you've already gotten a three-star island, then you have access to the Island Designer feature, which allows you to create built-in inclines.
This is a great option if you would rather have discrete inclines or you have limited space in a certain area of the island.
To make a built-in incline, open the Island Designer app on your phone to do some construction work. Then, activate the Cliff-Construction Permit feature.
Finally, once you have the shovel in your hand and have the ability to destroy cliffs, you'll have to dig a 3x2 hole into a cliff.
The hole must have three cliff tiles on its side, and then you will be able to successfully place the incline market kit and initiate the donation process.
Project Completion
Lloid will collect money over time to finance the bridge or incline project, and once the donation goal has been reached, it will move forward at last, but it will take a day before actually it's completed.
The days in Animal Crossing: New Horizons reset at 5am, so you can expect to see their fully built infrastructure at this time on the following day.
Once the project has been fully completed, you can hold a ceremony on that same day.
To celebrate the new infrastructure project completion, go back to Tom Nook at Resident Services and talk to him behind the construction consultation counter and select the "Let's hold a ceremony!" option.
During the celebration, you'll be able to say a few words as you're the Resident Representative, and everyone will have their own Party Poppers to throw confetti.
NEXT: Animal Crossing: New Horizons - Ways To Speed Up The Development Of Your Island