Hollow Knight Silksong Guide: Tips to Defeat the Savage Beastfly
Hollow Knight: Silksong initially offers players a welcoming environment, especially during the platforming segments, where they encounter only minimal challenges in the early hours of gameplay. However, the challenge escalates significantly as players reach Hunter’s March. Here, mastering downward diagonal pogos is crucial to avoid painful spikes and obstacles.
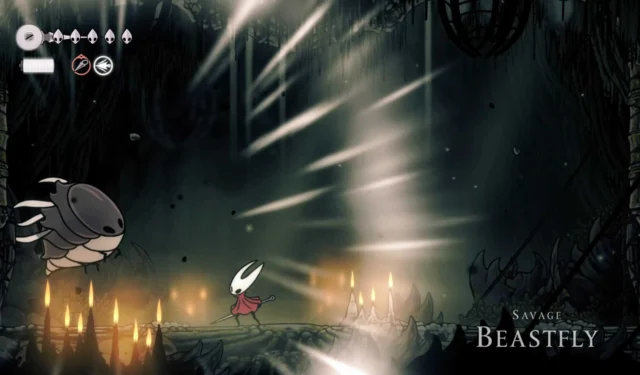
Upon successfully navigating this area, players unlock access to the Chapel of the Beast, setting the stage for a confrontation with one of the game’s early Crest Bosses: the Savage Beastfly. For many players, this marks their first real test, as this boss not only hits hard but also summons minions that can complicate the battle dramatically.
To aid players in overcoming the Savage Beastfly, we’ve compiled a detailed guide that will simplify the process and enhance your chances of success.
Locating the Savage Beastfly & Preparation Tips
The Savage Beastfly resides in the notorious Hunter’s March area. While it’s technically possible to reach this location without abilities like dash and glide, players are advised to obtain the Drifter’s Cloak to explore effectively and tackle this boss.
This region features perilous red bulbs, which require precise pogo jumps to avoid spikes, and is home to various formidable ant-type enemies. Engaging these foes is recommended, as defeating them replenishes your silk reserves, providing a safety net in case of platforming mishaps.
>Proceed cautiously through platforms until you arrive at the Chapel of the Beast, showcasing your skills in gliding and pogoing to navigate through challenging gaps laden with spikes. Successfully doing so will lead you to the arena where you confront the Savage Beastfly.
Regarding preparation for this battle, since the Savage Beastfly was my first Crest Boss encounter, I suggest a build based on available tools. The Straight Pin proves ineffective against the Beastfly due to its aerial tactics; consider equipping an alternative red-code Tool if available. Additionally, the Warding Bell serves as an excellent Blue Tool, providing crucial healing insurance as you will need to manage healing windows diligently, especially when minions are summoned.
Strategies to Defeat the Savage Beastfly
Phase One
It’s essential to understand two critical aspects about the Savage Beastfly: its powerful attacks and its relentless movement. This phase is comparatively easier than the following ones. The Beastfly will move quickly from side to side, either at head height or near the ground. Early judgment of its flight path is vital—commit to a diagonal pogo attack or an upward swipe when within range.
Watch out for its downward headbutt, which strikes three times. Time your dodges carefully—move slightly away during the attack and strike when it lands. On the third headbutt, capitalize on the opportunity for additional jumping attacks.
During this phase, remember that each attack takes away two masks, and due to its large hitbox, staying too close during your own attacks can be risky. Focus on landing steady hits to clear this initial phase successfully.
Phases Two to Four
Following the first phase, the battle grows significantly more challenging. The Beastfly retains its moveset, but now you must contend with spawning minions. The specific types of enemies may vary due to random generation, so remain adaptable, as some foes are harder than others.
You might encounter basic flies, sharp dagger-shells, or larger fly hybrids that launch rapid blade attacks upon proximity. If luck is on your side, you’ll face the slower dagger-shell foes, which are easier to evade.
To improve your chances of survival, prioritize eliminating the minions before focusing back on the Beastfly. Utilize the Beastfly’s headbutt to your advantage; it can take out nearby minions if they are positioned correctly underneath.
Phases two through four will involve repeating this strategy, but anticipate increased difficulty in phase four, where the Beastfly will spawn two enemies simultaneously, escalating the chaos. Keep your focus sharp to emerge victorious against this challenging airborne adversary.
Rewards for Conquering the Savage Beastfly
As a significant milestone in the game, defeating the Savage Beastfly earns players the Beast Crest. This new crest establishes an aggressive build setup, providing fresh options for attacking tools and increased binding power.
Equipping the crest allows players to harness their bind ability for a temporary boost, entering a berserker-like mode. The Beast Crest includes two red-coded Tool slots along with two additional unlockable Memory Locket slots.
Furthermore, this crest modifies downward diagonal pogos, extending their duration and range. While this may initially complicate platforming until players adjust, it’s worth experimenting to see how it enhances your gameplay experience.
Source & Images
Related Articles:
Hollow Knight: Silksong Guide to All Currencies Explained
15:35September 5, 202510 Time-Consuming RPG Games You Will Spend Ages Completing
15:28September 5, 2025Top 10 Xbox 360 Games Worth Playing with a Game Pass Subscription
13:03September 5, 2025Daemon X Machina: Titanic Scion Guide for Improving Load Times
12:42September 5, 20252K Announces Development of “College Basketball Experience” for NBA 2K Series
10 Time-Consuming RPG Games You Will Spend Ages Completing
Leave a Reply Cancel reply
Your email address will not be published. Required fields are marked *