Dragonkin The Banished: Ultimate Guide to Defeating Jailanung
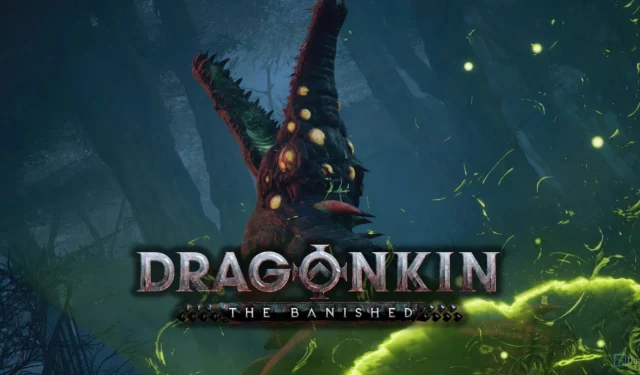
Stepping out of Montescail City into the murky, fetid swamps of Dragonkin: The Banished reveals that you’re not venturing alone. The swamps host a plethora of creepy creatures, culminating in a formidable encounter with the dreaded poison dragon.
Your first significant challenge in this adventure will be Jailanung, whom you’ll confront after eliminating several dragon eggs nestled among the towering trees of the swamp.
This dragon marks your initial boss battle, and it’s crucial to remain vigilant. Many of its attacks can be devastatingly quick and punishing, so staying alert is key.
Preparing for the Fight
Before stepping into the arena for your confrontation, thorough preparation can significantly enhance your chances of victory. Here are some essential steps to enhance your readiness.
Understanding Attributes
Firstly, assess your own and your Wyrmling’s Attributes page. On PC, you can access this by pressing G and navigating to tabs 3 and 6.
Your attribute trees are as follows:
- Courage: Increases Max HP and Life Drain
- Intellect: Provides Thorn Damage and Armor
- Resilience: Gains Max HP and Attack
- Agility: Offers Armor and Attack boosts
For your initial 10 points, I recommend investing heavily into Courage. The bonuses from this tree can yield three different passives that enhance your base damage significantly.
Your Wyrmling has a similar system with four distinct trees for growth; however, bear in mind that it has the advantage of not facing death like your main character, so choose wisely.
Optimizing the Ancestral Grid
In terms of the Ancestral Grid, aim for Synbiosis as it can tremendously amplify your damage output. Align your grid to leverage your Wyrmling’s elemental damage, and secure 8 Hex Fragment modifiers that enhance your primary attack skill.
If your arrangement is effective, the Character Skill will glow, and the fragments will turn green—this is a min-maxing strategy I wish I had known before my encounter.
Reorganizing your hex pieces is not harmful; experimenting with various combinations can yield up to a 20% increase in your damage output or valuable bonus effects.
If possible, acquire a skill that generates extra energy, like the Barbarian’s Steel Sweep, to maintain a consistent offensive during combat.
Understanding Boss Fight Mechanics
This boss encounter is unique in that it takes place in a spacious arena, providing ample room for maneuvering and evading Jailanung’s attacks—an advantage not often seen in many ARPGs, which tend to confine players to tight spaces.
A strategic insight for this fight is that Jailanung is relatively helpless if you position yourself at the arena’s edge. When your health or energy dips, retreating to the perimeter allows you to recuperate your potions or formulate your next strategy without immediate threat.
Attack Name
Description
How to Avoid
Ground Slam
A visible green ring will spread around Jailanung, followed by a powerful stomp that creates a shockwave.
Dodge as soon as you see the ring—it provides ample warning time.
Acid Bath
Bubbles of poison will appear in a defensive formation around Jailanung. Standing in this area will sap your health rapidly.
Exercise caution post-Ground Slam before reentering; surfacing back too soon can result in damage from the acid pool.
Poison Projectiles
Floating orbs that shoot out poison in four fixed directions will spawn, multiplying in number as Jailanung’s health decreases.
Try to maneuver the orbs into overlapping zones to create safe quadrants. These orbs are destructible but can deal considerable damage in return.
Acid Rain
Jailanung will circle before large green circles appear on the ground, leading to acid blobs falling and creating hazardous pools.
Avoid the green circles entirely, even if it means losing a chance to attack; it’s advisable to stay alive and wait for your moment to strike.
Toxic Breath
This deadly attack has Jailanung unleashing a line of green poison. Getting caught can lead to instant demise.
Dodge swiftly to the side upon noticing this movement. He may rotate while attacking, so circle around him, keeping an eye on your health.
Navigating Difficulty Levels
Avoid dying frequently as each defeat deducts a portion of your hit points, and significant losses will require a return to the City to recover. Fortunately, the amount lost isn’t overwhelming.
Concentrate on mastering your dodges and managing your distance to enhance your survival chances. With practice, you can defeat Jailanung while minimizing damage taken.
It’s noteworthy that ranged classes generally find this fight easier due to Jailanung’s emphasis on close-range aggression.
If you continue to struggle, remember that you can lower the difficulty level by visiting The Order’s Garrison in Montescail City. Look for the White Knight emblem on your map. This setting can be adjusted again once you feel more prepared or experienced with the combat mechanics.
By understanding Jailanung’s moveset and persevering through the battle, you’ll ultimately dispatch this foul adversary and progress in your journey.
Source & Images
Related Articles:
Top 10 Survival Games Featuring Soulslike Mechanics
14:03July 13, 2025Top 10 Metroidvania Games to Convert You into a Fan
13:05July 13, 2025Comprehensive Reggie Guide: Master the Art of Dating Everything
18:44July 12, 2025Top 10 Iconic Boss Fights From the PS1 Era
15:03July 12, 2025March 2025 Update Released for The Finals Game
UK Retailer Offers Thousands of Radeon RX 9070 XT Graphics Cards Starting at Just £525
Leave a Reply Cancel reply
Your email address will not be published. Required fields are marked *