Genshin Impact “To Temper Thyself and Journey Far” constellation selector guide–Inazuma edition
A new permanent event coming to Version Luna I will allow players to get free 5-star constellations.
Genshin Impact’s Version Luna I has a ton of new things to look forward to, but the one event every player is most likely incredibly excited for is the “To Temper Thyself and Journey Far” permanent event, simply because its rewards are incredibly worthwhile.
The rewards? Besides the usual level-up materials and mora, completing the event will reward players with a Stella Fortuna for a 5-star of your choice from a pool of 25 characters.
How does it work?
To participate in the event, players will need to be Adventure Rank 14, and they will need to have completed the World Quest “Welcome to the Adventurer’s Guild” as well as the “Knights of Favonius” substory in Archon Quest Prologue: Act I “The Outlander Who Caught the Wind”.
The event is set to last for 12 weeks with every patch starting from Version Luna I, with eight weekly training goals that need to be completed for players to select and redeem 5-star Stella Fortunas. A weekly training goal will be considered complete if a player finishes 5 daily training goals.
The daily training goals will most likely consist of objectives like procuring four Daily Commission rewards, or netting an Original Resin Consumption number of 120.
Since this is a permanent event, this means you can collect 4 constellations every year, BUT you can only do so once per character. It’s going to be a bit of a grind, but in the end, we’re sure it will be worth it.
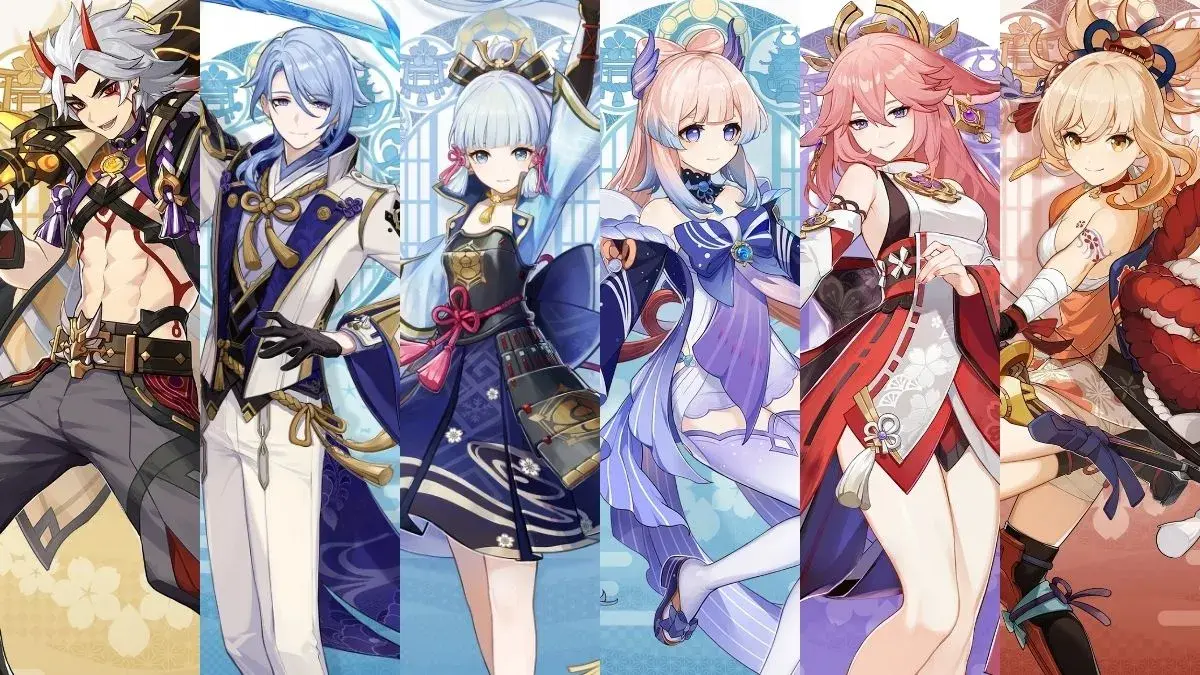
Inazuma roster: C1 to C4, is it worth it?
The pool of characters for this event is nothing to scoff at. The list consists of 18 event-exclusive characters and seven standard characters. And although the list does not have any of the meta-changing characters for Genshin Impact’s end-game content recently, you can never be too sure about the future of Spiral Abyss or Imaginarium Theatre.
But here’s where we get down to the details. If you already have these characters but are lacking their constellations, you may be wondering which character will provide more benefit to your account with whichever constellations you can unlock. In that regard, we’ve got you covered!
Each constellation you’ll be able to unlock may have different effects on how it changes your account per character. We’ll break down each constellation for the Inazuma characters included in the options up to C4, and their benefits (if there are any) to unlock:
CharacterC1C2C3C4Arataki IttoItto gains 2 stacks of Superlative Superstrength after unleashing his Skill. Plus an additional 1 stack every 0.5s for 1.5s.Each party member gains a Skill cooldown by 1.5s and restores 6 energy to Itto.Increases level of Burst by three.All party members gain additional 20% ATK and DEF for 10s after his Raging Oni King state ends.Itto's constellations are catered towards his mono-Geo kit, as well as provide some support to his teammates. C1 makes it easier to get the max stacks needed for his attack string, C2 provides much needed energy for him to spam his Burst, and of course C3, which gives additional damage multipliers to his burst.
In this regard, the best constellation to gun for is definitely Itto's C1, because it makes it easier to complete his attack string to immediately do his best DMG. But C4 also has some potential, as since Itto scales off of his Max DEF, having party members who are able to raise this stat and are also DEF-scaling can provide more for him in the long-run–a beneficial two-way transaction, if you will.
CharacterC1C2C3C4Kamisato AyatoSkill DMG is increased by 40% against enemies with 50% or less HP.Increases maximum Namisen stacks to 5, and increases his Max HP by 50% when Ayato has at least 3 Namisen stacks.Increases Burst level by 3.Provides additional 15% Normal ATK speed to all party members for 16s after Skill is unleashed.Ayato's constellations are geared towards increasing his DPS capability, which is already a massive boost considering that his kit centres around the sheer speed and number of hit instances he can do.
C1 and C2 particularly are great constellations to gun for, as not only will it be faster for Ayato to cull his enemies, but he also gains a whopping additional 50% Max HP, which works well for him due to his dual-scaling. Although C3 seems to be promising considering that his Burst periodically deals AoE Hydro DMG, it's not really something to write home about. C4, on the other hand, is weaker compared to his other constellations, and only caters to increase the Normal ATK speed of party members; a supportive action that really isn't that necessary.
CharacterC1C2C3C4Kamisato AyakaNormal or Charged ATKS that deal Cryo DMG has a 50% chance of decreasing Skill CD. Two additional Frostflake Seki no To will be unleashed upon triggering Burst.Increases Burst level by 3.Decrease DEF of enemies by 30% once damaged by Burst.Ayaka's constellations are geared towards refining and adding DPS to her kit, which is great considering she was a force to be reckoned with when she first came into Genshin Impact. With Schnezhnaya more than likely to bring back Cryo to the forefront of the meta, it's not a loss to try and invest in her constellations.
Her C1 adds ease towards her playstyle by providing a one in two chance of decreasing her Skill cooldown, but the ones you should definitely gun for are C2 and C4. C3 is great either way because it increases the multipliers for her Burst.
CharacterC1C2C3C4Sangonomiya KokomiWhile within Burst effect, Kokomi's final attack in her Normal ATK string will deal additional Hydro DMG worth 30% of her HP.Gains two Healing Bonuses for both her Skill and Burst dependent on whether or not the party has 50% or less HP.Increases Burst level by 3.Kokomi's Normal ATK speed is increased by 10% and she will restore energy if she attacks opponents while stilll under her Burst effect.When it comes to Kokomi's constellations, it's definitely a hit or a miss. As a character who is incapable of dealing CRIT hits, C1 seems to try to mitigate her low damage by boosting the last attack of her string with DMG based off of 30% of her Max HP. C3 also tried to amp up her DPS by giving her more instances of dealing DMG, but it's not as useful as its other effect, which allows her to restore energy to herself while still under the effects of her Burst.
But where Kokomi lacks as a damage dealer, she more than makes up for with her amazing capability as a healer. It's obvious that C2 is the best investment you can try to get.
CharacterC1C2C3C4Yae MikoYae restores 8 Elemental Energy to herself every time her Burst activates a Tenko Thunderbolt left by her skill.Yae's Skill will start at Level 2, will have an increased level of 4, and the range of the attack is increased by 60%.Increases Skill level by 3.When Skill hits opponents, the party's Electro DMG Bonus is increased by 20% for 5s.For Yae, whose kit is reliant on Energy Recharge, it's fair to say that C1 is a must-have. The 8 Elemental Energy, which is bumped up to 24 for each of her thunder pillars activated, easily allows you to keep her Burst at an uptime. This also means that you can invest less on Energy Recharge stats in her artifacts, and gun for more important stats like CRIT, Elemental Mastery, or ATK.
But the one you should definitely look into getting is her C2, which totally revamps Yae as a very formidable DPS. Yae's Skill allows her to drop Electro constructs called Sesshou Sakura, which periodically strikes down enemies with Electro DMG within their AoE. The Sesshou Sakura are capped at only 3 levels without constellations, but will gain an additional level plus a wider range at C2.
CharacterC1C2C3C4Yoimiyathe aura of Yoimiya's Skill will last an extra 4s, additionally, opponents affected by her Skill and are defeated within its duration will increase her ATK by 20% for 20s.When Yoimiya's Pyro ATK scores a CRIT Hit, she will gain a 25% Pyro DMG Bonus for 6s.Increases Burst level by 3.When Yoimiya's Skill aura triggers an explosion, her Burst CD is decreased by 1.2s.It stands to reason that Yoimiya's C1 and C2 are great investments, as both of these constellations aim to further increase her DPS. As a character whose bread and butter is her quick shot Pyro-infused Normal Attacks thanks to her Skill Effect, it's incredibly beneficial for her to gain that 20% ATK increase and additional Pyro DMG bonus.
Yoimiya is not exactly a Burst DMG dealer, so her C3 and C4 aren't as useful as you may think. She'll become more than a formidable damage dealer to your party with her C1 and C2.
… Or just get a Masterless Stella Fortuna
Now if the roster of characters for this event aren't to your liking, you can always choose to avail a Masterless Stella Fortuna instead. As the name of the item suggests, it is basically an excess ‘Stella Fortuna’ that can only be received when you have extra copies of a 5-star character’s constellations.
This means that if you’ve already maxed out a 5-star character’s constellations, which is capped at six copies, you will readily have your hands on Masterless Stella Fortuna–given that you pulled another, unusable copy of said 5-star character, or have already reached the maximum constellations for any of the characters included in the roster for the “To Temper Thyself and Journey Far” event.
Having Masterless Stella Fortuna will allow you to level up characters of your choosing to 100, which provides additional base stat increases that are worth it in the long run.
If you want to know which 5-star character is worth maxing out, then check out our Masterless Stella Fortuna Guide!
And if you're wondering, we also have a Mondstadt and Liyue roster guide for this event.