A brand-new map called LAB has just been released in Project: Escape Room. In this walkthrough guide, I will explain how to solve every puzzle step by step and successfully escape the LAB map without getting stuck.
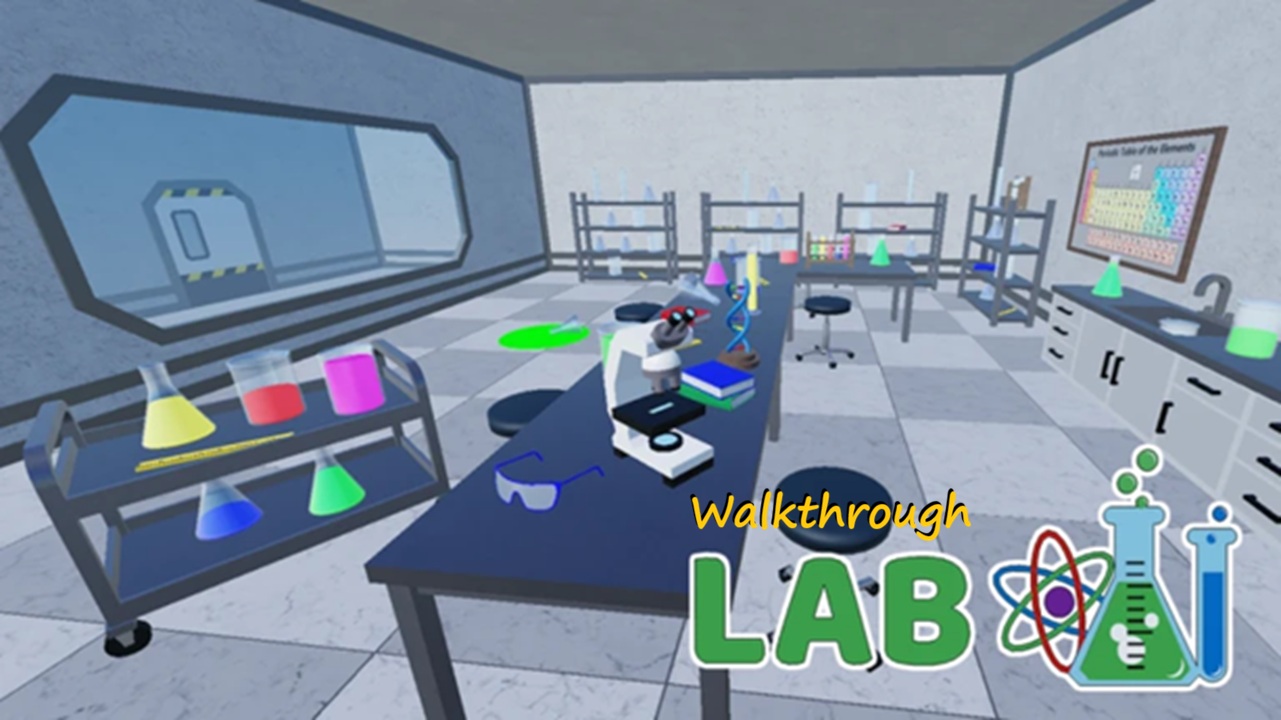
Starting Area – Finding the First Code
You will spawn inside a laboratory. As soon as you begin, look through the window. Inside, you will notice a paper covered in green paint with the text “BACD.”
This is your first major clue. It clearly indicates that you need to find the values of B, A, C, and D in that exact order to unlock the door.
Now look around the lab and observe the giant tubes containing aliens. Each tube is labeled with a color and a letter. Your task is to match the correct letters from “BACD” with the numbers written next to them.
For example, when you find the tube marked Green B, you will see the number 3 written next to it. Continue walking around the lab and locate the tubes for A, C, and D as well.
Once you gather all the numbers in the correct order of BACD, the final code will be 3952. Enter 3952 into the keypad near the door to unlock it and move into the cabin area.
Cabin Area – Unlocking the Computer
Inside the cabin, you will find a computer that requires a password. To figure it out, take a look at the poster next to the computer.
When you click on it, you will see the name James Holt, who is identified as a researcher in the lab. This name is your next clue.
Turn around and inspect the cabinets in the room. Search through the lockers carefully. In one of them, you will find the ID number belonging to James Holt, which is 63F8C74.
This ID number serves as the password for the computer. Enter 63F8C74 into the PC, and doing so will unlock another door somewhere in the lab.
Proceed through the newly opened area.
The Test Tube Color Puzzle
As soon as you enter the next section, you will see a door with a red button next to it. Press the button to unlock the door and step inside.
In this room, you will find five empty test tubes placed next to different objects. Your objective is to fill each tube with the correct color.
The clues for each tube are connected to the periodic table poster displayed in the room. Each hint refers to an element, and the color marked for that element on the poster determines the correct solution.
In one of the lockers, you will see the number 82. This refers to atomic number 82, which is Lead. On the periodic table poster in the room, 82 is highlighted in green. Therefore, you must fill the test tube next to that locker with green.
Next, examine the blue book on the table. When you click on it, you will notice the text “Rb.” Rb stands for Rubidium. On the periodic table, Rubidium has atomic number 37, and on the poster, 37 is marked in red. Fill the test tube next to the blue book with red.
Then, look at the floating balloon in the room. Balloons float because they are filled with helium. Find Helium on the periodic table poster and you will see it is marked in pink. Fill the test tube next to the balloon with pink.
After that, locate the gold bar in the room. Gold has atomic number 79. On the poster, 79 is marked in yellow. Fill the test tube next to the gold bar with yellow.
Finally, check the paper on the table that reads “H2?” This clearly hints at H2O, meaning the missing element is Oxygen. Locate Oxygen on the periodic table poster, where it is marked in blue. Fill the test tube next to the paper with blue.
Once all five test tubes are filled with the correct colors, a cabinet in the room will open. Inside, you will find a red button. Collect it before leaving.
Plant Room – Flower Pattern Puzzle
Exit the test tube room and find the door with the missing red button next to it. Place the red button into the empty slot and press it to unlock the door. Inside, you will discover a room filled with plants.
The first thing you need to do here is search under one of the tables for a hidden sprinkler button. When you press it, water will start flowing, and colorful flowers will begin to grow on the tables.
The tables are arranged in a 3×3 layout. Carefully observe the colors of the flowers on each table. Your task is to memorize this exact pattern.
Once you have noted the arrangement, go outside to the color keypad near the shutter and replicate the same color pattern. If done correctly, the shutter will open.
Go inside and collect the key from the top of the box.
Control Room – Final Settings Puzzle
There is one remaining locked door in the area. Press the red button next to it and enter the room. Inside, you will see another door leading to the control room. Use the key you just collected to unlock it and go inside.
In this final puzzle, you must correctly set the water level, food level, oxygen percentage, and temperature on the control panel.
To find the water and food levels, look outside through the glass window in the room. You will see that the water level is at 4 and the food level is at 2. Enter these values into the control panel.
Next, examine the paper placed on the table in the room. It mentions that the oxygen level is 27 percent and the temperature is 75 degrees. Enter these values into the control panel as well.
If all values are entered correctly, a cabinet under the table will open. Inside, you will find a screwdriver.
Escaping the LAB
Take the screwdriver and return to the shutter area where you previously collected the key. Above the box, you will notice a vent. Use the screwdriver to open the vent and crawl through it.
Doing so will allow you to finally escape the LAB map in Project: Escape Room.
This completes the full walkthrough of the LAB map. By carefully following each step and paying attention to the clues in every room, you can clear the map smoothly and without missing any important details.
We’ve walkthroughs of other maps in the game as well, such as SANTA’S WORKSHOP and BANK. Check them out.