This Escape Room Deluxe Edition tops the expectations. Unlike previous experiences, Zagreb offers a perfect balance of chaos and excitement, which is both thrilling and frightening.
Innovative puzzle-solving methods will keep you on your toes. A guide can provide valuable insights, so here’s a walkthrough to help you navigate.
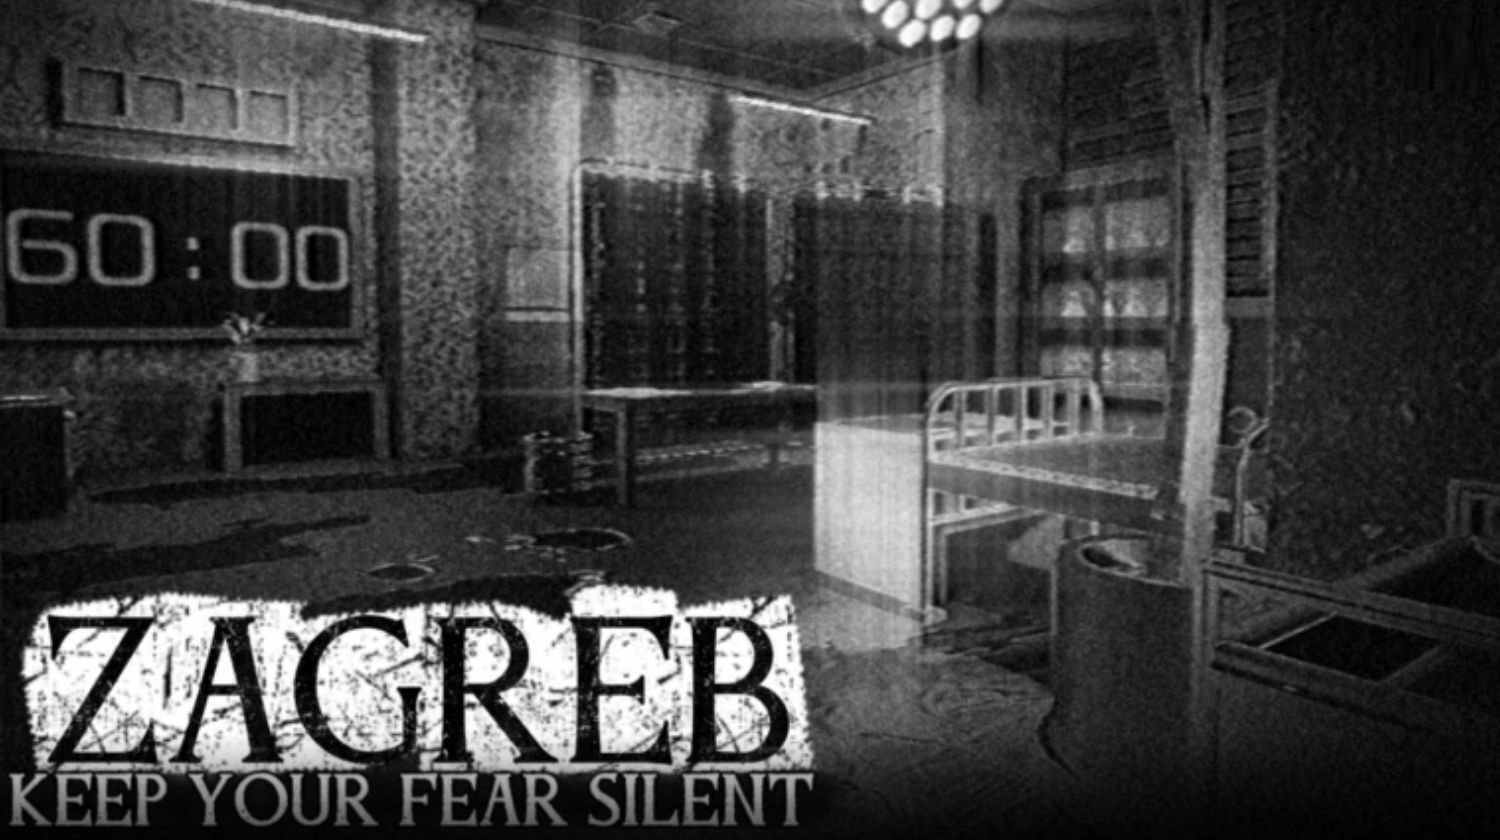
First Puzzle
Here’s a cleaner, more direct version with better flow and transitions, and shorter sentences: Start with the table in front of the bed. Click the black poster, which gives a hint about the correct order of a 5-digit code.
First Digit:
Use the “Secret Mask” hint. The poster says the mask is “the only one unseen by any shadow.” Now look around the room. You’ll see black shadows on the walls and ceiling.
On the ceiling, several masks are placed. Most have shadows pointing toward them. However, one mask has no shadows aligned vertically or horizontally. It’s near the cupboard area, with a white circle beside it.
Next, check the chart in the table. It says a circle means 7. So, the first digit is 7.
Second Digit:
Now follow the “Alchemy Flask” hint. The whiteboard has a poster saying flasks are out of position to form a number.
Open the cupboard. You’ll see flasks labelled alphabetically. Compare their positions with the poster.
You’ll notice: G is misplaced in the first row, K and Q are misplaced in the third row, S is misplaced in the last row. Connect these positions mentally. They form the shape of 4. So, the second digit is 4.
Third Digit:
Look below the whiteboard. There’s a panel with colored buttons. Press the start button. The screen will show colours in sequence. Repeat them correctly. Each round adds more colours. Complete all 10 stages.
Once done, the screen says “Good job” and shows the digit 9. That’s your third digit.
Fourth Digit:
Check the “Syringes” poster on the whiteboard. It says: (liquid time) + (antidote time) = 60 minutes.
Now look at the wall. Another poster says the hallucinogenic dose takes 45 minutes. So, the antidote must be 15 minutes.
A syringe with 2 bars represents 15 minutes. On the whiteboard, that syringe corresponds to 2. So, the fourth digit is 2.
Fifth Digit:
Above the syringe poster, you’ll find the “Square Formula” hint. It gives:
190 − A − B − C. A = angle of a square = 90, B = angle of an equilateral triangle = 60, C = angle in a parallelogram (if one is 145, the adjacent is 35).
So: 190 − 90 − 60 − 35 = 5. The fifth digit is 5.
Final code:74925. Enter this on the keypad on the table. It opens and gives you a TV remote. Turn on the TV.
TV Puzzle
There are two posters: one black and white, one colourful. The TV shows a red block with gaps. Imagine placing the block over the poster. Only one number will be visible through the gap count.
This gives the code 4328. Enter it in the drawer under the TV. You’ll get a stone statue. Place the statue on the “statue here” spot near the desktop.
Light Puzzle
Below the TV cabinet, there’s a number poster. These numbers match ceiling light positions. Press the red button near the statue. Some lights turn red. Match their positions with the poster.
This reveals the order of digits. The final code is 3029. Enter it on the table keypad.
Doll puzzle:
A cabinet opens with doll posters. Each doll has blue and green dots. Right-hand fingers → blue dots and Left-hand fingers → green dots
This creates hand shapes. A nearby poster shows which shape equals which number. Solve all four to get 1207. Enter it on the keypad near the timer.
Four Mini Puzzles
You’ll get a thick wire. Place it under the steep cupboard on the left. It opens, revealing four small puzzles. For every puzzle, once you get the code, put it in its individual keypad beneath it.
Puzzle 1 (sound): Increase volume. Match the sounds with the numbers using the poster. Door, phone, bell, water → 2306
Puzzle 2 (image): Reassemble the image. The final picture shows 7453
Puzzle 3 (dots): Find numbers hidden in dot patterns. Use the jar order beside the cabinet to arrange them. You get 3912
Puzzle 4 (icons): Count icons on the poster: 1 Camera, 2 Messages, 3 Ticks, 4 Hearts, 5 Person. Press icons in that order. This gives 75380
After completing all four puzzles, a final code appears: 57628. Enter this on the keypad beside the door. It unlocks, and you can move to the next room.
Ceiling Fan
Start by turning off the fan using the wall switch. Once the fan stops, check the blades. Each blade has a “?” except for one spot that shows a number.
Do this for all four blades. Together, they give you the code 2428.
Now go to the inner side of the U-shaped table under the fan. Enter the code. A cabinet opens and gives you a bunny. Collect it and place it on the table marked “bunnies.”
The Number Sequence
Next, check inside the same cabinet. You’ll find a black poster with three numbers.
You need to figure out the fourth number using the pattern: First digit → normal sequence, Second digit → multiples of 3, Third digit → decreasing sequence, Fourth digit → multiples of 2
Using this pattern, you get the code 6948. Enter this code in the lock beside the sofa. You’ll find it on a table nearby.
The lock opens and gives you a screwdriver and a key. Now use the screwdriver to open the vent. Inside, you’ll find another bunny. Place it in its spot.
Lines Crossing Over Numbers
Then use the key to unlock the locker. Inside, there are number plates and a clue: “All of those on the line that are crossing.”
Look at the glass slate on the table. Click it and change the angle. From the correct view, the lines overlap and highlight numbers.
You’ll see 7, 1, 6, 0. That’s your next code: 7160. Enter it in the keypad near the vent. A cabinet below the table opens. Take the bunny inside and place it correctly.
Fourth Bunny
Now find another bunny on the two-tier tray near the table. Place it in its spot.
Overlapping Posters
Next, check the faded poster near the telephone. Then click the large black poster on the wall at the same time. The images overlap and reveal the full number: 5731.
Enter this code in the keypad right in front of you. A cabinet below opens and gives you the final bunny.
Right Bunny Order
Now place all the bunnies, but in the correct order. Check the poster behind them. It gives poetic clues. Match each clue with the bunny’s condition.
Arrange them from left to right as: Complete bunny>One ear>One eye>One hand>Blind bunny.
Once correct, a green light turns on. The cabinet below opens again. Take the star from the cabinet. Place it in the star-shaped slot on the U-shaped table. This starts a mini-game.
Mannequins Game
Mannequins will appear around you. One will have an arrow above it. Focus on that one. As the mannequins spin, track it carefully.
When they stop, note the number on it. Enter that number on the keypad labelled “Mannequin.”
Repeat this for 5 rounds. Each round gets harder. More mannequins appear. A helpful tip: move along with the marked mannequin to keep track of it.
After completing all rounds, the mannequins disappear. A large green button appears. Press it.
The Elevator
Now you’ll see two options: Room X and Elevator. For the main ending, choose the elevator. The other ending is Room X, which you can do later sometime.
The elevator takes time to go down. Once you reach the next area, find the blue keycard on a table. Use it to unlock the access panel.
Highlighted Buttons
Now you’ll see several red buttons around the room. Press the one highlighted with a white dot. Do this 10 times. The ghost statue roams the room.
Avoid it. If you get caught, you don’t restart from the beginning.
Each button requires holding the E key to press it. After pressing all the buttons, a steel door opens. Go through it and walk straight. Soon, you’ll reach a theatre room.
Find a steel panel and open it. Press the red button inside to turn on the lights. Now go to the seating area. Pick up the tape. Insert it into the recorder. A movie starts playing, and you’re done!
Similar to Escape Room Deluxe Edition, there’s another one called Anomaly: Escape Room. Have you tried it? If not, why not give it a shot and if you need help, you will find the guides for the map here in MGH.