Summary
- Master essential controls and prioritize upgrading your scout vehicle and investing in the Mule T1 crane variant for maximum efficiency
- AI convoy drivers require careful route management with close waypoints, side-road positioning, and regular route cleanup to prevent pathfinding issues
- Utilize fuel from side objectives before map transitions and always perform double passes when building roads for optimal AI navigation
Roadcraft can be overwhelming when you’re just starting your journey. There are times when you’ll build uneven roads which is part of the experience as a newbie. So, here’s a Roadcraft beginner guide to help you navigate your way and avoid rookie mistakes.
Master Your Controls First
You don’t have to immediately dive into the complex parts of Roadcraft operations. Instead, take your time to learn first the keyboard shortcuts and operational commands you can use in Roadcraft. This will help you be efficient in beginning your tasks such as building roads.
Fumbling with controls will only slow your progress and bring frustrations to your missions. As much as possible, try to take command of the shortcuts for equipment operation for smoother gameplay. You don’t have to memorize everything all at once. Invest your time in familiarizing these common actions while you play.
Priority Vehicle Upgrades
This is one of the things you should learn immediately from this Roadcraft beginner guide. You don’t have to upgrade everything immediately upon starting the game. Sometimes, prioritizing some vehicles will make your game more efficient than initially. Also, some vehicles are more frequently used, needing to be upgraded first compared to others.
Scout Vehicle Transformation
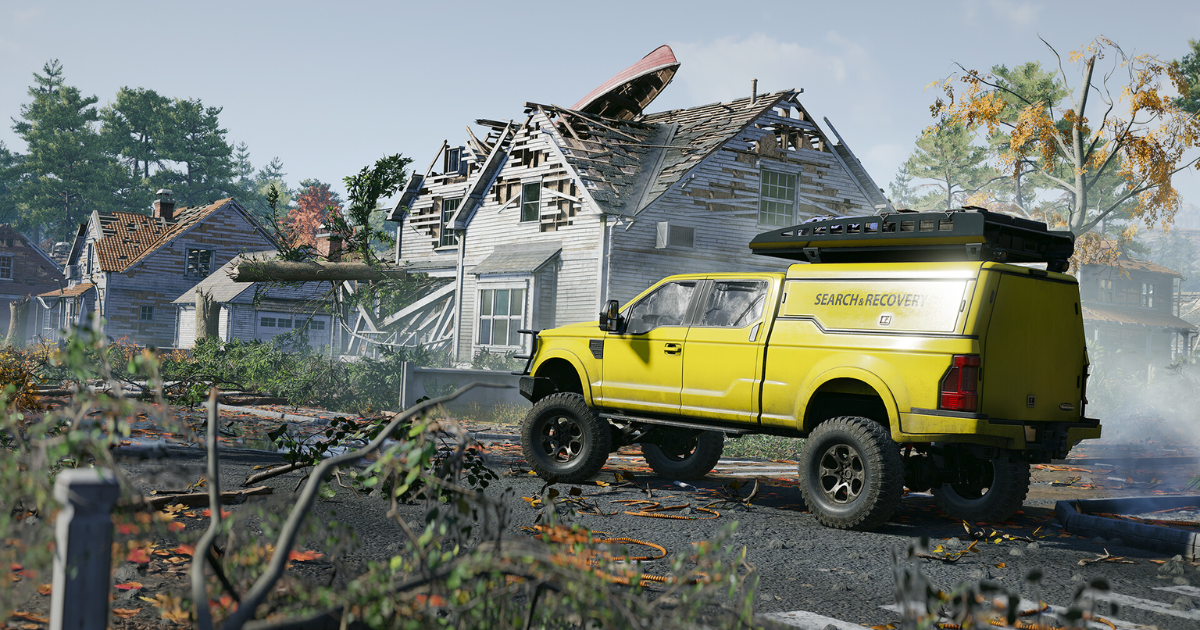
The scout vehicle you’ll start with barely meets the minimum requirements, slowing down your progress. Upgrade this one to a new scout which is around 10,000-13,000 credits as your first major purchase. The new one will perform better by being faster and displaying superior off-road and mud performance.
The winch also extended its reach and increased its strength as significant improvement from the starter vehicle. It will also expand the terrain scanner radius to make missions more efficient and quick.
The Mule T1 Crane Edition
One of the most important early-game investments will be the Mule T1 with a built-in crane attachment. It’ll be difficult to separate cranes and cargo vehicles at first so you’ll need to double the driving and setup time in solo operations. What they’ll do usually is drive a crane to the site and then proceed to bring a separate cargo truck. Afterward, the crane will load the cargo before finally delivering it with the cargo vehicle.
There’s too much work before you can even deliver the load to the site. So by prioritizing this Mule T1 Crane variant, it combines the functionality of crane and flatbed cargo capacity. It’ll allow you to drive to the site, load cargo with this crane, secure it to a flatbed, and then deliver everything in a single trip. A very simple and quick process compared to the traditional approach used by many.
Route Planning Best Practices
It’ll be best to position your route markers along roadsides instead of the center lines. Doing this will help you prevent AI vehicles from colliding with each other or obstacles when multiple routes intersect. Keep the waypoints close together as large gaps between markers will cause the AI pathfinding to identify holes and road works. Try your best to avoid the vehicles getting lost or stuck.
Route Maintenance
Keep a regular audit of your routes through the infrastructure tab available on your map. After the route delivers all planned rewards like five steel beams, it’ll immediately delete it from the system. This prevents the inactive routes from interfering with the rest of your active logistics networks. It will also reduce AI patching conflicts, ensuring a smooth transport throughout.
Road Construction Excellence
Your precision determines the success of your road building when using dozers and dump trucks. After passing the initial dozing from point A to point B, do a second pass. After that, return to your starting point then drive the dozers over the sand once more. Try to move very slowly and steadily to create an even, ultra-smooth surface. This will reduce issues with manual driving and finicky AI convoys.
Using a double-pass system eliminates the lumps and bumps that might affect your AI vehicle’s driving. Also, this will prevent any future convoy failures for a reliable route performance.
Garage Access Optimization
Maximize the garage symbol on the map screen instead of driving back and forth. Driving back to the main garage building to deploy or recover vehicles takes too much time. Instead, press the prompt button or Y on Xbox controllers to access the full garage menu directly. This will make sure you finish the task on time and maintain consistent operation.
Fuel Management Strategy
Don’t be frugal with the temporary fuel reserves since you’ll lose them eventually once you transfer maps. These fuels were earned from completing side objectives within specific maps. If you have plenty of side-objective fuel, use it for vehicles to recall field service units or equipment refueling.
Conclusion
Make sure to remember these tips in the Roadcraft beginner guide as you start your gameplay. It will significantly help you improve your resource management and efficiently progress throughout the game. Try your best to be smart with your upgrades and route management to make sure you finish every task on time.


