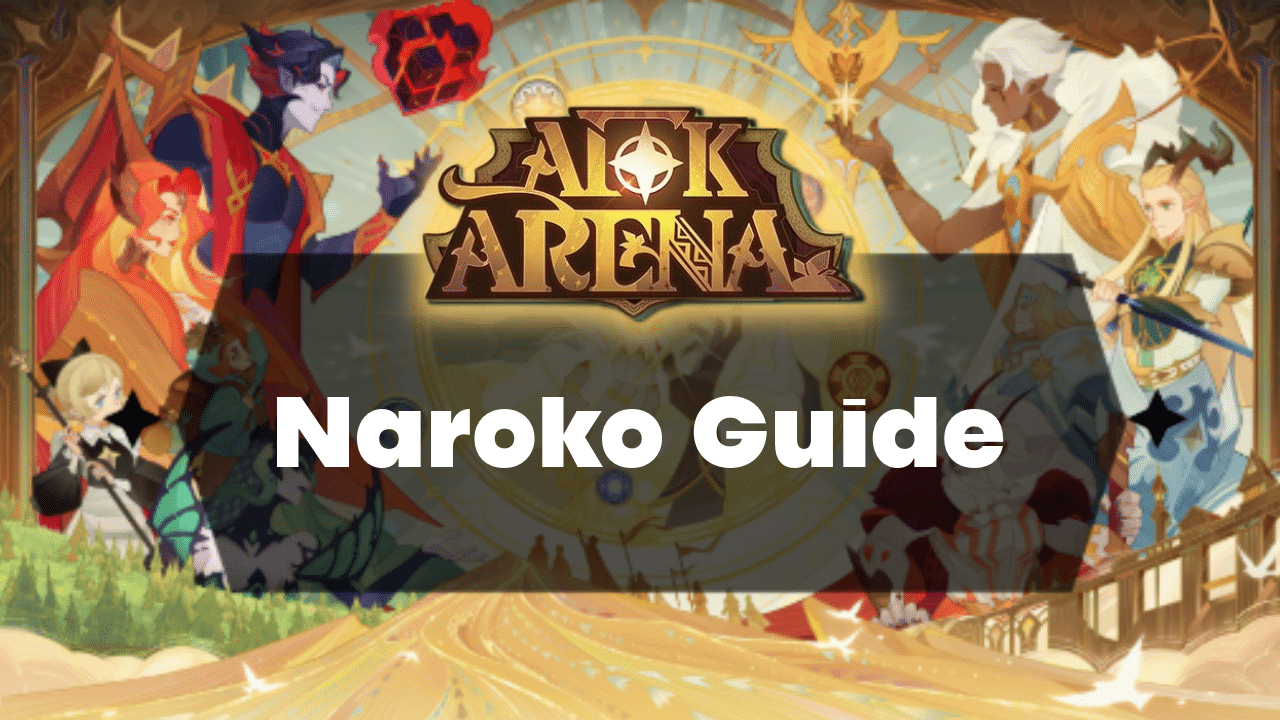
AFK Arena Naroko Guide: Introduction
AFK Arena Naroko, the Dune Gremlin, is a Mauler faction hero, classified as a Strength-type Tank with a Regen role. She specializes in durability and sustain, making her a formidable frontline hero capable of absorbing damage and supporting her team over extended battles. Unlike pure damage dealers, Naroko’s effectiveness relies on proper investment in her build, including Signature Item upgrades, furniture bonuses, and collections from the Ghoulish Gallery. Maximizing these aspects significantly enhances her overall performance, allowing her to function optimally in various game modes.
AFK Arena Naroko’s effectiveness differs depending on the game mode. In the Campaign, she holds an S tier ranking, as her high survivability and sustain make her well-suited for long battles. In the Tower, she ranks even higher at S+ tier, excelling at handling multiple enemy waves due to her tankiness and crowd-control capabilities. In the Nightmare Corridor, she maintains an S tier rating, offering consistent sustain and battlefield disruption. Meanwhile, in the Cursed Realm, she earns an S+ tier, proving to be a powerful asset in endgame PvE content, where long-lasting frontline heroes are crucial.
Understanding AFK Arena Naroko’s strengths in different game modes is essential for optimizing her role in team compositions. She is best utilized in sustain-based teams, where her tankiness and regeneration abilities complement damage dealers and support heroes. Her performance is highly dependent on investment, meaning proper resource allocation in her Signature Item, furniture, engravings, and collection stats is necessary for maximizing her potential. Players looking to fully utilize Naroko should focus on strategically building her kit to ensure she thrives in both early and late-game content.
AFK Arena Naroko Guide: Skills
Groundbreaker (Ultimate)
AFK Arena Naroko summons Nadia, a young sand creature, who inherits 120% of Naroko’s initial attributes and is immune to control effects. If Nadia is already on the battlefield, she emerges from the ground in the most enemy-dense area, dealing AoE damage equal to 20% of her max health and knocking enemies into the air. She then taunts enemies for 5 seconds, with her health being preserved at a minimum of 20% for the duration.
At Level 2, each time a summoned entity dies, Nadia absorbs its essence, recovering 5% health and gaining 20% initial Attack Rating and max health, up to five times. At Level 3, if an enemy hero uses their Ultimate while Nadia is taunting, all allied heroes gain 40% Defense Rating for 8 seconds. This effect does not stack.
Sandy Citadel
AFK Arena Naroko manipulates sand to envelop all enemy heroes in a Sand Shield for 6 seconds, stealing 50% of their current shield values and converting it into their Sand Shield, capped at 15% of Naroko’s max health. She then deals damage equal to 15% of her max health to all enemies. When the Sand Shield expires, it explodes, dealing damage equal to 100% of the stolen shield value.
At Level 2, if an enemy gains a new shield while their Sand Shield is active, 50% of that shield is also stolen and converted. At Level 3, the damage dealt increases to 20% of Naroko’s max health. At Level 4, when an enemy with a Sand Shield is attacked, they lose health equal to 150% of the attacker’s Attack Rating. Each ally can trigger this effect up to 2 times per second.
Dusty Torpedo
AFK Arena Naroko rings her bells to summon three sandfish, which seek out and attack the three enemies with the highest Attack Ratings. Each sandfish deals damage equal to 200% of Naroko’s Attack Rating before dying upon impact. At Level 2, the damage increases to 220% of Naroko’s Attack Rating. At Level 3, the damage increases to 240% of Naroko’s Attack Rating. At Level 4, when a sandfish dies, it explodes, dealing AoE damage equal to 150% of Naroko’s Attack Rating and stunning nearby enemies for 3 seconds. This effect is enhanced by E30 Eternal Engraving.
Monstrous Morphosis (Passive)
At the start of battle, AFK Arena Naroko and young Nadia enter the battlefield together. Whenever Nadia loses 5% of her max health, all allies receive healing equal to 75% of the health lost. At Level 2, every time an ally or summon takes 20% of their max health in damage, they restore 5% of Nadia’s health. At Level 3, once Nadia reaches five growth stacks, she evolves into an adult Wyrmcrawler, causing her Normal Attacks to deal extra damage equal to 3% of her max health.
At Level 4, when evolved, Nadia sprays venom at five random enemies, dealing 200% Attack Rating damage per hit. For every three summoned entity deaths, her next Normal Attack will spray venom three times instead. With E60 Eternal Engraving, the initial venom spray remains at five hits with 200% damage, while subsequent sprays maintain their power after summoned entity deaths.
AFK Arena Naroko Guide: Signature Item
Tremor Bells
AFK Arena Naroko’s Signature Item, Tremor Bells, enhances her synergy with Nadia and significantly boosts team-wide attributes. While she can function with her Signature Item at +20, this is the minimum investment for effectiveness. A +30 upgrade adds valuable debuffs, making it a worthwhile choice, but the optimal investment is +40 to maximize her potential.
Skill – Symbiotic Bond
Unlocking this skill allows Nadia’s growth to permanently increase all allied heroes’ attributes by 2% of her Attack Rating, up to five times, and this buff remains even after Nadia’s death.
At +10, the attribute boost increases to 4% of Nadia’s Attack Rating per stack.
At +20, the increase reaches 8% per stack, further amplifying her team’s stats.
At +30, Nadia’s venom spray also reduces the target’s Defense Rating by 10% for 8 seconds, stacking up to five times for a potential 50% Defense reduction.
AFK Arena Naroko Guide: Furniture Ability
Respawn
AFK Arena Naroko’s Furniture Set is essential for maximizing her effectiveness, with a strong recommendation to invest in the 9/9 furniture bonus. While her 3/3 ability offers a useful boost, her full 9/9 set is crucial for unlocking her full potential in battle.
At 3/3 furniture, AFK Arena Naroko’s Ultimate skill fully restores Nadia’s health, ensuring she remains in the fight longer and maintains her growth benefits.
At 9/9 furniture, Nadia gains a survivability mechanic, where if she receives fatal damage, she spends three growth stacks to negate the fatal hit and recovers 50% of her health instead. This makes her significantly harder to take down, reinforcing her durability in prolonged battles.
AFK Arena Naroko Guide: Artifacts and Collection
Timeline Watch
With the introduction of the Ghoulish Gallery, artifacts have been replaced by collections, allowing for more precise customization of hero builds. For AFK Arena Naroko, selecting the right collection piece and optimizing its substats is essential to maximize her effectiveness.
The Timeline Watch is the best collection item for Naroko, providing valuable benefits that align with her role. The optimal skill level for the Timeline Watch is 1, as upgrading beyond this point would require sacrificing more crucial stats.
For offensive stats, the Core Stat IS is the most critical attribute and should be prioritized. In terms of defensive stats, DMG Resist is the key focus and should be maximized to enhance Naroko’s survivability. Fine-tuning these stats ensures she remains a durable frontline tank while maintaining strong utility for the team.
AFK Arena Naroko Guide: Conclusion
To maximize Naroko’s performance in AFK Arena, simply leveling her up is not enough. Unlike some heroes who can function well with minimal investment, Naroko requires a carefully optimized build to reach her full potential. This involves upgrading her Signature Item, acquiring her complete furniture set, and equipping the right collection item with the correct stats. By making these strategic investments, you can ensure that Naroko not only survives longer in battle but also contributes significantly to your team’s overall performance.
One of the most crucial aspects of Naroko’s build is her Signature Item, Tremor Bells. While she can function at +20, this is considered the absolute minimum, and +30 is highly recommended to unlock key enhancements to her abilities. However, to fully optimize her impact, upgrading her Signature Item to +40 is the best choice. This enhancement strengthens her Symbiotic Bond skill, which grants permanent attribute boosts to all allied heroes whenever Nadia grows, ensuring that Naroko’s presence benefits the entire team even after Nadia is no longer on the battlefield. This stat boost is one of the defining features of Naroko’s kit, making it essential for prolonged fights.
Her 9/9 furniture set is equally important and should not be overlooked. While 3/3 furniture provides a useful ability by fully restoring Nadia’s health whenever Naroko uses her Ultimate, the 9/9 bonus is essential for making Naroko viable. This ability grants Nadia a survival mechanic, where she avoids fatal damage by sacrificing three growth stacks and healing for 50% of her max HP instead. This significantly increases her longevity in battle, making her much harder to eliminate. Without this upgrade, Nadia’s survivability is greatly reduced, and Naroko’s overall effectiveness declines.
Since traditional artifacts have been replaced by collections in the Ghoulish Gallery, selecting the right collection item is now a key part of Naroko’s build. The Timeline Watch is the best choice for her, as it complements her strengths. It’s important to keep the skill level at 1, as upgrading it further would require sacrificing more valuable stats that benefit her performance. When fine-tuning her collection, Core Stat IS is the most important offensive stat and should be prioritized, while DMG Resist is the key defensive stat to maximize Naroko’s durability. Properly investing in her collection ensures that she remains a resilient frontline tank while providing strong utility for her team.
By focusing on these core aspects a high-level Signature Item, a fully upgraded furniture set, and an optimized collection item you can unlock Naroko’s true potential and ensure that she excels in battle. Proper investment in her kit will maximize her tankiness, enhance her team-wide buffs, and improve her overall synergy, making her a valuable asset in multiple game modes. Allocating resources effectively will prevent wasted upgrades and allow you to build Naroko efficiently, ensuring she performs at her peak and contributes to victory.


