Wavetale: Sumthin's Up At The Plaza Quest Walkthrough
Quick Links
- Reaching The Plaza
- Spark Locations In Plaza
- How To Find The Sparkcaster
- How To Beat The Rig Field Area
- How To Finish Sumthin's Up At The Plaza
After starting Wavetale, you'll first collect a bunch of sparks in the Night Orchard that will clear the fog to The Plaza and start your second main quest. From this point, you'll start meeting a ton of people who'll get added to the journal after you talk to them or free them from the gloom.
RELATED: Wavetale - The Spark Collector Quest Walkthrough
Apart from the main quest, there are also a ton of side quests to distract you in The Plaza. After reaching the location, you have to find multiple sparks and put them in the sparkcaster before you can look for Mayor Klout to get more information on the current situation of the gloom.
Reaching The Plaza
After you've opened the path to The Plaza by submitting multiple sparks to the lighthouse in The Night Orchard, you have a long journey to the place. As soon as Sumthin's Up At The Plaza quest begins, grandma will slowly walk to her ship and start sailing in Plaza's direction. There are multiple ways you can reach the location:
- You can make things easier for yourself by just jumping on grandma's ship and waiting there until you reach The Plaza.
- On the other hand, you can have a more interactive experience with the help of your shadow friend and take to the waves yourself.
You don't need to follow grandma's ship closely even though the game might make it seem like that. Moreover, there are multiple gloom slides and objects that can be used for pulling on the path to Plaza. These will give you multiple sparkling and a speed boost to make the process faster.
After you're on the way for a bit, the quest will ask you to free Mr. Baine. He'll be standing in front of his house covered in the gloom, and with gloom clouds surrounding him. Hit him with your fishnet once to continue the quest. You can also visit Baine's ship in any region to buy many clothing sets.
Spark Locations In Plaza
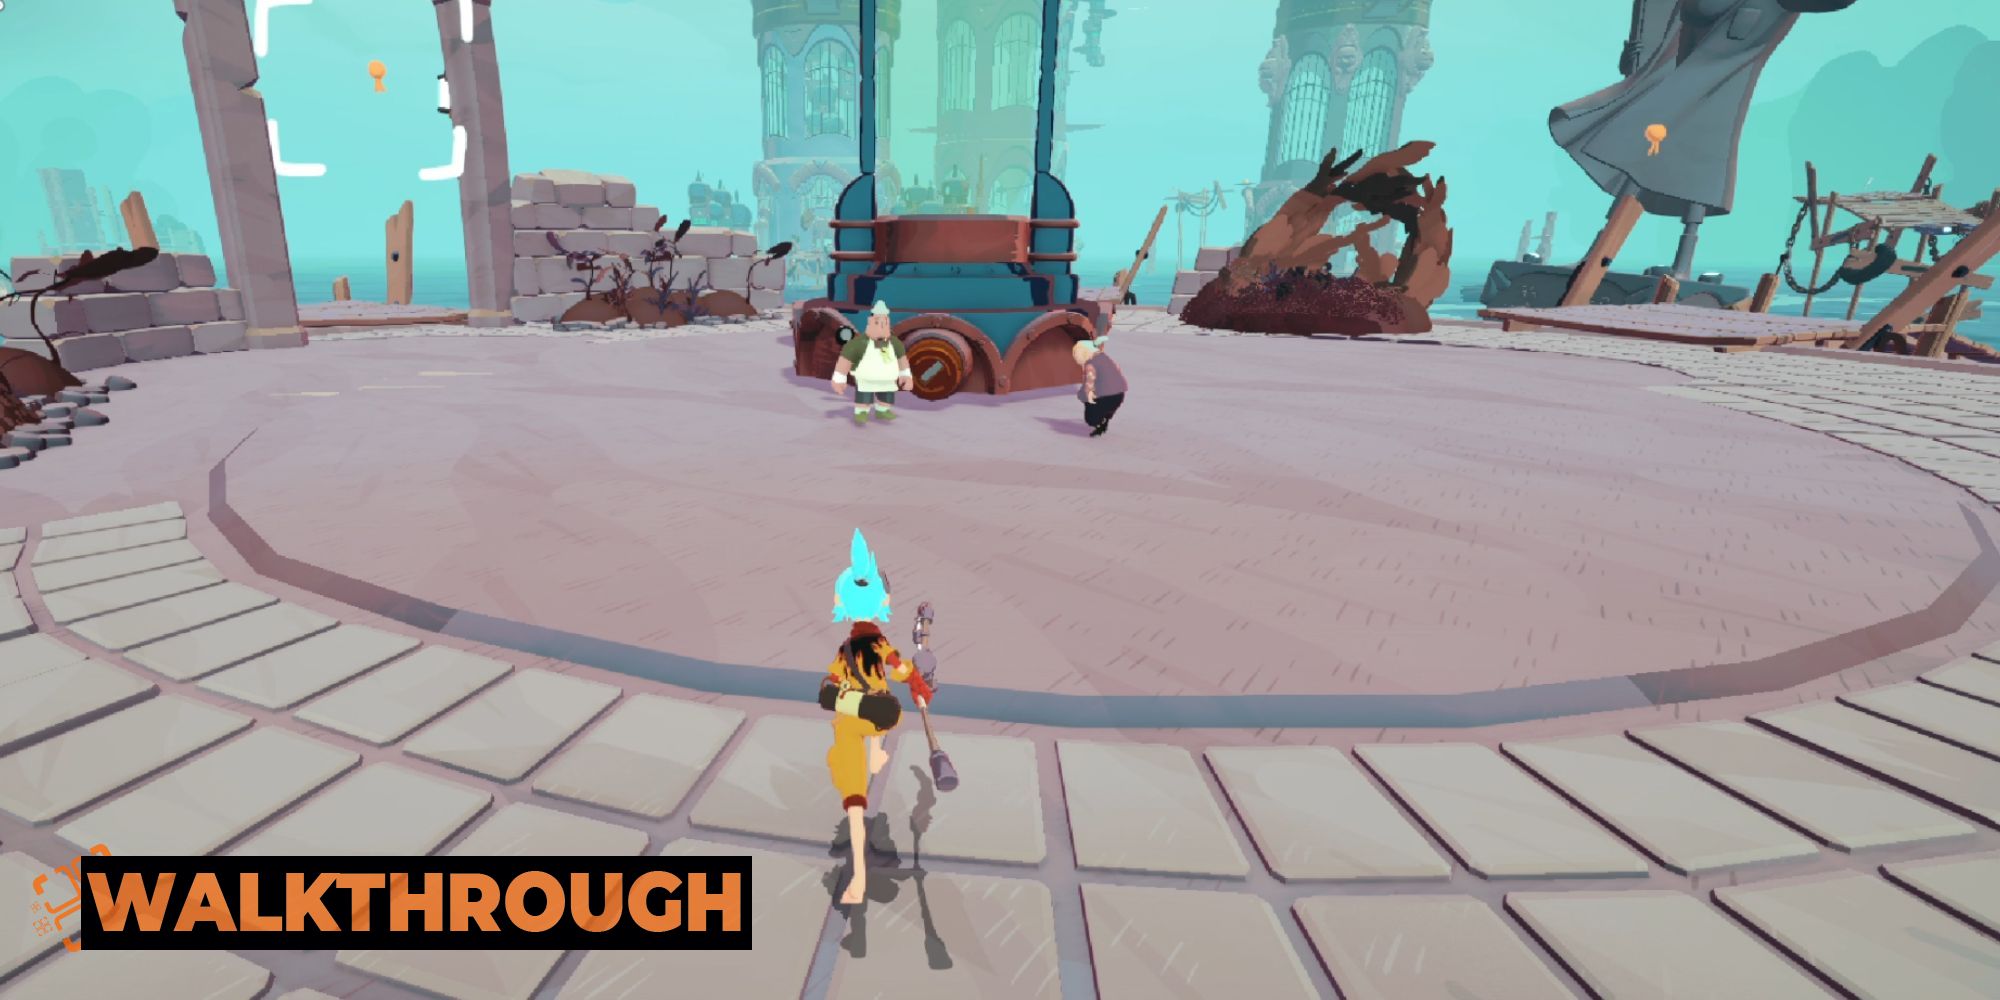
Once you free up the old man, head back to the path and reach Plaza to talk to Morris. He will tell you that the power is out and you'll have to find four sparks in the surrounding area while grandma works her magic on the machine.
First Spark
For the first spark, head toward the first small group of structures near the place where you talked to Morris. While you can do these in any order, the first structure shown in the picture above is on the left side and has a rough distance of 350 from Morris' location. Once you reach this, you'll find another human covered in gloom.
Follow the platform this person is standing on to the end and you'll see a wooden platform on the left side, as shown in the picture above. Jump on this platform and keep going up until you find a switch beside the gloom cloud. This cloud will disappear after you activate the switch by hitting it.
You'll also see an electric bar that you can pull yourself toward at the top of this building. Once you reach the top, the hard part starts as you have to use the combination of double jump and hover to reach the spark.
After you double jump and hover over to the wooden platforms in the distance, you will be able to pull yourself to another electric bar. On this platform, you need to activate the switch and use the lift to get to the top and get your first spark.
Second Spark
To find the second spark, head to the structure that is a little to the right of the northern direction on the scale at the top. As soon as you reach it, you'll be able to see a spark bar that you can pull yourself to. As you climb up and defeat monsters, you'll see a brown switch that can't be activated yet.
There will be a generator at the top of the building with white lines around it. Climb through the wooden boards around the building to reach the generator and activate it. This will activate the switch you saw earlier, and you can head back to it and hit it with your fishnet. Once that is done, the elevator in front will turn on.
Use it to reach on top of the highest building in this structure, and you'll find your second spark.
Third Spark
Head to the structure a little right of the eastern direction on the scale to find the third spark, which is quite easy. You'll see a set of stone stairs when you reach the area. Follow these upward until you see an elevator that will take you higher into the building.
You have to keep going up and take three elevators to find the third spark at the top. The path to this spark is quite straightforward using the wooden planks around the building.
Fourth Spark
After getting the first three sparks, there will only be one checkpoint left on the scale at the top. After reaching the checkpoint, pull yourself to the gloom slide to reach the main platform. You will find another set of stone stairs and wooden platforms around the building until you reach a brown switch.
In this structure, you have to activate two switches and use the springs that get activated with the switch. The second switch will be covered with a gloom cloud and might be a little hard to find.
Finally, use an elevator and jump on a couple more wooden and metal platforms to reach the spark at the top. After getting all the sparks, you have to hit the switch near Morris and fill the spark tank. You need to find a sparkcaster in the next part of the quest.
How To Find The Sparkcaster
After you deposit the sparks, the first tower will be marked as a checkpoint and you'll have to enter it. Inside the tower, you'll see a brown generator that you can activate. This will activate the elevator on the right side and it'll take you to another wooden platform a little higher.
There will be another working elevator on the edge of the building. Jump on it from the wooden platform when it comes down. Follow the wooden path that the elevator takes you to and you'll find a switch that activates the third elevator in this tower. Keep following the wooden path after going higher with this elevator.
In this area, you have to jump up a couple of wooden platforms to find two belts with multiple moving elevators on each of them. Use these to get to the top and activate the switch. This will make a bridge and allow you to get to the next tower.
Get to this tower and fall to the bottom where you'll find another generator that you can activate. Once activated, use the wooden platforms and the objects that you can pull yourself to. This will take you to the very top of this tower where you can activate a switch to make another bridge.
After you cross this bridge, you have to jump down and reach the wooden platform on the right as shown in the picture above. This will have another generator inside that will activate a bunch of spring objects that launch you when you pull yourself to them. Once you use a few of these launching objects, you'll have to jump across a bunch of wooden platforms.
At the top, there'll be a switch that will activate another launching object. Use this and get yourself to the platform in front. You can pull yourself to the edge of this platform. Here, you'll have to defeat a few enemies to free Cordelia Klout from the gloom, and she'll let you activate the sparkcaster using a switch.
How To Beat The Rig Field Area
The next part of this quest will take you to The Rig Field to find Mayor Klout. Upon following the scale and reaching the checkpoint, you'll find a generator at the bottom of a tower beside an elevator. Activate this and make your way up using the elevator and a couple of grapples.
When you go a little higher, you'll see the wooden path shown in the picture above. Jump to this path and follow it to the top and you'll find two people covered in gloom. After a cutscene here, you'll be introduced to a serpent for the first time. This is a giant machine that comes out of water.
When you try to activate the switch at the bottom, grandma will tell you that it might be set to manual override. At this point, you have to use the water and get to the tower that the serpent's feeding on. Activate the generator at the bottom and use the elevator beside it to go higher.
After the elevator, you'll be pulling yourself toward four grapples to get to another platform with a few enemies on it. You'll see a switch on top of a wooden path on this platform that will activate another elevator. Get on top with this elevator, defeat a few enemies, and activate the final switch to stop the serpent from feeding.
Follow the same process on the second tower until you get to the top and activate the final switch. There will be a lot more parkouring involved in this tower, and most of the grapples will be moving.
After activating the switch on the top, rush back to the switch at the bottom and activate it before the serpent gets to it.
How To Finish Sumthin's Up At The Plaza
After a small dialogue at the place where you met Morris, you'll have to activate four switches at different locations to run the power back to the lighthouse. You can follow the checkpoints on the scale at the top to get to these switches, and the parkour to get to them is pretty simple.
You just have to remember different mechanics while getting to these switches including double jump, hover, pulling yourself to objects, and diving underwater. If you use these methods correctly, the puzzles are quite straightforward.
On the fourth switch near the lighthouse, you'll have to get into the greenhouse and activate the switch. When you get inside, you'll have a cute cutscene with your shadow friend who'll give you a gift. Activating the final switch after the cutscene will finish this quest.
NEXT: Wavetale: Beginner Tips