Quick Links
- How To Craft The Sarofang
- Sarofang Stats And Features
- Sarofang Builds
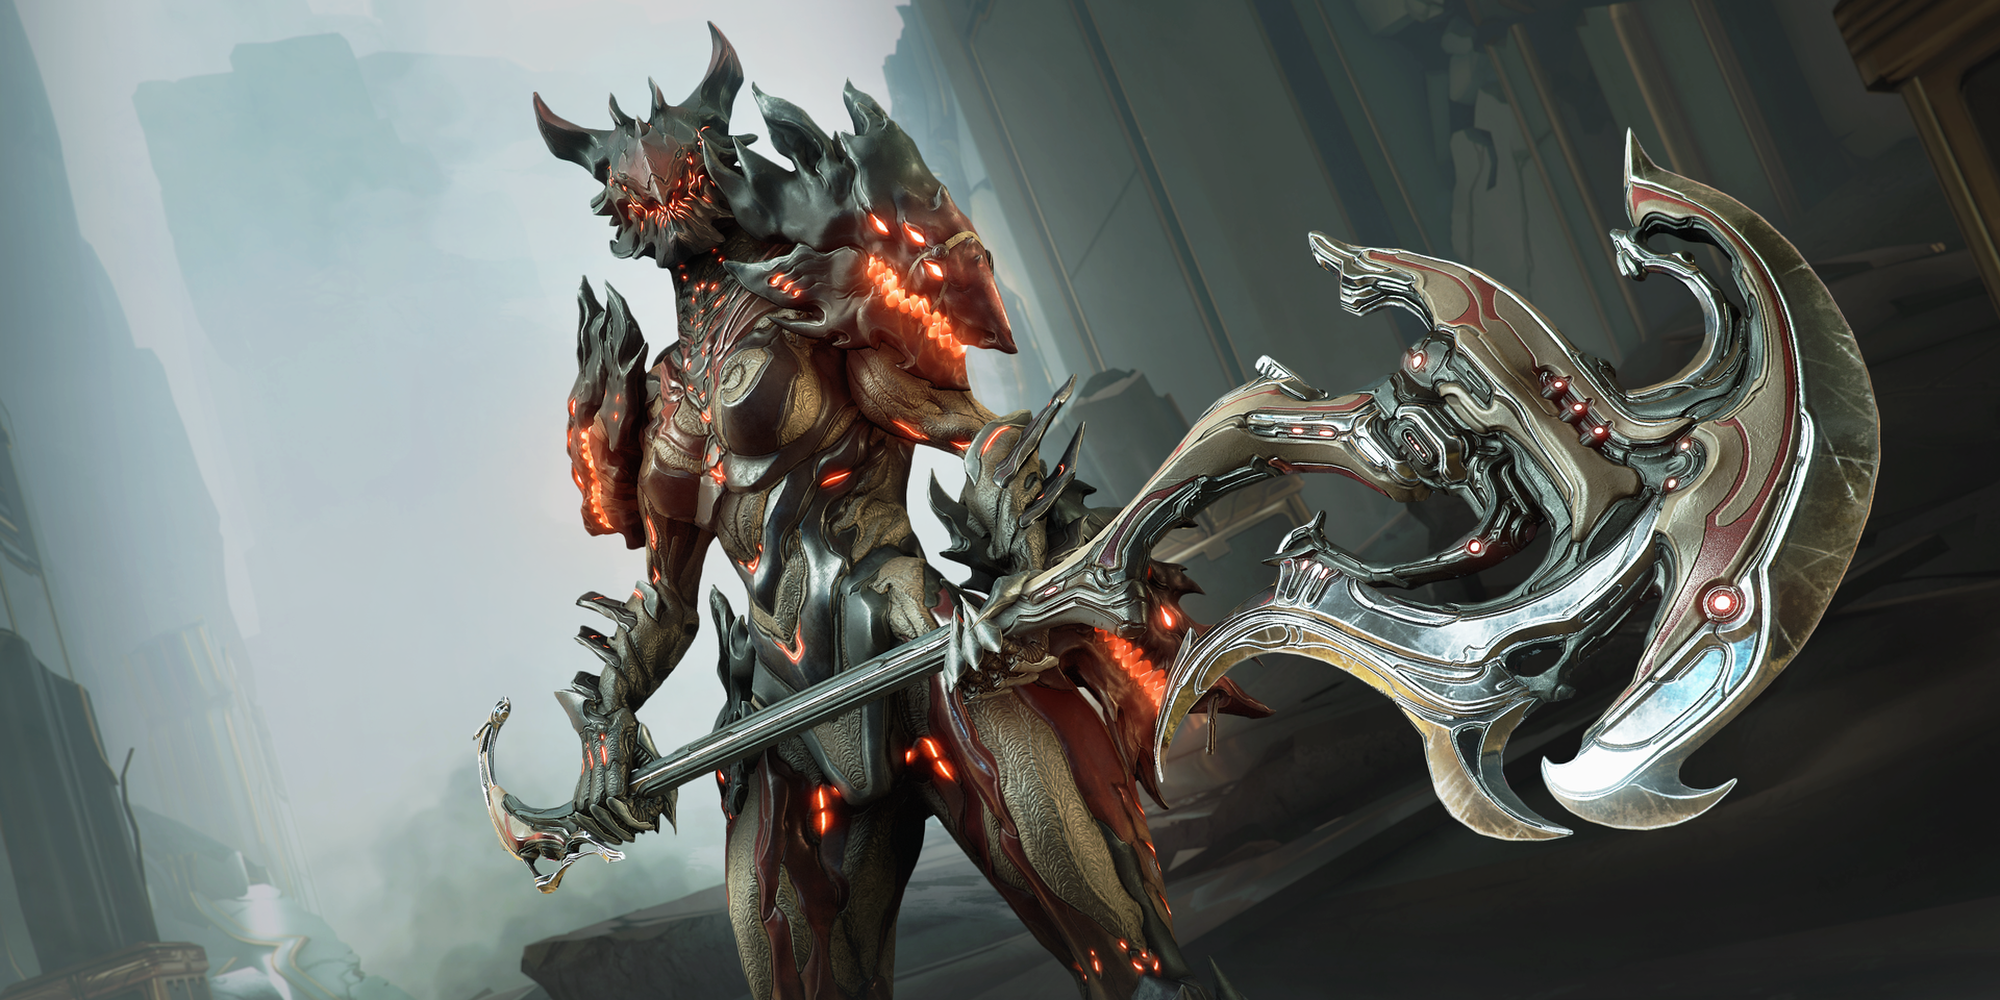
The Lua's Prey update for Warframe released the Voruna Warframe and two new weapons, both of which are signature weapons for everyone's favorite werewolf-themed character. The Sarofang is Voruna's signature melee weapon, a heavy blade capable of creating a vortex that sucks in lifted targets.
Related: Warframe: A Complete Guide To The Perigale
Fans of heavy blades should consider giving the Sarofang a try, as its unique mechanic is a more consistent version of the Zaw's Exodia Hunt Arcane. When used by Voruna, you can turn this heavy blade into an absolute powerhouse with great crowd control and solid damage. This guide will showcase how you can get your hands on the Sarofang and some of this weapon's best builds.
How To Craft The Sarofang
The Sarofang's components drop from Conjunction Survival nodes on Lua. Parts have a small chance of dropping with every reward interval, the Circulus node having slightly better drop rates. The Lua Thrax Plasm you need to craft the Sarofang drop every five minutes in Conjunction Survival.
Additionally, you may purchase Sarofang parts from Archimedean Yonta aboard the Zariman. Obtaining Sarofang parts this way will cost you 200 Lua Thrax Plasm for all three components (blueprint, blade, and handle). Exact drop rates and purchasing costs can be found in our Conjunction Survival guide.
Sarofang Crafting Requirements
50 Lua Thrax Plasm
Sarofang Blade
Sarofang Handle
Credit Cost: 20,000
Build Time: 24 Hours
Return to Quick Links
Sarofang Stats And Features
Sarofang Stats
Damage
Impact: 80.0
Puncture: 8.0
Slash: 112.0
Total Damage
200
Heavy Attack
1,200
Attack Speed
1.17
Critical Chance
20%
Critical Multiplier
2.0x
Status Chance
20%
Misc.
Weapon Type
Heavy Blade
Blocking Angle
55°
Combo Duration
5 Seconds
Follow Through
0.6
Range
2.6 Meters
The Sarofang is a heavy blade featuring fast attack speed, moderate base damage, and mediocre critical and status chance compared to its competition. It won't outperform a Gram Prime or Paracesis for raw damage, yet the Sarofang has one trick up its sleeve: slam attacks.
With at least x8 Combo Multiplier (x5 for Voruna), slam attacks will pull lifted targets from up to 12 meters away. You can easily inflict the lifted status by using a heavy slam attack with the Sarofang, lifting enemies in roughly an eight-meter radius before grouping them in a tight ball. Follow up with a melee heavy attack or a Warframe ability to make short work of the clustered targets.
Besides heavy slam attacks, you can also inflict the lifted status by using certain melee combos, neutral heavy attacks, or Naramon's Void Levitation ability on your Operator. These effects are somewhat clunky to use, however, so we recommend sticking with heavy slam attacks whenever you need to group up targets.
Return to Quick Links
Sarofang Builds
We'll be showcasing two Sarofang builds today that require either no Forma or major investment. In general, the Sarofang's mediocre critical and status chances really hurt the weapon's overall DPS when paired against other heavy blades, so you'll want to use this weapon alongside Voruna to act as a CC stat stick of sorts, pulling targets together when you're about to cast an ability.
For stances, we recommend Rending Crane or Tempo Royale. Rending Crane fits the Sarofang's default Stance polarity and has a great mix of mobility and damage. Tempo Royale is similar for the most part, so what you pick is entirely down to preference. Cleaving Whirlwind is also an option if you care more about damage than mobility.
Sarofang Riven Mods
The Sarofang has a 1/5 Riven Disposition, greatly limiting the stat values of your Rivens. It's recommended to avoid using Rivens on the Sarofang altogether until its disposition improves. If you're fortunate enough to get a Sarophang Riven, keep an eye out for critical damage, critical chance, and attack speed.
Starter Build (0 Forma)
- Forma: 0
This setup scales the Sarofang's critical and status effects without using Forma. For almost every player, we recommend sticking with this build; the endgame build requires far more Forma than we think the Sarofang deserves. If you want to follow up your heavy slams with neutral heavy attacks, you'll need some form of heavy attack efficiency. You can replace Drifting Contact with Reflex Coil, equipping the Naramon Focus School to extend your combo duration in place of a mod. Alternatively, play Voruna and use her third passive.
Primed Pressure Point scales our weapon's base damage, and we use Quickening to increase our attack speed while gaining slightly more combo with each hit. You can replace Quickening with Berseker Fury if you aren't making this weapon into endurance content. You can also replace Pressure Point with Condition Overload if you're using some type of status primer—Voruna's second ability, the Zekti pistol, etc.
You'll then want to boost the Sarofang's critical stats by using Sacrificial Steel and Organ Shatter, increasing the weapon's critical chance and multiplier, respectively. Blood Rush is a decent alternative to Sacrificial Steel although requires a ramp-up period to start working.
For elements, you can rock either Viral or Corrosive. We'll be using Viral by combining Virulent Scourge and Vicious Frost, both of which also increase our status chance per swing. Top off the build with a combo duration mod like Drifting Contact, and you should have a solid melee weapon for all Star Chart content. Remember that you can use a heavy slam attack at x8 Combo Multiplier to group up enemies, making it quite easy to clear out packed rooms of enemies.
Return to Quick Links
Endgame Melee For Voruna (6 Forma)
- Forma: 5-6 (D in Stance (optional), 3V, D, –)
For the listed investment, we find the Sarofang's performance subpar. Only use this build if you love the Sarofang's gimmick and prefer it over a crafted Zaw with Exodia Hunt.
This build assumes you're using the Voruna Warframe while wielding the Sarofang. If not, use a status primer like the Zekti for optimal DPS.
We'll be tuning the Sarofang around Voruna's ability kit to maximize its damage output. We'll be using Voruna's second ability, Fangs of Raksh, to prime targets with status ailments. This will activate Condition Overload to give our weapon a drastic base damage increase. An attack speed boost from Primed Fury should make your melee combos feel quite responsive. If you don't have Primed Fury, Berserker's Fury or Quickening work fine.
Critical stats need some help on the Sarofang, so we'll be using Sacrificial Steel alongside Blood Rush to greatly boost our critical chance into orange crit territory, multiplying our damage further with Organ Shatter. Build for Viral damage through Primed Fever Strike and Vicious Frost, and equip Healing Return to become nigh-unkillable while striking anyone afflicted with multiple status effects.
If you already have a method of healing, you can drop Healing Return for something else. We recommend Weeping Wounds, replacing Vicious Frost with North Wind to give yourself enough mod space. Drifting Contact or Body Count will also work if you aren't using the Naramon Focus School.
Return to Quick Links
Next: Warframe: A Complete Guide To The Hek