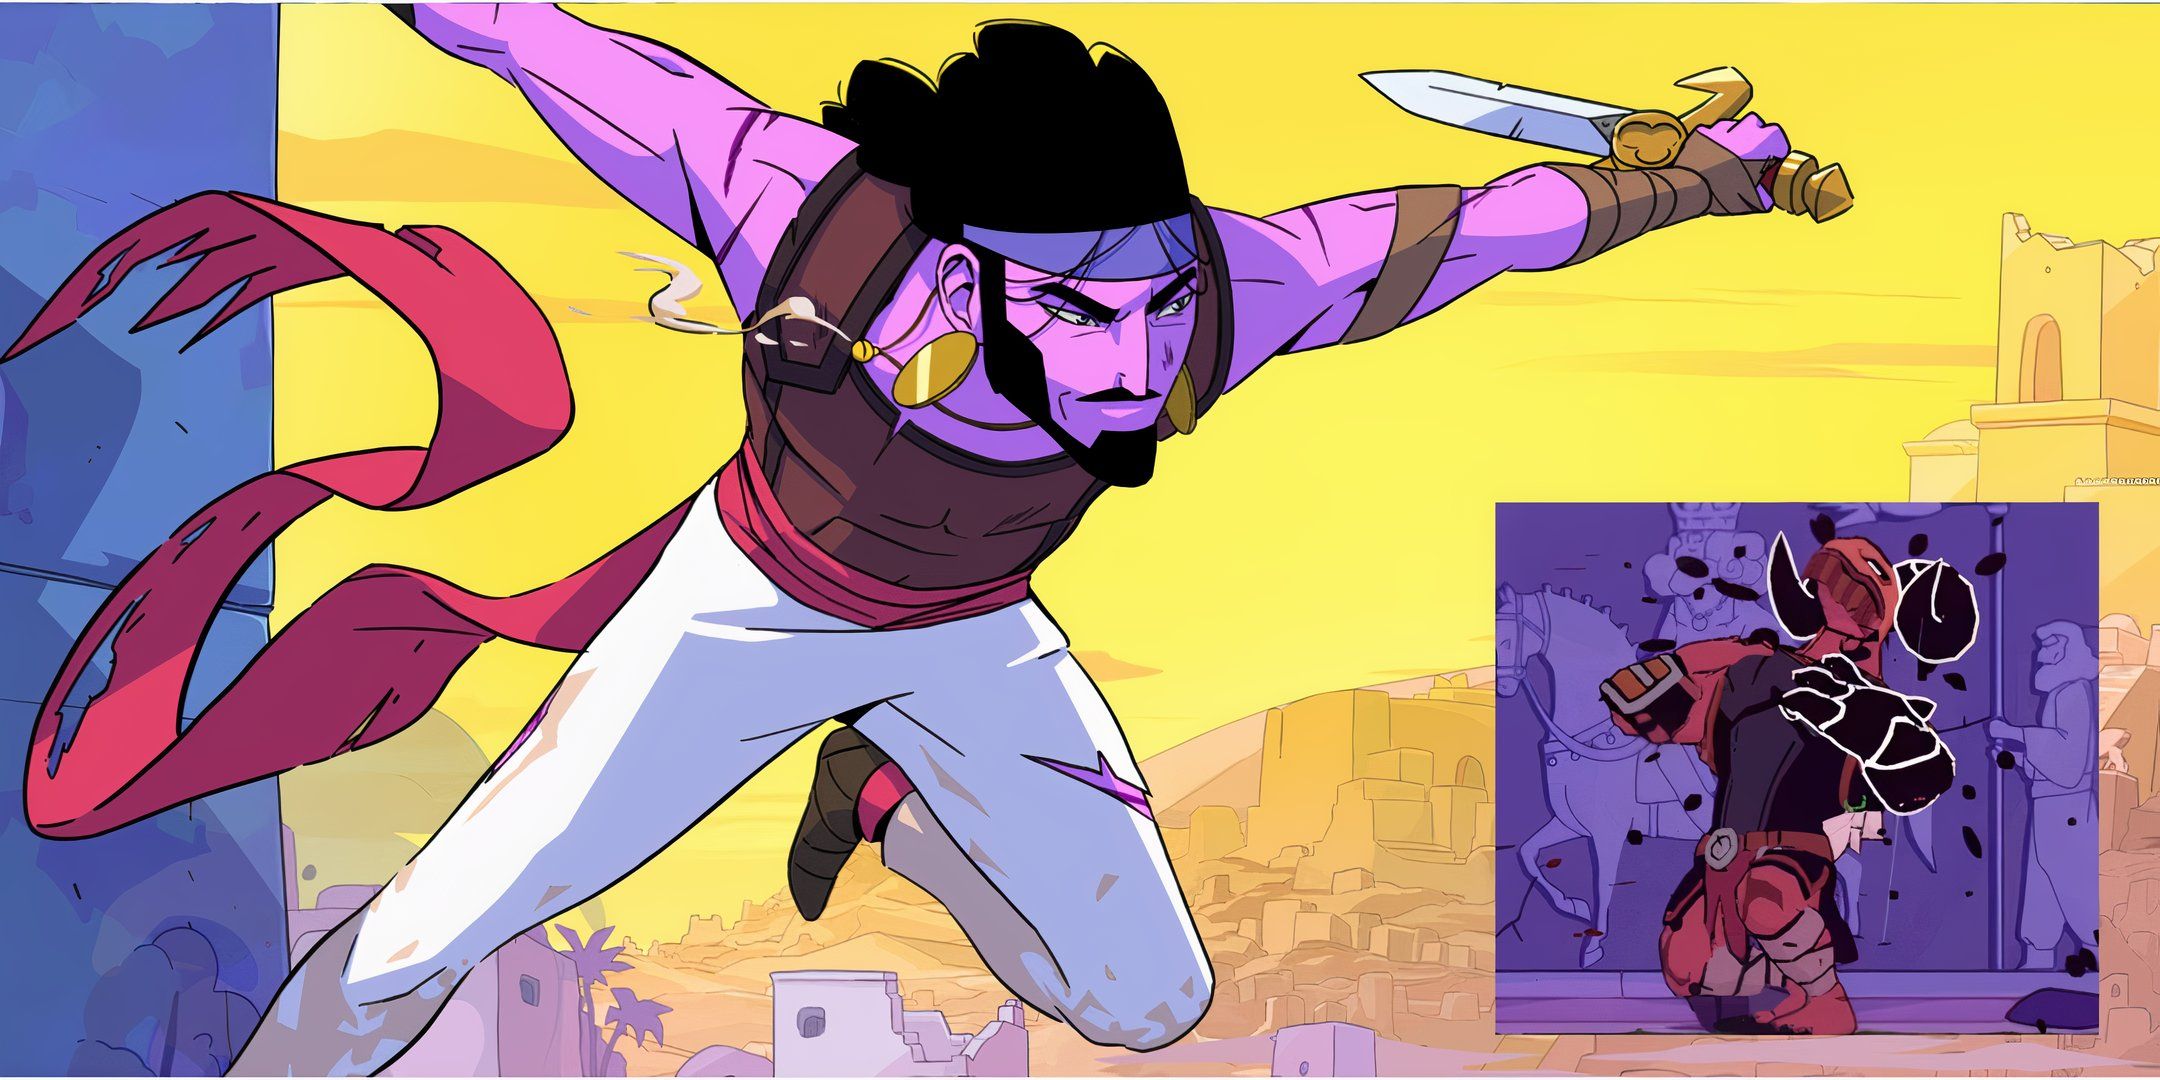
The Rogue Prince Of Persia: General Berude Boss Fight Guide
Berude is the first boss fight you'll encounter in The Rogue Prince of Persia and she's intimidating. Most enemies you've faced have died in the length of a single melee combo, and now you're seeing a health bar in the thousands. It's understandable to panic at that alone.
RelatedThe Rogue Prince Of Persia: 9 Beginner Tips
Going back to its 2D roots, there's a lot to learn in The Rogue Prince of Persia with its new roguelike elements. Find some useful tips here!
PostsDefeating Berude is a requirement to get further in the game. Key objectives like rescuing Shahin are only possible if you're able to defeat the Hun General with some consistency. Here's how to counter everything she throws at you during the boss fight, and come out on top regardless of what gear you roll.
Berude's Attacks
Berude's attacks are a lot less clean than what you've encountered so far. Spear soldiers make it very clear that they're going to stab in one direction. Bow and crossbow soldiers have clean lines they aim along and slow-moving projectiles. Berude's projectile attacks move fast and her melee attacks throw up shockwaves that take extra effort to evade. Here's her toolkit and which attacks you'll be able to exploit to hit her back.
Ranged Tremors
Standing on either side of the arena, Berude will throw waves of rumbling earth.
You need to dodge vertically to avoid the tremors. The smallest can be hopped over, and the largest need wall running and jumping. A few will instead be thrown above you and are avoided by staying on the ground.
She ends this attack with a single wild swing that repositions her to the centre of the arena and leaves her vulnerable to counterattacks.
Jump
Berude will leap up and out of the arena. A targeting mark will appear on top of the screen to signal where she is going to reappear, slamming the ground and emitting a short-range blast and a tremor that crosses the floor of the arena. Berude can repeat this attack several times in a row.
The best defence is to run horizontally as soon as you see Berude jump. The shockwave follows the ground, so running along the wall horizontally decreases your chance of being hurt and lets you leap over the tremor.
This attack does not leave her vulnerable afterwards. She mostly uses it to get into position for using other attacks. Landing in the middle suggests she'll use wild swings, and she'll leap to the sides before using ram charge or ranged tremors.
Ram Charge
Berude will lower her head and a ram horn symbol will appear over her. She will then charge directly across the arena with a trail of sharp rocks following her. She repeats this additional times as her health decreases. Once more when she loses a third of her health and a third time in her second phase.
You need to dodge this by running up the wall. The trail behind her is also able to damage you, so you want to move diagonally upwards and towards her to jump over the trail. This sets you up in a perfect position to repeat the dodge if she repeats the move.
After her final charge in the series, she will slump for a moment and be vulnerable. The number of charges she does isn't always consistent, so be careful about trying to predict this moment of weakness.
Wild Swings
Berude hops forward repeatedly while swinging. Each swing releases a pulse around her as she lands. When she reaches the edge of the arena she turns around and continues until reaching the center.
You want to avoid this by running up the wall and over her between the swings. She will only turn around when reaching an edge, so standing behind her is safe. The shockwave from the impacts will prevent you from backstabbing with most weapons.
After using this move she will collapse for several moments and become vulnerable. This is your main opportunity to deal damage.
Claw Swipe
If the Prince is standing next to Berude she'll attempt a simple swing with her clawed hand.
This is easy to dodge as long as you aren't locked into a long attack combo.
You'll most often see this move after she recovers from being staggered. It can punish you for being too aggressive while she is vulnerable. You'll get a feeling from practice for how long Berude is vulnerable before you risk this counterattack.
Best Weapons And Tools For Fighting Berude
Baatar's Strengths
Berude can punish certain playstyles that work very consistently against the enemies leading up to her.
- Her wild swings have a large enough shockwave to hit behind her. This prevents you from vaulting over her to dodge attacks, or striking from behind while she is distracted.
- Her ram charge throws out chunks of rock that persist in the arena. These can block ranged tools from hitting her unless they have piercing, or you jump before firing.
- Weapons that depend on long combos to deal damage will not be able to pull off their full moveset in the time Berude remains staggered. The Falcata is a nice weapon hypothetically, but you're never going to land the 30-hit combo it needs for maximum damage.
Baatar's Weaknesses
She also has pronounced weaknesses you can take advantage of, especially with the right weapons, tools and medallions:
- The throwing chakras can take advantage of her large size to hit multiple times. You can quickly find an ideal distance to stand from her for the weapon to hit three or more times. Paired with a medallion that restores energy on long-range attacks, this will give you infinite use of your tool attacks.
- Since you spend most of the fight running along and up the wall, upgrades to your dive attack can give you a consistent boost to damage.
- Damage over time effects will persist while she is using attacks that do not leave her vulnerable. Applying elemental combos like poison resin or resin flame will wear her down quickly.
- Weapons with a long-range attack can backstab her through the shockwaves of her wild swing combo. The spear throw is the safest choice for this but deals relatively low damage.
How To Defeat Berude's Second Phase
Berude enters a second phase after losing half of her health. She'll become briefly invulnerable until the end of her current attack pattern, and then jump to the centre of the arena. Here she will smash the background wall of the arena, giving you less space for running along it but still enough to dodge all her abilities.
Immediately after smashing the wall, Berude will refresh her shields. You can run up the wall and time a dive attack to break her shields as soon as they appear.
She doesn't use any new attacks in this phase but her charge attack can now repeat up to four times. It's the most heavily impacted ability by the shrunken wall, which is tallest in the centre. You want to evade the charge by running up and towards the middle from wherever in the arena you were previously standing.
General Tips And Tricks
Some minor optimizations aren't needed to beat Berude but can help you win quickly or stylishly.
Tip
Application
Boulder Farming
The boulders she summons count as enemies for certain medallion effects that activate on kill. The medallion that gives money on kill can hypothetically give you infinite gold, but would require you to spend hours dodging the very angry Berude.
Practising Phase 2
You can see from the start of the fight the cracked lines along the back wall which will later be broken. Staying within these lines will train you to not rely on the extra space when you reach the second phase.
Interrupting The Ram Charge
Her ram charge can be interrupted if you use a dive attack on her head or back as she passes. You can take damage from doing this, so need to carefully test the limits of how this works.
Kicking Berude
When she does a battlecry before attacking she can be staggered with a kick. The window for doing this is a bit unpredictable, but you can semi-consistently land one after she recharges her shields for phase two.
With My Eyes Closed Achievement
There's an achievement to defeat Berude without taking a single hit. You can get this if you play extra safe and only attack during confirmed staggers.
With Berude defeated you can continue to the Tower of Oblivion, where you can rescue Shanin.
RelatedThe Rogue Prince Of Persia: Baatar Boss Fight Guide
The second boss of The Rogue Prince Of Persia surely likes to use beams. Check out all of Baatar's attacks in this guide.
Posts