Prince Of Persia: The Lost Crown - The Architect Side Quest Walkthrough
Mount Qaf is a dangerous place to be in Prince of Persia: The Lost Crown. Not only is it filled with corrupted creatures and soldiers driven mad by being lost in time, but there are a myriad of traps and puzzles that exist to keep intruders out.
RelatedPrince Of Persia: The Lost Crown - How To Unlock Every Area's Map
Prince of Persia: The Lost Crown's Mount Qaf's size can seem pretty daunting - here's how to uncover the map and make things a bit easier.
PostsSome of these puzzles hide more than just a way to progress, though, and that's just the way their creator intended it. Some of them are special and have treasures hidden within them, but it's going to take a lot of exploring and an equal amount of brains and brawn to solve the Architect's puzzles.
How To Start The Architect Side Quest
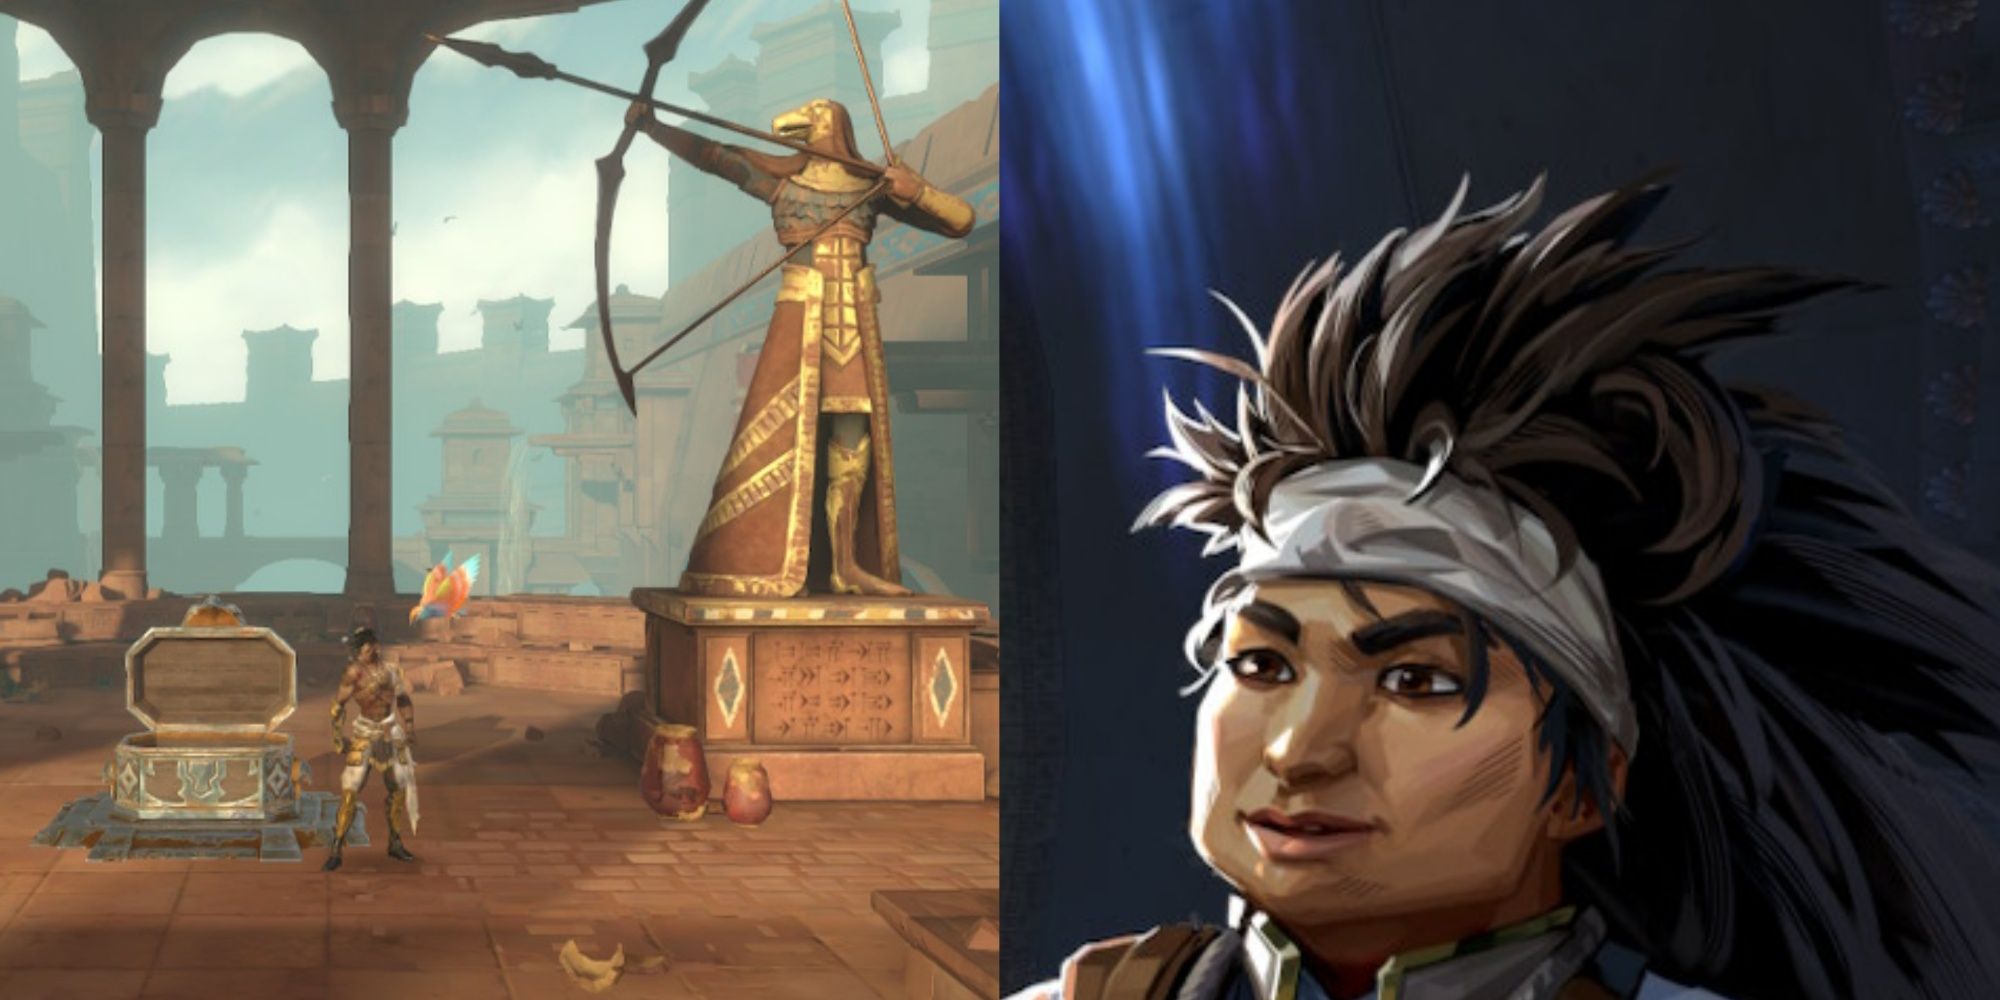
To start The Architect, you'll first need to find the Architect herself, and you can find her in a small room marked by a bowl-like shape in a massive room located in theUpper City.
You'll need to have progressed in the story far enough to obtain the Fabric In Time power to reach this room.
Once you reach the correct room, head down to theright corner and cross over the spikes using the Fabric of Time, and go inside the room. Speak with Maryam, the Architect, and she'll be surprised to see a warrior after so long.
Turns out Maryam is the creative mind behind many of the traps, mechanisms, and puzzles in Mount Oaf.
In return for honoring her, she gives you a task: find all her hidden treasures, and she'll let you into her workshop.
How To Find The First Treasure
One of the easiest treasures to find is located in the Lower City in a large room marked by a standing figure with wings.
Starting from The Haven fast travel point, head left out of the room, go across the elevator, and through the left doorway again. A few steps into the room, you'll find two statues aiming their bows into the air.
Use your bow and shoot an arrow into the empty space between both statues and your first mystery chest will appear on the metal plate between the statues. For solving the puzzle, you'll obtain the Zurvan's Voice amulet.
How To Find The Second Treasure
The second mystery chest you can find is in the Hyrcanian Forest, and it's located in a small rectangular room with a Wak-Wak tree just one room south of the Forest Ruinsfast travel point, near a shortcut point.
You can also reach the area specified by starting from The Haven fast travel point, exiting to the right, going across the vertical room, taking the exit in the top right corner, andthen continuing all the way right into Hyrcanian Forest.
For this puzzle, you'll need to do a bit of lawn care: you'll need to totally cut down allfour patches of red grass on the platforms before they can grow back.
Each patch of grass takes around three seconds to regrow, and it can be cut by any weapon: sword, chakram, and bow.
You can also cut the grass patches down in any order, so you're free to figure out your preferred route. One example of a potential route is:
- Use your Shadow of Simurgh to create a shadow on the platform you want to start on, then cut the grass across from it.
- Teleport back to the platform, then cut that grass down.
- Go to the third platform, make another shadow there, then dash across to the next.
- Cut that down next, then teleport back to the last platform to solve the next puzzle.
In return for solving the puzzle, you'll obtain a Soma Tree Petal for your efforts.
How To Find The Third Treasure
The third mystery chest is located in the Sacred Archives, in a small rectangular room just above the large vertical room marked by a half-open eyeball.
From the Sacred Archives fast travel point, exit out the pathway in the bottom right corner of the room leading downwards, and head down into the room. Take the second exit in the bottom right corner, and you'll be in the puzzle room.
For this puzzle, all you'll need to do is sit in the empty spot where one of the Mad Alchemists used to be.
Stand over the marked spot, and then crouch down in place to solve the puzzle, and receive another Soma Tree Petal.
How To Find The Fourth Treasure
Maryam's fourth treasure is hidden in the Tower of Silence, and the closest fast travel point to start from is the Tomb Entrance.
Jump down from the fast travel point room and continue heading downwards until you reach the room marked by tilted pillars with platforms on them.
Take the exit at the bottom of this room, and you'll find thepuzzle area on the right side of the room on the bridge.
Solving this puzzle requires you to position yourself so that the structure looks whole and then throw your chakram into the center of it.
You'll need to be on the right side of the structure, and if it's lined up properly, you'll get your reward: another Soma Tree Petal.
How To Find The Fifth Treasure
The fifth mystery chest is in the Pit of Eternal Sands, and its puzzle is in a large room south of the Sentinel's Road fast travel point.
Starting at the Wak-Wak tree right next to it, jump down into the pathway leading through the floor and follow the path down to the room.
You'll end up in a room with two large statues and a crushing trap near the metal plate that uses the snake-headed pillars seen elsewhere in the region.
To solve this puzzle, you'll need to crush an enemy between the snake-headed pillars, specifically any one of the several stone-based enemies, such as the stone-statue warriors that are occasionally found along bridges and outside areas in the Upper City.
One such enemy can be found on the ground near the Night Temple fast travel point.
Once you have one grabbed with Dimensional Claw, bring it back to the puzzle room and deposit it in the free space where the trap triggers.
The snake-headed pillars will crush the enemy, and you'll be able to get a mystery chest containing another Soma Tree Petal.
How To Find The Sixth Treasure
The sixth mystery chest is located in the Sunken Harbor, not too far from the location of another side quest objective. From the Pirate Village fast travel point, exit the room to the right and head to the vertical room with hanging platforms.
Leave that room via the exit on the right wall, and continue right and down past the Wak-Wake tree and into the large room. Take the right pathway into the small room, and you'll arrive at the puzzle.
Solving this puzzle requires beating this game of tic-tac-toe, and you'll need to throw your chakram into the empty slot in the top left corner of the board, but you aren't done just yet.
The chest that appears is actually a Mimic, and you'll need to defeat it. It primarily tries to lash you with its tongue while hopping around, throws axes at you, and can charge at you as an unstoppable move.
Defeat the Mimic, and you'll get your reward from the puzzle: the Ard's Fortune amulet.
How To Find The Seventh Treasure
Another of Maryam's treasures is hidden at the Soma Tree, and you'll need theDimensional ClawTime Power in particular to complete its puzzle.
From the Soma Tree fast travel point, exit out of the left doorway and follow the path upwards past the exploring purple bulbs.
Grab one of the exploding bulbs with the Dimensional Claw on the way, then stop once you reach the top of the hill halfway through the room.
Jump over onto the ruins and slide into the area to the left, and you'll find yourself in another room with platforms, exploding bulbs, and a wall you'll need to break down with a bulb.
Blow up the wall, then continue through until you see a swirling purple doorway.
Go through it, and you'll find another plate and another of Maryam's puzzles. To solve this puzzle, you'll need to position the statues correctly.
You can read the tablet on the left side of the room for a hint about where or how to position the statues.
- First, use the Dimensional Claw to grab the statue on the right, and bring it to the empty pedestal near the swirling doorway, then interact with it to make the statue face to the west.
- Next, drop through the platforms on the right and down to a small area at the bottom with a large statue facing forward.
- Third, grab the large statue with the Dimensional Claw, take it back to the central area, and place it on the empty middle pedestal. Make sure that the large statue is facing towards the small statue on the right.
- Fourth, grab the small statue on the left with the Dimensional Claw and remove it from its pedestal. It can be placed anywhere.
- Go all the way to the platform on the left side and wall-jump up to a larger area at the top with a giant statue in red. Grab it, and take it back down.
- Finally, place the giant statue on the empty pedestal, and make it face the large statue to solve the puzzle.
Another mystery chest will appear on the plate in the center, and you'll receive a valuable Azure Damascus Ingot from the chest.
How To Find The Eighth Treasure
The eighth mystery chest is located in The Depths, and it's close to the Scrapper's Hideout fast travel point on the map.
Starting there, leave the room via the right pathway and follow it until you can go down through the platform and to the right again.
In the vertical room with breakable platforms, take the right exit and follow it to a small room with two round red faceplates.
You'll need to light up both faceplates at the same time using Kalux's light. First, jump up and make a Shadow of Simurgh close to the right faceplate.
Then, jump over and light up the left faceplate with the real Sargon to make the chest appear. You'll get the Shockwave amulet as a reward.
How To Find The Ninth Treasure
The ninth mystery chest is located in the Sacred Archives, and you can reach the puzzle room by starting at the Temple of Knowledge fast travel point.
From the statue, exit the room through the left doorway and continue all the way left until you reach a large, rectangular room filled with a three-by-three square of black-and-red tracking block pads.
For this puzzle, you'll need to make a specific pattern out of the tracking blocks without dying to any of them. The top two blocks on the right column, the two center middle blocks, and the bottom middle block needto be filled in.
One possible route is hinted at by the directions on the block pads themselves, but you're free to do it in any order as long as you make the pattern.
- One method is to start from the top right platform, and jump down in front of the top two pads on the right.
- Let yourself fall past the bottom middle pad.
- Then, jump once and dash through the center middle blocks to the left.
As a reward for solving the puzzle, you'll get another mystery chest that contains an Amulet Holder.
How To Complete The Architect Side Quest
With all nine mystery chests located, your quest will update, and you'll need to return to Maryam in the Upper City. Go back to her room near the Night Temple, and you'll have one last puzzle to solve.
So far, each of the mystery chests you've found has had a number and a symbol, and they match up with the floating tablets rotating around. Use your bow to hit each symbol in order from one to nine.
Using your chakram will hit the symbols too much and cause the sequence to fail.
Symbol Order
Description Of The Symbol
1st
The Triangle with a pyramid at the bottom (First Mystery Chest).
2nd
The Diamond with a gear-like shape in the middle (Second Mystery Chest).
3rd
The Rotating arrow pointing upwards (Third Mystery Chest).
4th
The diamond shape that resembles a target (Fourth Mystery Chest).
5th
The vertical shape made of two interconnecting diamonds (Fifth Mystery Chest)
6th
The triangle with another triangle in the middle and three smaller triangles below it (Sixth Mystery Chest).
7th
The horizontal shape made up of criss-crossing lines (Seventh Mystery Chest).
8th
The solid shape with jagged edges on both sides (Eighth Mystery Chest).
9th
The horizontal shape with four curved lines in each corner and a diamond in the center (Ninth Mystery Chest).
Once all the tablets are lit up, Maryam and you will briefly discuss the nature of her inventions, and she'll tell you that you can enter her workshop.
Inside Maryam's workshop, you can pick up three collectible items: the Astronomical Mechanism, Mathematical Formula Calculator, and Official Scroll: Royal Decree in the first section.
In the middle of the room, you'll find Maryam and another collectible item, The Architect and the King, and on the far right end, you'll receive a Soma Tree Flower.
NextPrince of Persia: The Lost Crown - The Lost Warriors Side Quest Walkthrough
Free these warriors!
Posts