Quick Links
- Sublevel 1
- Sublevel 2
- Sublevel 3
- Sublevel 4
- Sublevel 5
The names of caves in Pikmin 4 usually tie into mechanics or bosses introduced in the following sublevels. When exploring the Ultimate Testing Range in Giant's Hearth, it's unclear what prompted this cave to bear the daunting name. That is until you reach the final sublevel, where you face the Man-at-Legs.
Related: Pikmin 4: Giant's Hearth Treasure Guide
This creature can't crush or eat your Pikmin; instead, it shoots at you with a machine gun. You'll need to minimize Pikmin losses if to stand a chance against this gun-wielding Spider. However, since the enemies on previous sublevels use a variety of elemental attacks, keeping your Pikmin safe is no easy task.
Sublevel 1
The only enemies on this floor are four Venom Dweevils. You can dispatch these enemies with Oatchi equipped with the Sniff Saver gear, which can be purchased from Russ for 100 raw materials.
If you take these enemies down without White Pikmin, prepare to whistle your squad to help them recover from the poison. Whistle over your Pikmin as the creature is about to emit poison, this will instantly cure their ailment.
There are also five Winged Pikmin burrowed here to collect. Winged Pikmin are invaluable for dealing with flying enemies on later sublevels.
Treasure/Castaway
Details
Relentless Spear
Southwest area, near entrance to next floor
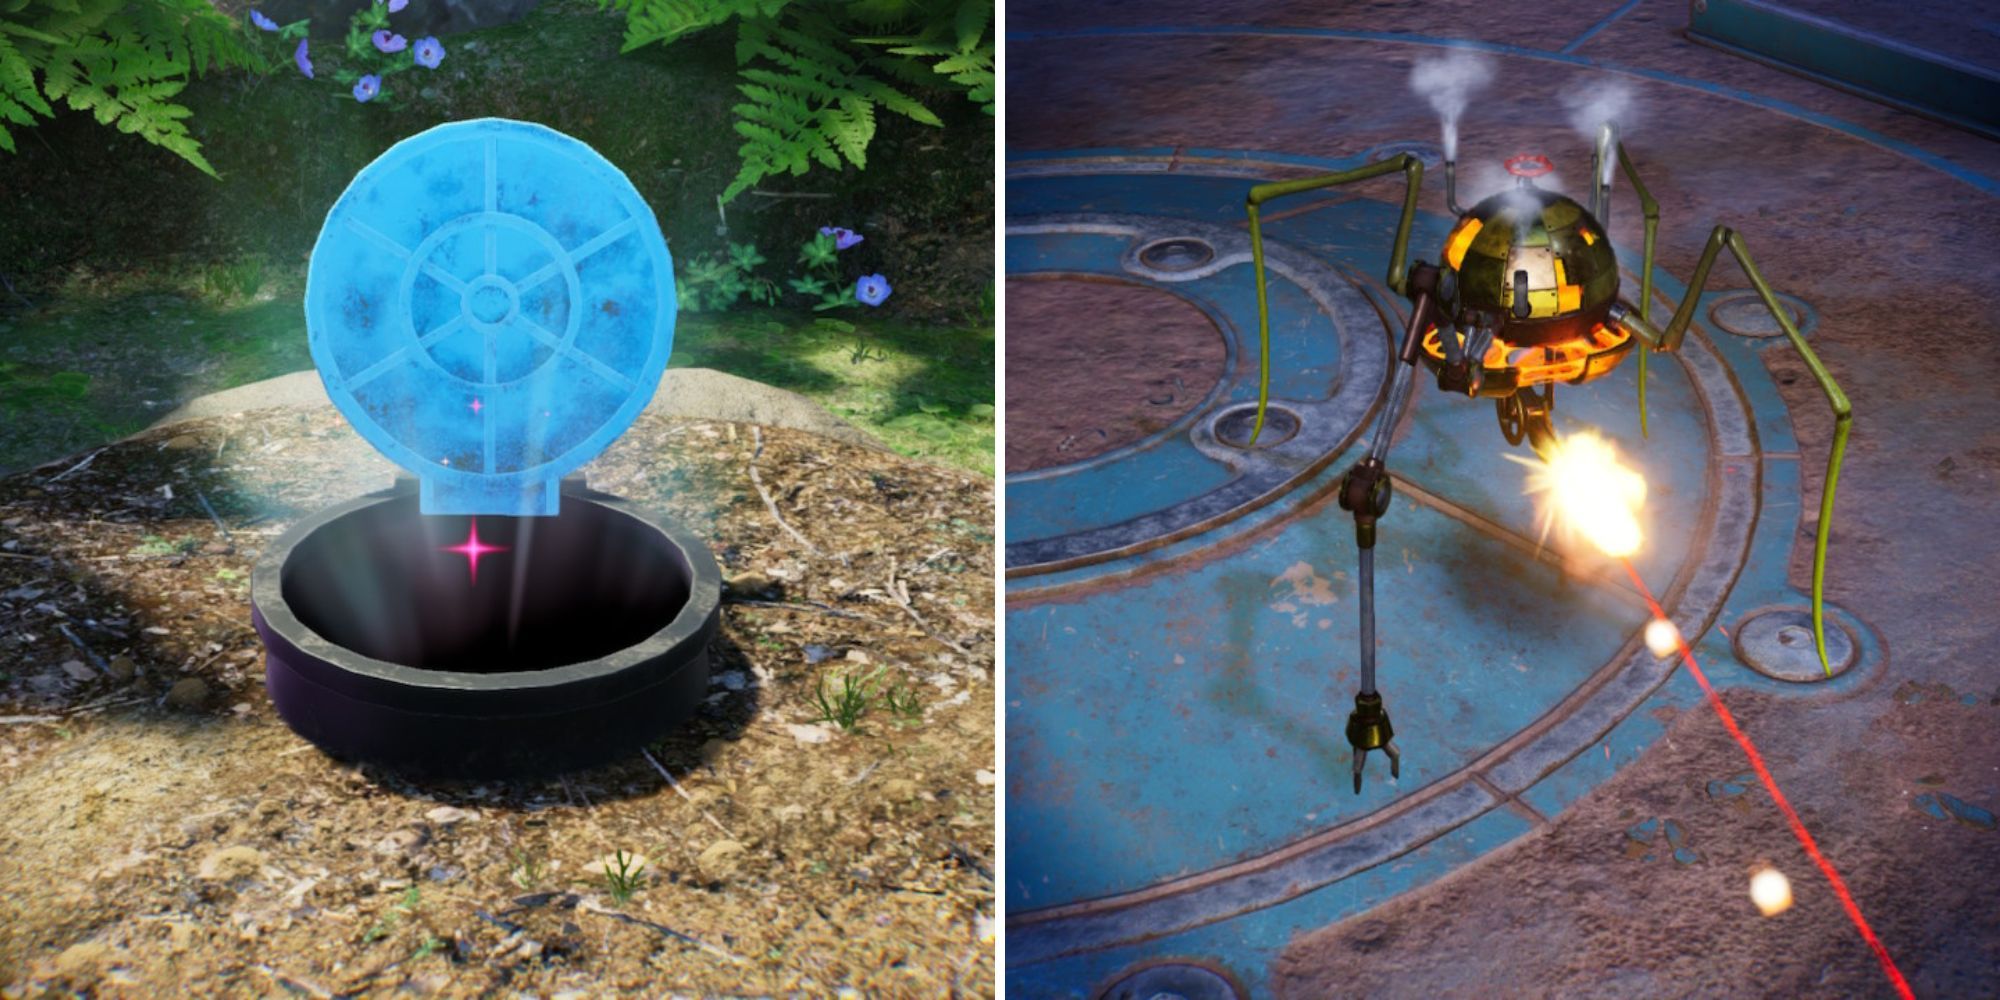
Sphere of Trust
West area, stolen by a Venom Dweevil
Long-Shot Totem
Northeast corner at the end of the path
Sublevel 2
There are six enemies on this sublevel, and two of them use water in their attacks. The ground-based monsters can be defeated quickly by Rushing into them with Oatchi. Use Winged Pikmin to fight the Withering Blowhog.
Many beasts in this cave are capable of knocking your Pikmin into the bottomless pit below. Use Winged Pikmin for most fights in this cave, their wings allow them to fly over bottomless pits.
There are two Pink Candypop Buds and one Ivory Candypop Bud on this sublevel. White Pikmin aren't necessary to complete this cave, so create more Winged Pikmin instead.
Treasure/Castaway
Description, Name, Details
Telekinesis Detector
East area, use Winged Pikmin to obtain
Straight-and-Narrow Track
West corner, at the end of the path
Sublevel 3
This area has seven enemies. The Puffy Blowhogs here can blow gusts of wind that can knock you and your squad into the abyss. Use the Brace Boots gear to avoid being blown away or sucked up by creatures. This gear can be purchased from Russ for 80 raw materials.
Beware of the webs created from Arachnodes, Winged Pikmin can easily be caught in their web. Throw Pikmin directly onto the spider's back to defeat the enemy and destroy their web.
There are two Pink Candypop buds on this floor as well.
Puffy Blowhogs can be killed instantly with Ice Pikmin or an Ice Blast. Upon freezing, the enemy will slam into the ground, leaving only nectar behind.
Treasure/Castaway
Description, Name, Details
Heart Sword (x2)
Northweast area, on top of metal ledge
Sphere of Heart
Southwest area, behind rusted bars
Castaway
Southern area, trapped in Arachnode web
Sublevel 4
Six enemies inhabit this sublevel. The Spotted Jellyfloats can suck up your Pikmin and hold them captive within their gelatinous bodies. The Lesser Spotted Jellyfloats are holding five Winged Pikmin each, defeat them to obtain some additional allies.
Avoid standing underneath the jellies, so they won't attempt to suck up your squad. Lock onto the enemy and run in circles while throwing Pikmin for an easier fight.
Treasure/Castaway
Description, Name, Details
Disk of Surprising Wisdom
Northweast area, stolen by a Fiery Dweevil
Gold Nuggets
Northeast area, past conveyer belt
Memory Fragment (Right Edge)
Northeast area, past conveyer belt
Sublevel 5
There's only one monster to fight on this sublevel, the mechanical Man-at-Legs. This boss uses a gun to attack your squad, it will shoot for longer periods of time as you drain their health. There are several walls around the arena that you can use as cover from the attack.
When attacking, use Yellow Pikmin first. This Pikmin type is capable of easily reaching the core of the Man-at-Legs. Winged Pikmin have overall weaker attack power and should be thrown last.
After attacking for a few seconds, the boss will shake off your Pikmin and pull out its gun. You can either use the walls in the area for cover or run in circles around the enemy. The Man-at-Legs has aim that lags slightly behind your movement, meaning you can survive as long as you keep moving.
Treasure/Castaway
Description, Name, Details
Winged Freedom Sculpture
Behind a numbered gate that lowers after defeating the Man-at-Legs
Castaway
Dropped by the Man-at-Legs
Next: Pikmin 4: Tips For Night Expeditions