Quick Links
- Placing Your Coaster Platform
- Placing Tracks
- Adjusting The Track
- Placing Modules
- Placing Coaster Elements
- Adjusting Existing Track
- Choosing A Hook
- Tips For Building A Roller Coaster
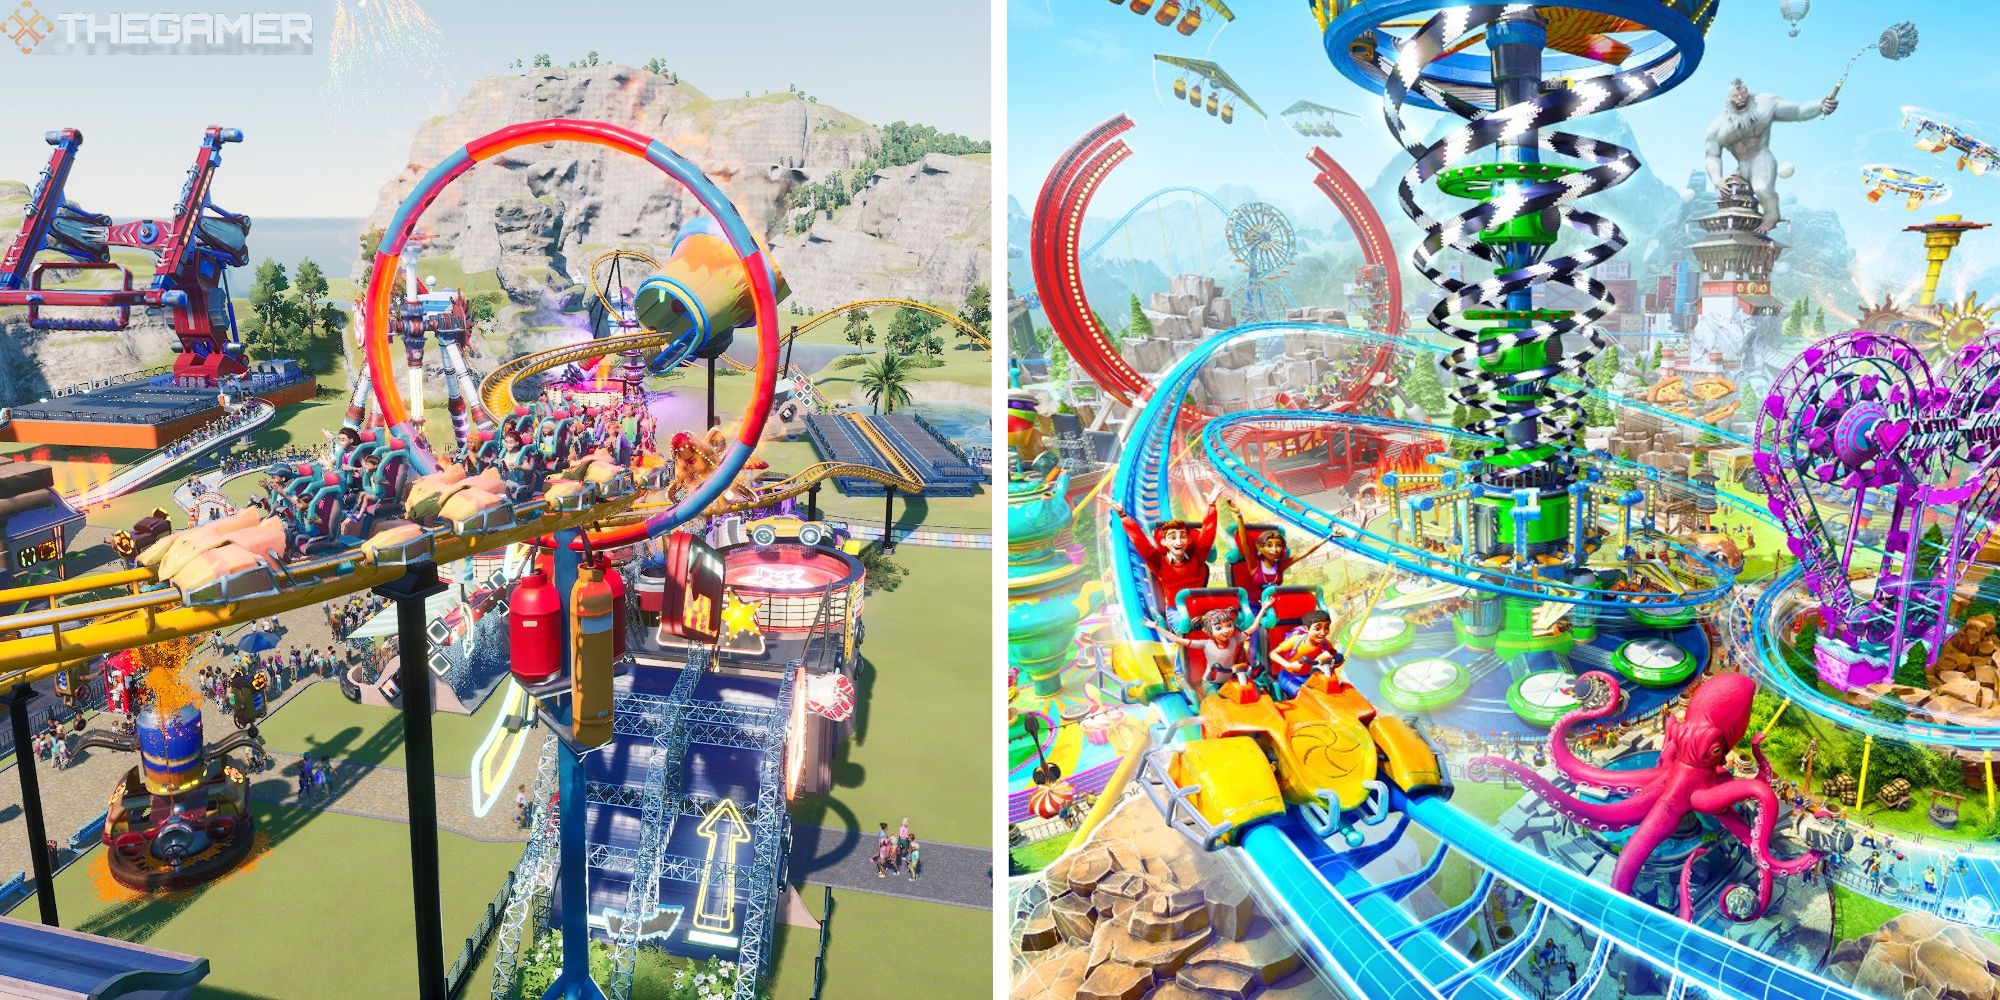
Roller coasters are an imporant ride to have in Park Beyond. With a selection of flat rides and roller coasters, you can keep your guests happy, which may even cause them to spend more money. At first, roller coaster building can be a bit difficult, especially if you don't have a specific vision in mind.
Related: Park Beyond: Achievement/Trophy Guide
In this guide, we are going to take a look at how to build a roller coaster. The first mission of the campaign will take you through some basics, but this will provide a more comprehensive guide to help you make an impressive coaster.
Placing Your Coaster Platform
The first step to making a roller coaster is to place a platform. This can be found on the left-hand side of your screen. By clicking on the icon shaped like a little roller coaster slope, you can see the three types of roller coasters that exist.
Roller Coaster Type
Description
Standard Coaster
Basic roller coaster
Wide Coaster
Holds more people
Wild Mouse
Can make sharp turns and twists
Hover over the coaster type that you want, and place the platform on the ground. This will not create any track, just the platform that guests will use to enter and exit.
From the roller coaster type menu, you can find the 'Prefab' menu. This will pull up prebuilt roller coasters that you can place in your park.
Placing Tracks
Immediately after placing the platform, your test car will begin to move on the track. As you don't actually have any track placed, it will probably fall off the platform. To prevent this from getting in the way of your work, click on the pause button, found at the lower right-hand corner of the screen. This pauses the test ride.
Now, it's time to start placing some track! There are four types of tracks available, which you can check out below.
Track Type
Description
Normal Track
This is a normal coaster track that doesn't have a chain or breaks.
Chain Lift
This track type is meant for lifting trains up hills or along a flat surface.
Brake
This track type is used to slow down trains that are going too fast.
Train Merger
If your train cars are separated, this track will push them back together (to connect).
Adjusting The Track
While placing your track, you can adjust its positioning so it's not a straight, flat surface.
Adjustment
Description
Track Height
Raise and lower your track.
Track Yaw
Angle the train horizontally on the existing track (i.e. making a turn)
Track Pitch
Angle the train vertically on the existing track (i.e. making a slope)
Track Roll
Roll the track, which can be used to turn the track upside down.
Track Placement Settings
There are also several track placement settings that help you place a piece of track. Grid Width and Height essentially create a grid that your track can snap to.
Overall, the placement settings are quite simple, just giving you some more options while building, such as creating a tunnel or removing supports.
Placement settings remain the same while placing Modules and Coaster Elements as well.
Placing Modules
Modules are an important piece of your roller coaster. These are the fun little bits that make the roller coaster even more appealing. Below, you can see every Module, as well as what it does.
Module
Description
Cannon
Shoots the train over a short distance.
Ramp
If a train is moving quickly, it can take a ramp to fly momentarily, landing on a paired ramp.
Two Way Fork
Creates a fork in the track. You can choose which side is used first.
Three Way Fork
Creates a fork with three possible output locations. You can choose which side is used first as well.
Spring
Trains that hit a spring will bounce backward.
Launcher
Trains on a flat surface will sit on a launcher for a few seconds before blasting off at a high speed.
Filter
This is like a Two Way Fork, but it filters which train cars can use the branch.
Intersection
This is a spot where a track intersects with another piece of track.
Elevator
This lifts train cars up to a higher section.
Car Lift
This will move a single train car up to another track.
Station
With another station, your coaster will turn into a transportation ride.
Off-Rail
Train cars that are Off-Rail will appear to be moving on the ground/water with no track below.
read moreSome Modules have speed requirements. For example, if your train hits a Spring too hard, it will crash. When placing Modules, be sure to test each portion, ensuring that the potential guests will remain safe.
If your coaster is too nausea-inducing, try to hire a few more Paramedics. This is a staff member that can tend to the needs of your guests and treat nausea.
Placing Coaster Elements
The last portion of track that you can place is prebuilt Coaster Elements. These are sections such as 'Vertical Loop Left' or 'Hammerhead Right'. Each element will have a little image showing what the track looks like.
Overall, this can be used to speed up your coaster building. After placing, you can go back and adjust the nodes to your liking.
Adjusting Existing Track
After placing a track, you will be able to go back and edit it. While looking at your track, you will see little diamond-shaped nodes. By holding down on a node, you can adjust it similarly to how you did when first placing the track. These nodes can also be straightened out to align with the surrounding track.
You can also adjust the station size, which adds/removes cars.
Choosing A Hook
Hooks are like little taglines that appeal to your guests. Hooks can be chosen before or after you build your coaster. From the build menu, you can find the hooks at the bottom right-hand corner. By clicking on this, you will see all hooks that can be chosen.
Before Impossifying your coaster, you will be able to choose two hooks. Each hook has its own stats. For example, the Unchained Hook will provide the following stats.
- +1 Fun
- +2 Profitability
- +1 Amazement
Additionally, the hook appeals to teens, but families will still like the ride. Adults, on the other hand, don't really like this hook.
You can choose a hook after your coaster is built, finding one that fits. Alternatively, you can choose the hooks first, and then build your coaster with the requirements in mind.
Below, you can see every hook and what it requires.
Hook
Description
Bumpy Ride
Have sideways g-forces of 6 or higher two separate times.
What's Up?
Have the train do 4 inversions (going upside down)
Unchained
Don't use Chain Lift track.
Trident
Use at least two Three Way Forks.
Transportation Ride
Use more than one station.
Acrophobia
Have the train remain under 10m off the ground.
Cannoneer
Use one cannon.
Dual Lane
Use at least two Two Way Forks.
Heavy Lifting
Have the train use two elevators.
Divide and Conquer
Have the train cars be split for at last 10% of the ride.
Comet
Go at least 120 km/h.
Junior Coaster
Do not go above 80 km/h, as well as having no inversions.
Give Me A Break
Have at least 20m of breaks.
Busy Intersection
Use at least two Intersections.
Back It Up!
Use a Spring.
Backwards Ride
Have the train go backward at least 80% of the time.
Are We There Yet?
Have the ride last at least 3 minutes.
Another Ride
Go through the same station at least two times.
Lift Hill
Go through 40m of Chain Lift.
To The Moon!
Reach a height of at least 50m.
Straightforward
Don't go backward.
Thrill Ride
Have an average speed of over 40 km/h.
The Great Filter
Have the train go through one filter at least two times.
The Big Splash
Use Off-Rail tracks in the water for at least 10m.
Stunt Ride
Use at least 1 ramp.
Sightseeing Tour
Travel at least 1 km.
Lift Your Spirits
Use a Car Lift.
Scenic Ride
Stay under 40 km/h, and don't have any inversions.
Safe Arrival
Arrive at the station going less than 20 km/h.
Ready to Launch!
Use a Launcher.
Out of Order
Have the train cars arrive at the station in a different order from when they left.
Look Ma, No Rails!
Use Off-Rail tracks on land for at least 200m.
read moreTips For Building A Roller Coaster
Focusing On A Hook
One of the best pieces of advice we can offer is to have a vision in mind. Rather than starting your coaster without a hook, we highly suggest choosing them before building. The hooks will display at the bottom of your screen, acting as a checklist of what you need.
After doing a test of your coaster, you will see if you qualify for the hook. For example, if you are pursuing the Sightseeing Tour hook, you can test your coaster to see how long the track is. If you successfully went at least one kilometer, then a green checkmark will appear next to the hook.
Building Around Your Park
In addition to sticking to your hooks, try to build your coaster around the park! Rather than sticking to one area, you can have the coaster loop around existing structures. If you are using the Park Beyond-themed entrance, you can even have the coaster pass through the loop on the structure!
From the Modular Structure menu, you can build your own custom coaster scenery, such as houses that can be passed through or little scenes.
Impossify Your Coaster
When you have enough Impossification charges for your coaster, we suggest spending it. When your coaster becomes Impossified, you will gain an additional hook that can greatly boost the stats of the ride.
Revising Your Coaster
Overall, don't be afraid to go back and edit your coaster! If it's not as grand as you want, simply pause the game, edit the coaster, and make it better. If you are struggling with a coaster style, we suggest looking at existing coasters. By doing a quick search online, you can see what roller coasters typically look like.
Next: Park Beyond: How To Impossify Flat Rides


