Lies Of P: Upper Arche Abbey - Part Three Walkthrough
Quick Links
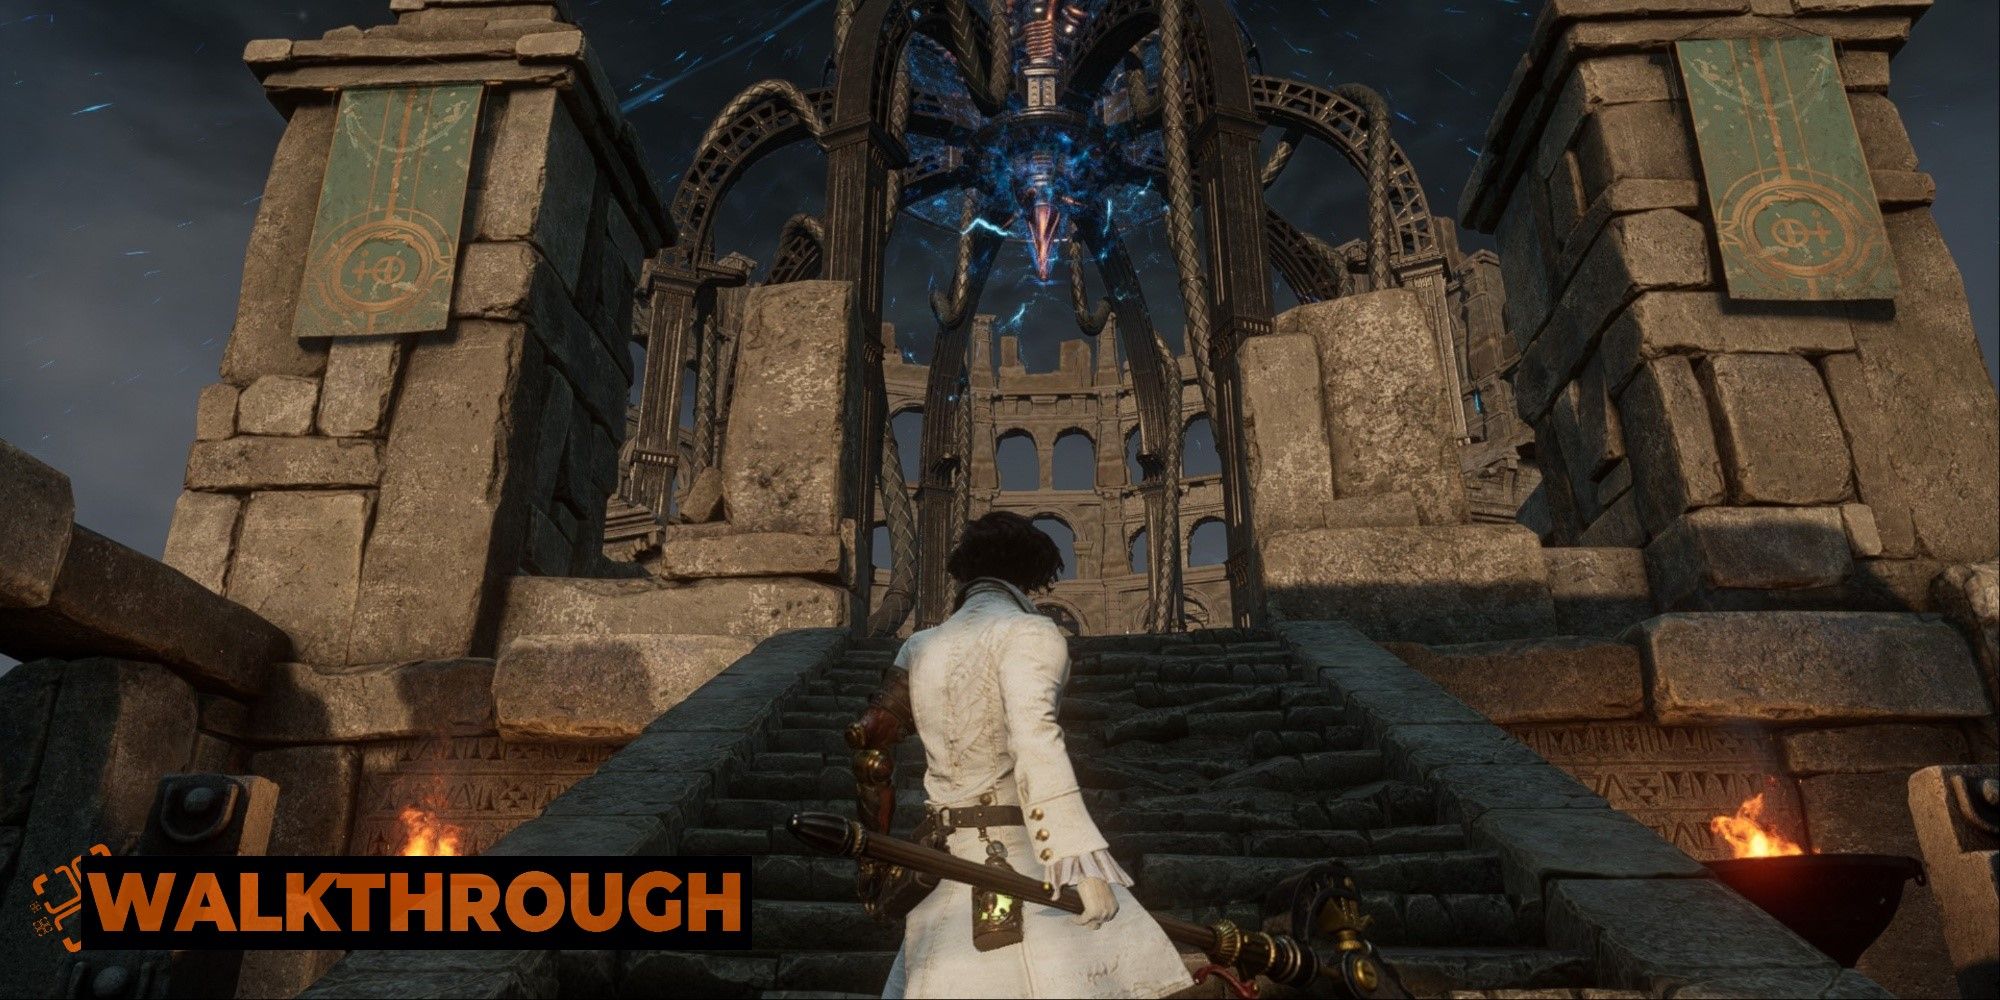
- How To Reach The Upper Abbey Part (Inside) Stargazer
- How To Open The First Inner Abbey Shortcut
- How To Rescue Geppetto
- How To Reach The Second Inner Arche Abbey Shortcut
- How To Reach Simon Manus
- How To Defeat Simon Manus
- How To Complete Lies Of P
At last, the finale of Lies of P is upon us. All that's left is a short jog up to the very top of the Abbey and Simon Manus himself. Oh, and of course, there's also two optional bosses - one a Malenia 2.0, a sickening betrayal, a moral dilemma, and a rush of adrenaline so high your knee will bounce the water clean off your desk.
RelatedLies Of P: Should You Give The Red Fox A Gold Coin Fruit?
Be a puppet or embrace humanity?
PostsWhile the path up to the top is fairly linear, there are a few hidden side corridors worth keeping your eye out for in this guide. Additionally, the choices in this section will determine the ending you receive for this game. Now is where your choices will matter the most. Nervous? Don't be; that's why we're here.
How To Reach The Upper Abbey Part (Inside) Stargazer
Leaving the Ascension Bridge where you defeated the impervious Laxasia, you'll enter the Upper Abbey and immediately meet Sophia.
She'll ask you to give her peace, and this decision will be incredibly important to deciding the ending of your game.
To protect you from spoilers, we'll include the consequences in the expandable below.
Spoilers Ahead!
Choosing to spare Sophia will increase your humanity and result in Sophia's death anyway. It will prevent the "True" Ending.
Choosing to kill Sophia will grant you her Ergo. You can achieve the "True" ending and revive Sophia this way with high enough gathered humanity.
Both choices will reward you with the Entreat gesture.
For more information on endings, see our official endings guide.
read moreAfter your talk with Sophia, take a small detour toward the dining room and then the wine cellar past it for a Half Moonstone.
You can then go across the room and leave it via the stairs into the study.
Past the study, you'll ascend another set of stairs and spy a flamethrower carcass ahead. However, there's a trap on your right.
Behind the second right pillar a new enemy, a fencing carcass (a fencer), will lunge out.
This enemy is easily staggered and takes immense damage from backstabs.
Ahead and slightly before the brazier on the left, another enemy ambush awaits. An electrified cane carcass will burst through the wall.
Beware of the second flamethrower carcass that will attack while you're fighting this enemy.
On the right side of the hallway in the second metal corridor is a Full Moonstone of the Covenant.
Take the item and continue on the path to find the Stargazer ahead.
How To Open The First Inner Abbey Shortcut
On the main path, you'll ascend a long set of stairs. As you reach the top, you can take a small detour into a room ahead for a Dark moon Moonstone of the Covenant.
After grabbing it, a fencer can be found at the top of the second set of stairs looking out over the abbey. He guards a Half Moonstone.
To his right, there's a second fencer that will attempt to ambush you.
In the next room, pick up the Dim Ergo Crystal and fight the fencer and flamethrower carcasses in the flickering tunnel.
Pick up the Special Resistance Ampoule and the Dark Moon Moonstone of the Covenant.
Ahead, you'll see an enemy holding its head near a chest. This is a mini version of the Walker of Illusions boss.
You'll need to defeat it to take the Quartz from the chest.
This enemy does have a smaller moveset than its boss counterpart. The best opening is always during its Fury Attack which can be avoided with a Perfect Guard or a sprint away. We recommend studying this enemy as it will return later under dire circumstances.
Down the next set of stairs, there's a fencer patrolling on the steps themselves and another at the very bottom. As you leave the room, you can take a Fable Catalyst.
On the stairs down, pause to take in the dimensions of the room (especially the holes) and clear this area carefully, including the electrified cane carcass up the stairs on the far side.
Going ahead, take the eventual ladder on the left side of the path to an area with a small wooden bridge. Take the Full Moonstone of the Covenant to the left and cross.
Up the stairs, you'll find a Gemini's Emergency Protection to the left and a platforming section that'll make you see in colors of red never before imagined.
There's a rapid-fire carcass across the way from the thin ledge on the right against the wall. As you get its attention, pause and face it to hold block through its attacks. When it finishes, you can carefully fast-walk across the beam over to defeat the eyesore.
Pick up the Electric Blitz Abrasive and turn around just in time to see a second rapid-fire carcass setting his sights on you.
Again, hold block and then race carefully toward him to take him out. There's a Special Purification Ampoule ahead.
You'll likely defeat him on the ledge. Be careful here, because ragdolls have collisions in Lies of P. His corpse can knock you off the ledge.
Cross the beam to the doorway, stopping to grab the Cat Dust to the right, and take the stairs.
There's another fencer on these stairs, so take caution as he may push you off.
At the top of the stairs, go ahead to take the Full Moonstone. Then, look left and take the elevator.
The bottom of the elevator will lead you to the shortcut door back to the Stargazer.
How To Rescue Geppetto
From the elevator top, take the grand stairs until you find Red Fox standing in the hallway.
Speak with her.
If you gave the Black Cat a Gold Coin Fruit at the Exhibition and in the Inner Abbey, you can give her a Gold Coin Fruit too. This will avoid a fight.
If you denied a Gold Coin Fruit at any time (or now) or killed Black Cat, you will have to fight her.
If you fight her, Red Fox is no different from Black Cat or other Stalkers in that she has several attacks that leave her wide open for backstabs.
The only difference is that her weapon typically slashes instead of stabs. Her Fury Attack can be a handful, but sprinting away is enough to avoid her multi-attack Fury combo rather than risking a mistimed parry.
If you don't fight her, you get the same rewards:
- Key to Geppetto's cell
- Red Fox's Mask
When fighting, we recommend using Decay-based attacks or items like Carcass Fluid, the Acidic Crystal Spear, and the Pandemonium Legion Arm due to the weakness she and other humans have against this type of damage. It also raises the probability of breaking her weapon.
Ahead, you'll be able to enter a prison cell block. Go all the way to the end to pick up a Venigni's Urgent Repair Tool.
To your right, Geppetto will be standing in the cell. Open it with the key you received from the Red Fox.
Speak with Geppetto, and you'll be given a choice. He'll ask:
Was I a trustworthy father to you?
Answer: No (Truth) / Yes (Lie)
Regardless of your answer, you'll be given the Arche Abbey Passageway Key.
Use this key on the door outside and beside Geppetto's Cell
How To Reach The Second Inner Arche Abbey Shortcut
From Geppetto's Cell, you'll eventually reach the Arche Abbey Upper Part (Inner Bridge) Stargazer. After activating it, run over to take the Sharp Pipe from the ground under the ladder.
Then, take the ledge against the wall nearest to the Stargazer. It should lead you to another hallway.
Instead of going down the hallway, you can continue on the ledge and jump over a gap to reach a chest.
The chest contains the Assassin's Amulet.
The Assassin's Amulet increases your Critical Hit damage.
In the hallway on the mainpath, you'll encounter the mini-Walker of Illusions.
Due to the tight space in this corridor, the best strategy is to rely on your guarding techniques and build up stagger for fatal attacks.
After two fencers on the bridge, you'll be faced with another tight corridor ahead. This time, you'll face two flamethrower carcasses.
Deal with all enemies quickly, picking up an Acid Canister on the right side as you go, and venture to a set of stairs where another fencer awaits.
At the top of the stairs, you'll discover a ladder shortcut. After activating it, stay on the right side and drop onto the metal platform below instead of taking the ladder.
Pick up the Star Fragment here and then drop to the Stargazer where you can now rest.
How To Reach Simon Manus
From the ladder shortcut, continue forward and keep your eye out for a metal platform ledge on the left before turning right to cross a bridge. An Advance Crank can be picked up here.
Then, cross the metal bridge and up a long set of stairs.
At the top of the stairs, you'll encounter a corrupted wrestler miniboss.
This miniboss deals Disruption damage, has a few new moves, and attacks similarly to the wrestler miniboss you fought before Champion Victor.
As long as you beware of its clouds of Disruption (and never stay still), you can get the best of this miniboss by sticking behind it as much as possible and blocking when stuck in its fist combos.
Like the cane carcasses, this miniboss is staggered when you destroy the canisters it carries on its back.
After collecting the Quartz from this miniboss, walk along the metal beams to the end. There are no hidden paths by falling here, so just walk out the door to the outside.
As you venture over the bridge, however, take caution for the single fencer patrolling.
Take your first available right into a small side alcove where a chest containing a Legion Caliber can be found.
Continue forward and pick up a Dim Ergo Crystal before venturing over a set of bridges.
A fencer and rapid-fire carcass are patrolling here, and an Acid Abrasive and Balance Crank can be found on the way.
In the chapel ahead, go across the room first to pick up a Vivid Ergo Crystal. Then, pick up the "So Said Pistris IIII" from the altar and then take the door to the left.
As you reach the top of the stairs, you'll discover your Stargazer in front of Simon Manus. Rest and make your preparations.
Check the area behind you on the balcony for 'Simon Manus's Confession' on the tea table.
How To Defeat Simon Manus
Simon Manus, as you may have suspected, is a two-phase boss with separate healthbars.
While he is challenging in his own right, you have your own certification in badassery after your victorious fight against Laxasia. After fighting her, this fight will sometimes feel as if the boss is moving in slow motion.
His first phase is laughably easy compared to what you've already faced. With long wind-ups and wonky movesets, you won't worry too much about besting this first half.
We have concocted these tips to help you in your quest to quell Simon Manus (Phase One), the potential final boss of Lies of P:
- Don't underestimate his reach; he can sweep further than you might think.
- Always keep moving with the intent of staying behind him.
- Learn to Perfect Guard his Fury attack. Practice it for Phase Two.
- Don't attack his downward ground slam with his hammer until he stops moving. It sometimes has a follow-up.
His second phase, however, will require lots of concentration, patience, and luck.
For this fight, there are a few specific tips to follow:
- Don't. Stop. Moving. Keep sprinting.
- Bring lots of throwable items to prevent him recovering too much health.
- Stay aggressive as much as possible.
- Hightail it away as soon as you see his Hand of God attack descending.
His Fury attack in Phase Two is almost un-parryable without memorization of his attack - especially when he leaves the camera's view entirely. This attack is exactly seven frames long (or 120 milliseconds long) with a parry window even smaller. You're best off trying to confuse his tracking by sprinting in an odd direction; otherwise, practice.
How To Complete Lies Of P
After defeating Simon Manus, your final encounter waits for you on the elevator in the center of the boss arena. Simply interact with the sigil in the middle, and it will take you below Simon Manus's permanent graveyard.
Another Stargazer is at the bottom, and you can rest here.
At this time, you'll be able to choose your ending when you speak with Geppetto in the arena ahead.
Interact with the expandable for the consequences ahead.
Spoilers Ahead!
Ending
Requirements
Consequences
Real Boy Ending - "Bad" Ending
- Give Geppetto your heart
Your heart will be given to the Carlo's body to revive him, sacrificing yourself for Geppetto's real son. However, based on dialogue and cutscene evidence, the real boy is consumed by hatred and bloodlust. The remaining members of Hotel Krat are murdered before Geppetto and Carlo flee Krat.
Free Puppet Ending - "Good" Ending
- Choose "Let her live" when meeting Sophia at Arche Abbey
- Lie to Simon Manus and tell him you gave Sophia "Liberation"
- Refuse giving Geppetto your heart
- Defeat the Nameless Puppet
After defeating the Nameless Puppet, Geppetto is killed trying to save you but still disdains you and calls you a "useless puppet." Free of Geppetto and your strings, you become a puppet with free will. Your fate remains largely unknown past this point.
Rise Of P Ending - "True" Ending
- Raise Humanity by lying (until your hair is white)
- Choose "Give her peace" when meeting Sophia at Arche Abbey
- Refuse giving Geppetto your heart
- Defeat the Nameless Puppet
When Geppetto is killed, you shed tears for him. Geppetto recognizes you as his real son and apologizes before his last breath. You then return Sophia's Ergo to revive her, passing out in the process as she holds you - a newly born human (this cutscene is only available if you deny New Game+).
read moreHow To Defeat The Nameless Puppet
The Nameless Puppet is ranked with Laxasia as one of the two hardest bosses in Lies of P and in the soulslike genre.
While Phase One is fair, balanced, and easily overcome with practice and awareness, Phase Two will - in all senses of the word - demand that you "git gud." In this Lady Maria-esque fastpaced encounter, you'll need to be keenly aware of his attack patterns and counters at all times.
To prevent you from spending hours upon hours studying this fittingly difficult final boss, we've put together these tips for you:
- Block where you can in Phase One to build up stagger. His stagger pool is very small. Be aware, though, his weapon cannot break.
- Be aware that he can use Pulse Cells at low health too. Play aggressive.
- The best attack to punish in Phase One is when he transforms his weapon into a longer lance.
- Carry Electric Blitz type items as they are very, very effective in this fight.
- His Phase Two Fury attack is incredibly fast, but you do not have to Perfect Guard it. Just sprint in either the left or right direction to sidestep him and then punish.
- Always dodge toward him during his fast, double-bladed combos (Phase Two) and never away.
- His most dangerous and fastest attack is his Phase Two stab. When you see red eyes flash, run and dodge for your life.
With repeated attempts and no small amount of patience, you'll finish the fight and your final boss of Lies of P - an achievement worth bragging about.
read moreHow To Finish Everything Before New Game+
After completing your ending, you'll be able to begin New Game+. However, we don't want to do that yet.
Instead, refuse and return to Hotel Krat to tie up a few loose ends.
For Achievements, you'll want to:
- Interact with the piano and "Play a Perfect Tune" to get the Pianist of Krat achievement or trophy.
- Go to Geppetto's study and read his manifesto, or Sophia's letter in the "True" Ending, on the desk to complete their stories.
At this time, you should also speak with Hugo, if you killed Alidoro. This will finish his own quest.
But more importantly, regardless of who is there, you should use all of your special Ergo now to purchase one of each category of item from Alidoro or Hugo - especially the Nameless Puppet's and Simon Manus's ergos.
Finish all Cryptic Vessel quests if you haven't already to the best of your ability. Legion Arms should also all be unlocked and fully upgraded to the best of your ability.
Additionally, you can purchase any records leftover with merchants or revisit areas to unlock Trinity Doors.
With all these out of the way, you're ready now to complete the game and begin New Game+. Benefits to New Game+ will include:
- Facing puppet bosses with new translations of their speech
- Starting the game with all previous:
- Weapons
- Armor (Defensive Parts)
- Costumes
- Amulets
- Records
- Gestures
- Legion Arms (locked until Elysium Boulevard start)
- Items except Quest-Specific Items
- P-Organ Upgrades
- Level and Stats
- Remaining Ergo
- Stargazer Features
- Purchasing new, New Game+ limited items (like Experiment 826's records or certain +1 or +2 Amulets)
- Completing achievements that can only be unlocked in New Game+
- Unlock further phases of the P-Organ
- Fight enemies and bosses with new health and damage stats
NEXT: Lies Of P: All Record Locations