The Legend Of Zelda: Tears Of The Kingdom - How To Complete The Death Caldera Crystal
Quick Links
- Beginning The Quest For Death Caldera Crystal - Finding Momosik Shrine
- Fighting For The Crystal - Igneo Talus
In The Legend of Zelda: Tears of the Kingdom, a secret lies within the heart of Death Mountain, and it isn't the key to the Goron's plight. The Momosik Shrine location lies on the eastern side of Death Mountain, but venturing there will reveal that something very important happens to be missing. If you want to enter the shrine, you'll need to find it.
RELATED: The Legend Of Zelda: Tears Of The Kingdom - Should You Upgrade Hearts Or Stamina?Of course, every shrine puzzle has its complications, and this challenge will be more than just problem-solving. Make sure you're stocked up on your water-related weapons, have a good bow, packed your lunches, and brought your focus. You'll need all of it if you want to take your prize home in one piece.
Beginning The Quest For Death Caldera Crystal - Finding Momosik Shrine
Momosik Shrine is located just shy of the minecart tracks on the east side of Death Mountain. The easiest way to reach it is to glide across from Sitsum Shrine as best you can. There are no nearby Skyview Towers or Sky Island sites to make this an easier location to reach.
Once you reach it, you'll see an empty platform you can walk up to so you may trigger this quest and activate the green line that points to a Crystal you need to find.
The green line will lead to a cave called Death Mountain East Tunnel. It's blocked by a large wall of boulders, so use Bomb Flowers or Yunobo to blast through them and open your way.
Take care here because you'll need two pieces of flame-retardant armor (like the Flamebreaker set) to enter this tunnel.
Fighting For The Crystal - Igneo Talus
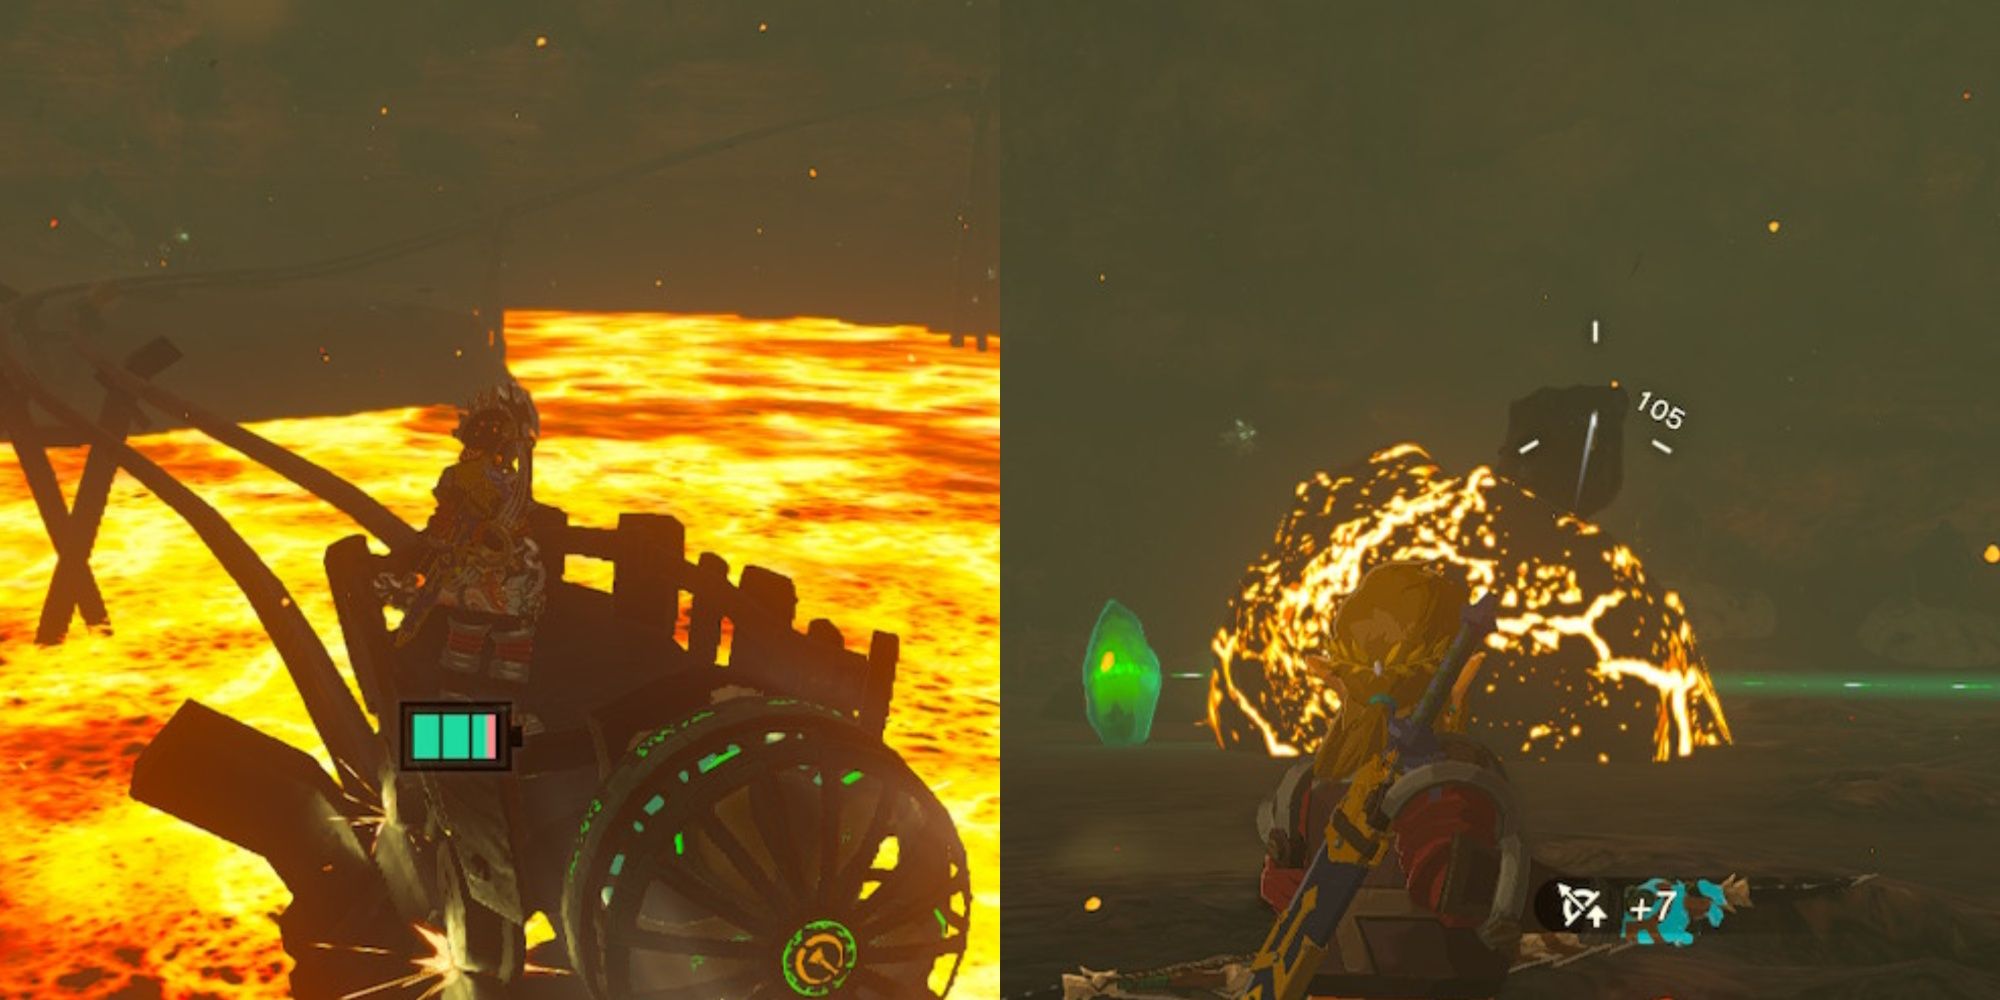
As you enter the cave, you'll find the parts you need to create a working minecart. Attach the Fan on the right side to the end of one minecart,jump in, and ride it to the end of the tracks.
There are breakable ore deposits here. Ruby, Amber, Flint, and Rock Salt are common drops in this tunnel, making this a prime farming location to remember.
At the end of the path, you'll see the glowing green Crystal and a large, glowing red-orange rock in front of it. This large rock is actually an Igneo Talus boss trying his very hardest to look inconspicuous (at least he's doing his best).
This boss is known for hitting especially hard, so it's recommended to:
- Put on yourhighest-rated armor for your third piece
- Eat any armor or strength-boosting meals first
- Have Sidon's ability active if you can
To begin fighting, it is recommended to fire arrows from a strong bow with high-level fused items at the black rock sticking out on top of the Talus's top. Otherwise, good tips to keep in mind are best summarized as:
- Throw Water or Ice Chu-Chu Jelly (or related items) to put out the fire
- Use Sidon's ability to put out the fire
- Jump on the Talus and use hammers or related weapons once cooled off
Once the Talus is defeated, take its heart as a trophy and then pick up the Crystal using Ultrahand. You can then place the Crystal inside your cart.
If your cart has disappeared because you died during the fight at least once, the parts to make a new one are resting on the right side of the track and against the wall.
Ride the cart all the way to the end and then take it back out to carry it to the Momosik Shrine location. Upon reaching it, the Crystal will turn into the shrine's body.
Enter the shrine and receive a Big Battery device as a prize on top of your usual Blessing. With these and your rewards from the Talus, you'll be walking from Momosik Shrine with your pockets heavy and your adventurous path brightened.
NEXT: The Legend Of Zelda: Tears Of The Kingdom - Yunobo Of Goron City Walkthrough