Quick Links
- Taxidermy House: Map And Safe Puzzle
- Museum Grandfather Clock And Safe Puzzle
By day three of Hello Neighbor 2, things get murkier as the puzzles get even more challenging. You'll have to investigate a whole new area of Wayron Croobs if you want to gain access to another locked door in the Museum to find out what Mr. Peterson is hiding.
Related: Hello Neighbor 2: Beginner Tips Guide
Level Three takes you to a secluded Taxidermist's house across a rickety bridge, and your pursuer is packing heat this time. If you're having trouble getting past the Taxidermist and his trusty double-barrel shotgun, this walkthrough is here to guide you to victory - and that pesky Museum key.
Taxidermy House: Map And Safe Puzzle
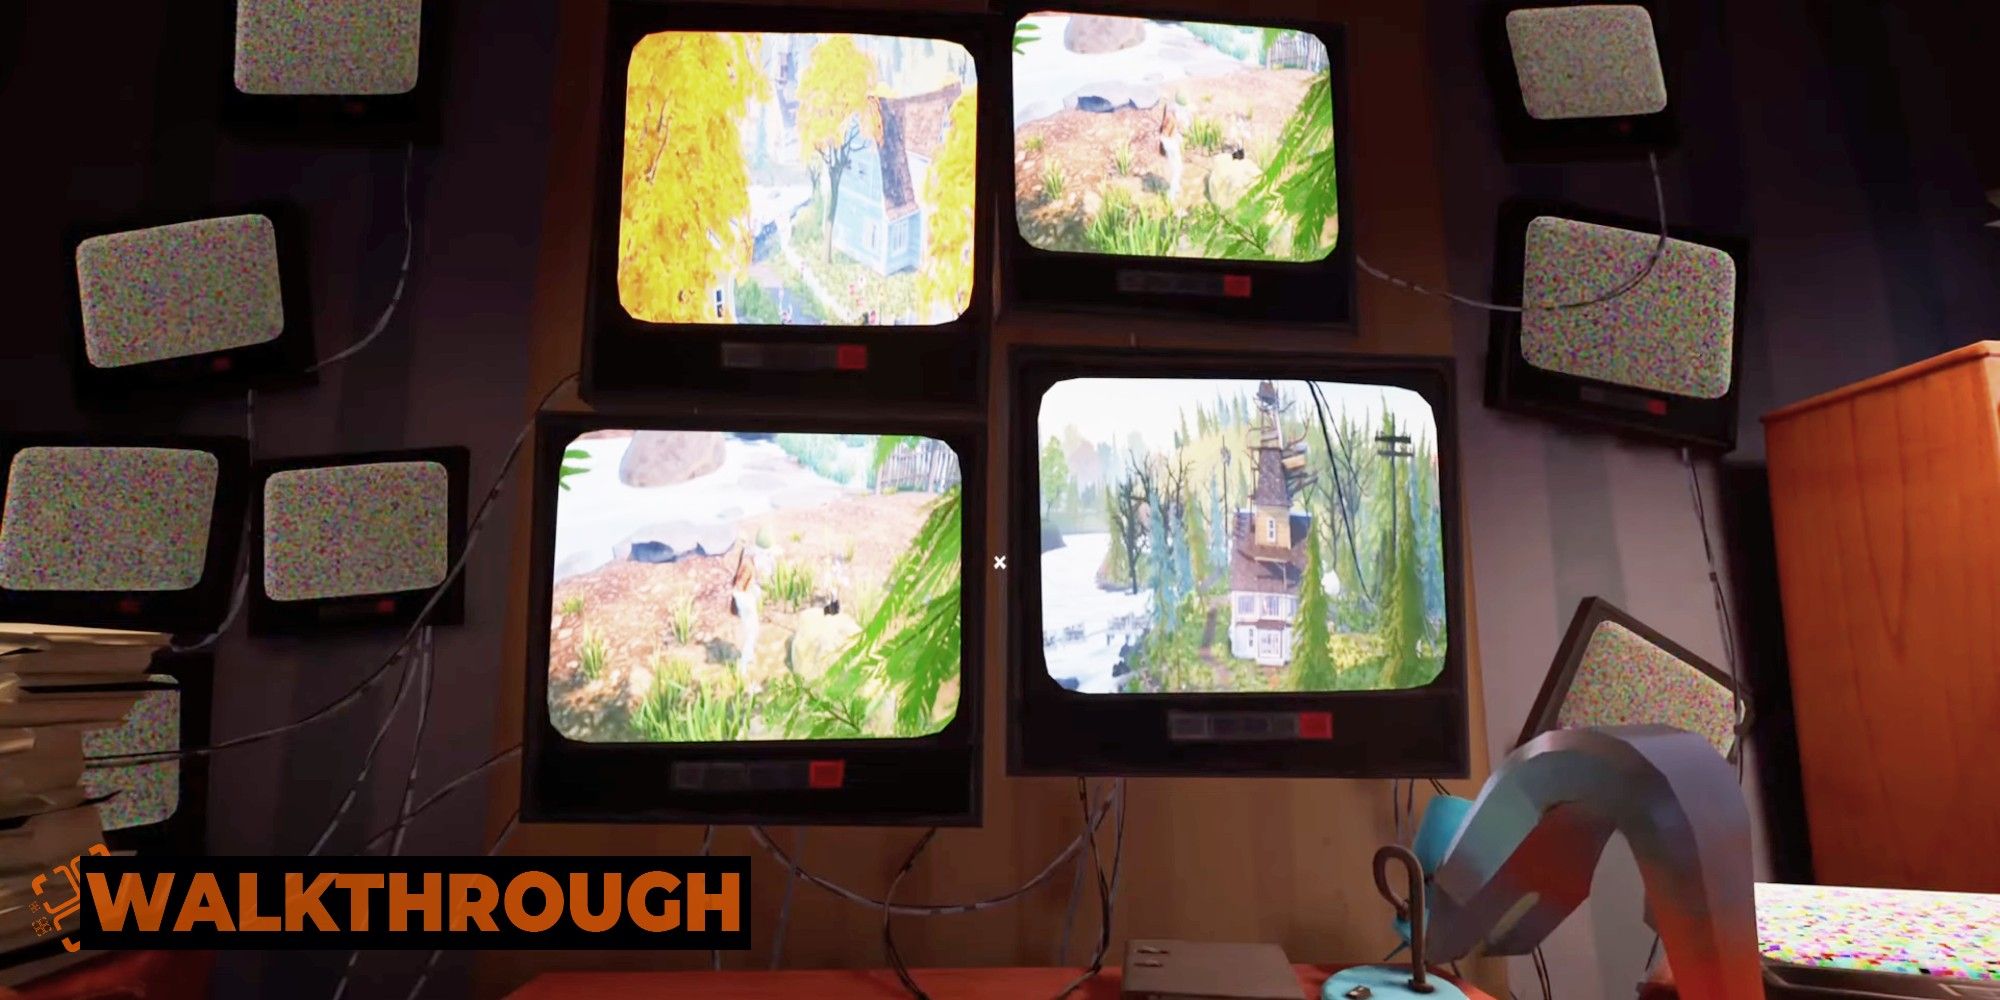
Wake up and check your screen to find out your new target - it’s the house with the tall turret behind the blue house from Level One. Heading over the fence at the back of Mr. Peterson's house, you’ll find the bridge is now intact (it will have been broken if you tried to access it before).
Don’t enter through the front door; a bell will chime. Instead, go around the back of the house and up some stairs to enter through a side door to the upper level of the house. Jump up to the roof to avoid the Taxidermist if need be.
Entering through the side door as above, you'll find yourself in a bedroom. Take note of the incomplete map pinned to the wall on your right; you'll have to find the other four pieces to complete the map and get the key to a safe, which is hidden on the outskirts of the house.
First Piece (#8)
On the top floor where you entered the house, grab the spare crowbar from the bookshelf if you need it. Then, cut the pillow on the bed with your scissors - or you can find a pair in the basement if you’ve lost your others.
Go down to the basement and use the crowbar on the blue wooden planks behind the stairs to access a chest. Grab the switch from the taxidermy bear while down here, then use the key on the chest to get the map piece with the #8 on it. This goes in the bottom-left of the map.
Second Piece (#1)
On your way back up, look for the taxidermy bear in the downstairs side study. Insert the switch handle into the empty socket to get map piece #1. It fits into the top right-hand corner of the map.
Third Piece (#6)
To get map piece #6 from the microwave in the kitchen, find and pull all the mounted boar heads on the walls around the house. Do this quickly, or the puzzle resets:
- Climb up onto the roof and open a window to see one immediately.
- Jump down to the basement and pull the one you find there.
- Head up to find another in an alcove at the top of the stairs that lead up from the kitchen (you can see it poking out when you crouch and look up as you climb the stairs); climb up and walk on the wooden beams to reach it.
- Head back down to the kitchen and pull the last boar head, found on the wall next to the microwave.
Done fast enough, and the microwave will open. Take the piece and place it in the bottom right of the map.
Fourth Piece (#4)
This is the antler and fridge puzzle. To get the missing antler, you'll have to find the letter magnets missing from the fridge: B, F, and C.
Magnet Letter
Location
F
Beneath the toilet lid in the bathroom just off from the kitchen.
B
In the side study room where you found map piece #1, mounted on a board overhead with a bunch of deer skulls; you'll need to jump up the boxes and climb the wardrobe to get it.
C
On the roof at the very top, on a tin of yellow paint. Grab the shovel from the small roof shack underneath on your way back down.
Place all letters in order on the fridge to open it and get the antler. Placing the missing antler in the wall-mounteddeer skull found in the upstairs bedroom will open a drawer in the bookcase on your right, revealing the final map piece with #4 on it.
Now that the map is complete, make a note of all the colors of the pins on each map piece:
- Zero is purple
- Six is red
- Four is green
- Eight is blue
- One is yellow
How To Find And Open The Taxidermy House Safe
Follow the completed map to find the safe location. It's buried around the front of the house close to the shoreline, so you'll need the shovel you found up on the roof (or in the Museum, if you still have it from Level Two) to dig it up.
It will be dark when you head back outside. You can spot the right pile of dirt as it has an illuminated backboard to it.
The colors on the safe dials correspond to the color of the pins found on the map. This means the code is 80164. The safe will unlock, and you will now have a key to a previously locked room in the Museum.
Museum Grandfather Clock And Safe Puzzle
Head back to the Museum and sneak upstairs. Unlock the door on the upstairs floor, just down the hallway on the right-hand side of the corridor. It will be after the room you unlocked at the end of Level Two.
Notice the safe in the far left corner? To open it, you’ll need to complete the grandfather clock puzzle, as per the drawing pinned to the safe door. Collect them in the order below for the quickest method.
How To Find All Grandfather Clock Cogs
Cog
Location
Yellow Cog
Left of the door you've just unlocked is a cardboard box; get the pink kettlebell out of it.
Next, push on the bookcase for a shortcut to the neighboring room; note that this is the room you ended Level Two in.
Drop the weight on the metal plate you'll see on the ground right in front of you as you enter via the bookcase door. This will open the little cupboard above the bed, revealing the yellow cog.
Green Cog
Heading back through the bookcase, spin the globe in the middle of the room. Click it again to stop it when the X is being pointed at by the nearby hand. It will then open, revealing the green cog.
Blue Cog
In the newly-unlocked room, you’ll see a desk with a photo of a red car and a metal bird. Pick up the bird and head down to the Museum's main hall. Go through the door at the back of the right-hand stairwell as you descend.
Quickly go through the door on your right; you’ll see the car through the glass window pane. Place the bird into its spot on the car hood, which will open it and present you with a large blue cog.
Return to the main hall and place all cogs in the grandfather clock, found by the left-hand staircase, as you face the Museum's front door.
How To Get The Museum Safe Code
With all cogs correctly placed into their corresponding color slots, the clock arms will move to show a new time, which is 11:35. The code for the upstairs safe is 1135.
Head back upstairs, plug in the code, and pick up the camera you find inside the safe. This will trigger a cutscene, ending Day Three of Hello Neighbor 2.
Next: Best Protagonists In Stealth Games