Quick Links
- How To Get Dual Evidence
- Duat Hall Walkthrough
- How To Get Full Clearance
- How To Finish The Quest
The extensive underground ruin structure in the Gilded Desert of Genshin Impact can confuse anyone, especially since there's no underground map for this area. Most ruins are locked behind different World Quests and you'll be able to get plenty of hidden Teleport Waypoints as you go through them.
RELATED: Genshin Impact: How To Get All Activation Devices
Dual Evidence is one of these quests where a Sumeru Researcher is not letting other researchers go into the Desert. Traveler and Paimon will journey to the ruins once again to get some evidence for this researcher, but you won't have any other companions by your side this time around.
How To Get Dual Evidence
If you're a new player who just started playing the game, it'll take you quite a bit to get to the Dual Evidence quest. Firstly, you'll have to unlock the southern Gilded Desert by heading to the western part of Sumeru. Genshin Impact allows free exploration of this area, so you can unlock it at the very start as well.
After getting here, you'll have to start the Golden Slumber quest line by talking to Sumeru Katheryne or Bonifaz in Aaru Village. In this quest, you'll be saving a bunch of people from a deep hole and then aiding them in ruin exploration.
Once you go through Khaj-Nisut during this quest, it'll come to an end and you won't be able to get Dual Evidence until the next server reset. After the reset, you can head over to Sumeru and meet Kalantari near the Statue Of The Seven in Aaru Village. He'll ask for your help to understand the underground ruins better.
When you get to Aaru Village, Soheil will stop Kalantari and ask him to go back to Sumeru. At this point, the former will mention that he doesn't think Tirzad's research is based on evidence, which will compel you to get back into the ruins and get some evidence.
Duat Hall Walkthrough
Once the dialogue with Soheil is over, you'll have to use the guidance of the Stone Slate for this entire quest since it won't just mark the location on the map when you navigate. You can do this by going to the Quest Items in your Inventory and interacting with the Slate. To continue the quest, head over to The Dune of Magma, which is to the southwest of the Desert.
When you enter the Dune, you'll see two blue barriers with blue books in front of each of them. Unlock both barriers by interacting with the book and enter the one on the right. This will have some stairs leading upward and you'll find a blue orb as you go through the path. You have to follow this blue orb.
As you interact with the orb, it'll have to go down a hole that has a fan at the bottom. The orb gets destroyed if it goes through the fan when it's on. Once you interact with the orb on the pedestal, it will go near the hole and stop. Get close to the orb to continue it as soon as the fan turns off. After that, you simply have to follow it to the pillar outside.
Go through the door that opens and you'll see a Remarkable Chest at the bottom. You don't need to get this chest to continue the quest, and you can keep going down through the cave area. Keep following the path that is being guided by the Stone Slate. You can also follow the Seelie in this cave as this will lead you to the main part.
If you want to get the Remarkable Chest, you have to place the floating prism into the tile beside it. This will spawn a yellow mechanism that you can interact with. With the yellow symbol on your character's head, you can reveal the Pyro Torches by going near them.
As you get to an open area, you'll see a Teleport Waypoint on a small rock structure. Make sure you unlock this Waypoint before proceeding as it'll be used in the quest later on. Enter the large ruin through the entrance guarded by two statues and keep following the marker of Stone Slate to the right.
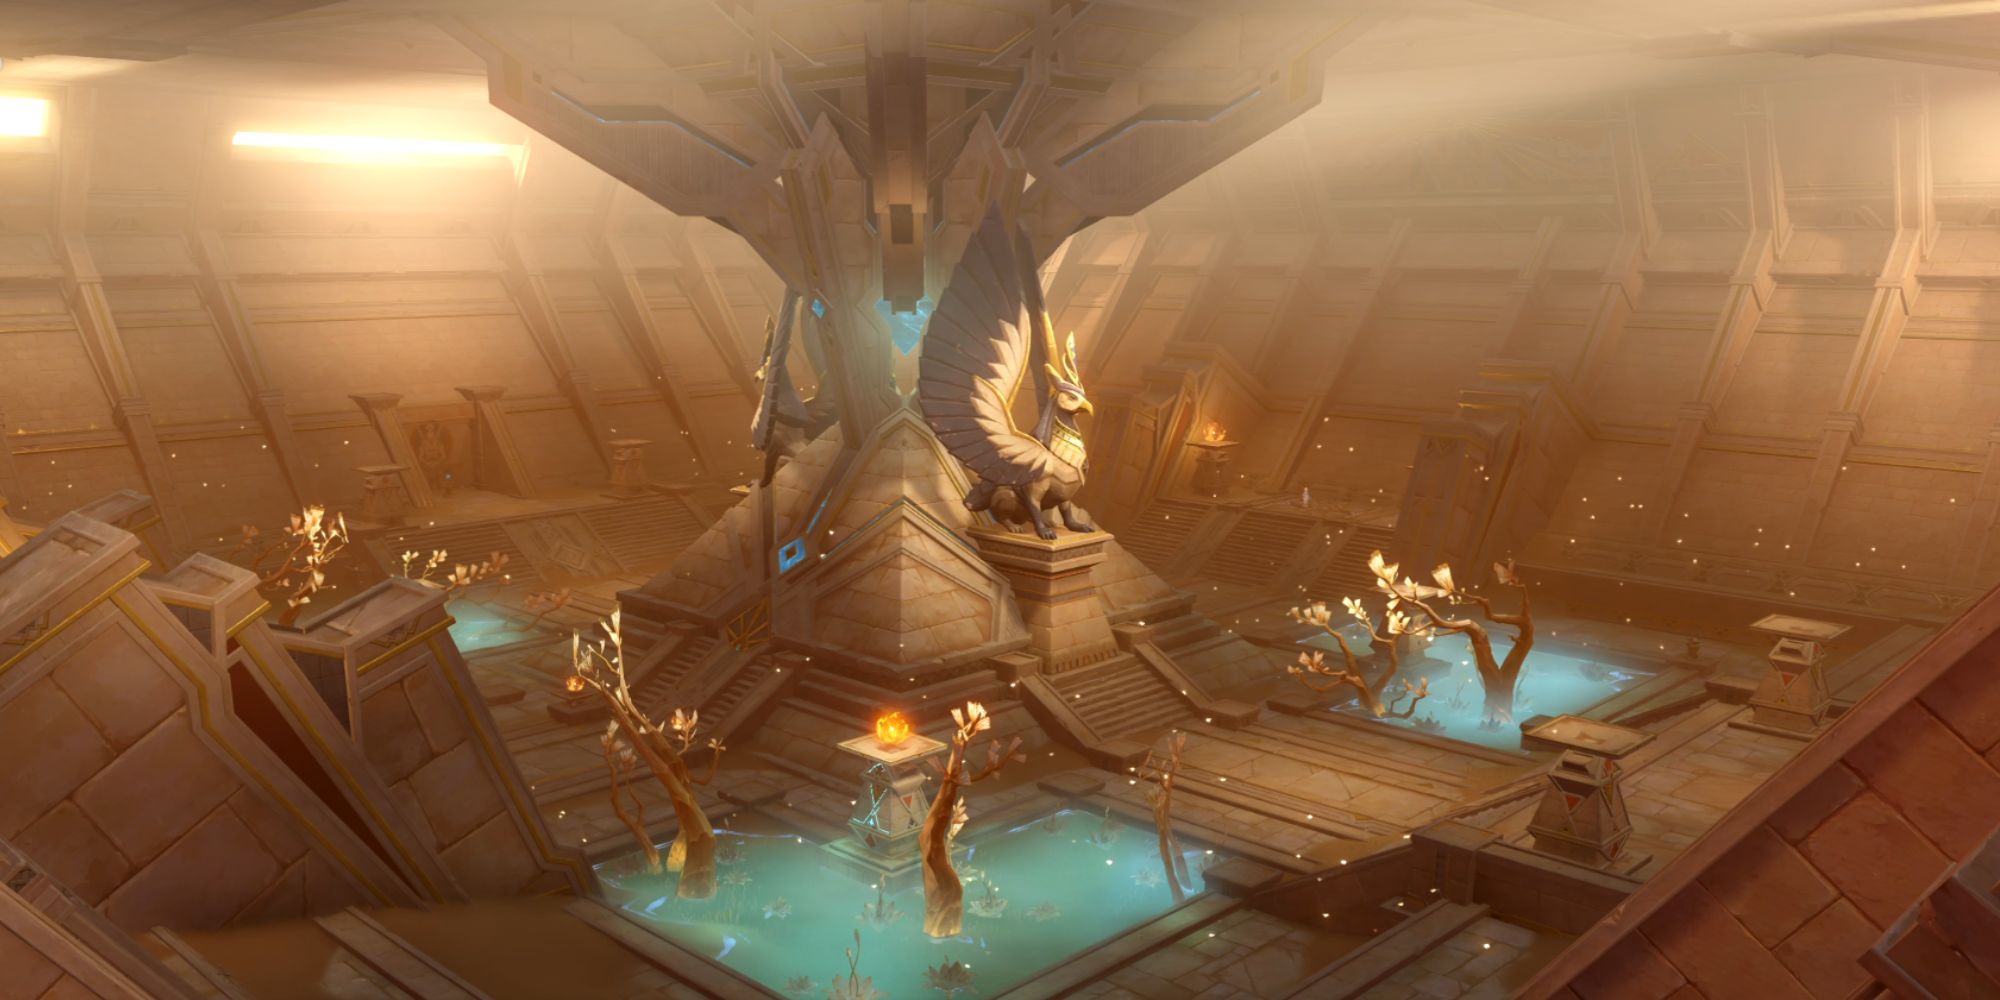
Before you know it, you'll reach another Teleport Waypoint with a book in front of a giant door. With this, you'll reach the Duat Hall and dialogue with Paimon will trigger. You have to pass three tests after this part.
How To Get Full Clearance
This whole part of the quest can be quite overwhelming because you are given little information. After the dialogue, the quest will mention that you have to pass three tests to get full clearance or 'consent of Al-Ahmar'. It's important to remember the Stone Slate for this part as it will lead you to where you need to go.
You can use the Slate to guide you to the three locations, and here are all the places you need to beat before you can continue with the quest:
- Place Of Swallowing
- Place Of Rebirth
- Place Of Breath
How To Finish The Quest
Once all the symbols are lit up on your Slate, you can teleport back to Duat Hall using your Slate and enter the doorway guarded by two statues in front. When you enter the room, you'll have to find a way to activate the giant device. To do this, go to the four pillars on the edges of the device and interact with the blue books beside them.
A dialogue with Paimon will trigger after getting to the new area, and you'll get another riddle from the Stone Slate here. To solve this puzzle, you have to light three Primal Torches, which essentially means you have to submit three blue orbs into their respective pillars to ascend to Aaru.
You'll find the three blue orbs in the center of all three sides of the room apart from the one where you entered from. It's quite easy to follow these orbs, but a lot of enemies will spawn in the process. It's recommended to put on your damage-dealing team for the rest of the quest.
After activating three torches, you'll be taken to the top of the Mausoleum using an elevator. At the top, you'll find the Algorithm boss waiting for you on a giant battlefield. To defeat this boss, you need a lot of damage because it's very tanky. Moreover, it goes into an invisible state every few seconds.
Get rid of any one of the structures on the platform and apply Electro to the green structures that spawn after. This will bring the boss back out of invisibility and it will be vulnerable for a few seconds. After defeating the boss, a Precious Chest will spawn in the middle and the sandstorm above the Mausoleum will go away.
This chest will provide you with a Record of Aaru's Shut that you can take back to Aaru Village. You can also read this in your inventory before you head back. You'll learn quite a lot about Lord Al-Ahmar, Gurabad, Aaru, and Khaj-Nisut from this record. Back at Aaru Village, show the Record to Soheil and he'll be convinced that the ruins exist.
After this quest, you can talk with Soheil again and he'll tell you about his wishes. This will give you four more mini-quests in the same banner. These quests will take you to the rest of the Desert that is still locked and you can finish exploring the southern area. As for the North, you'll have to finish your adventures with Jeht to unlock everything.
NEXT: Genshin Impact: Complete Guide


