Final Fantasy 7 Rebirth: Can't Stop Won't Stop Side Quest Walkthrough
If you're getting tired of the main quest, the minigames in Final Fantasy 7 Rebirth are a great distraction. Many side quests even focus on getting a high score in a minigame to please your client. While most high-score challenges can be a bit troublesome, none compare to the Can't Stop Won't Stop side quest.
RelatedFinal Fantasy 7 Rebirth: 10 Best Minigames
In the Gold Saucer and across the world, there are a lot of great minigames in FF7 Rebirth. These are the best.
PostsThis side quest is a brutal competition against Shinra's Middle Manager. To complete this quest, you'll need to beat your opponent's high score in several Gold Saucer minigames. For the final bout, you'll face off directly against Shinra's lapdog to see who's the ultimate party animal.
How To Begin Can't Stop Won't Stop
Can't Stop Won't Stop, is unlocked after completing every side quest. You'll have the opportunity to complete the last round of side quests once you reach Costa del Sol in Chapter 12.
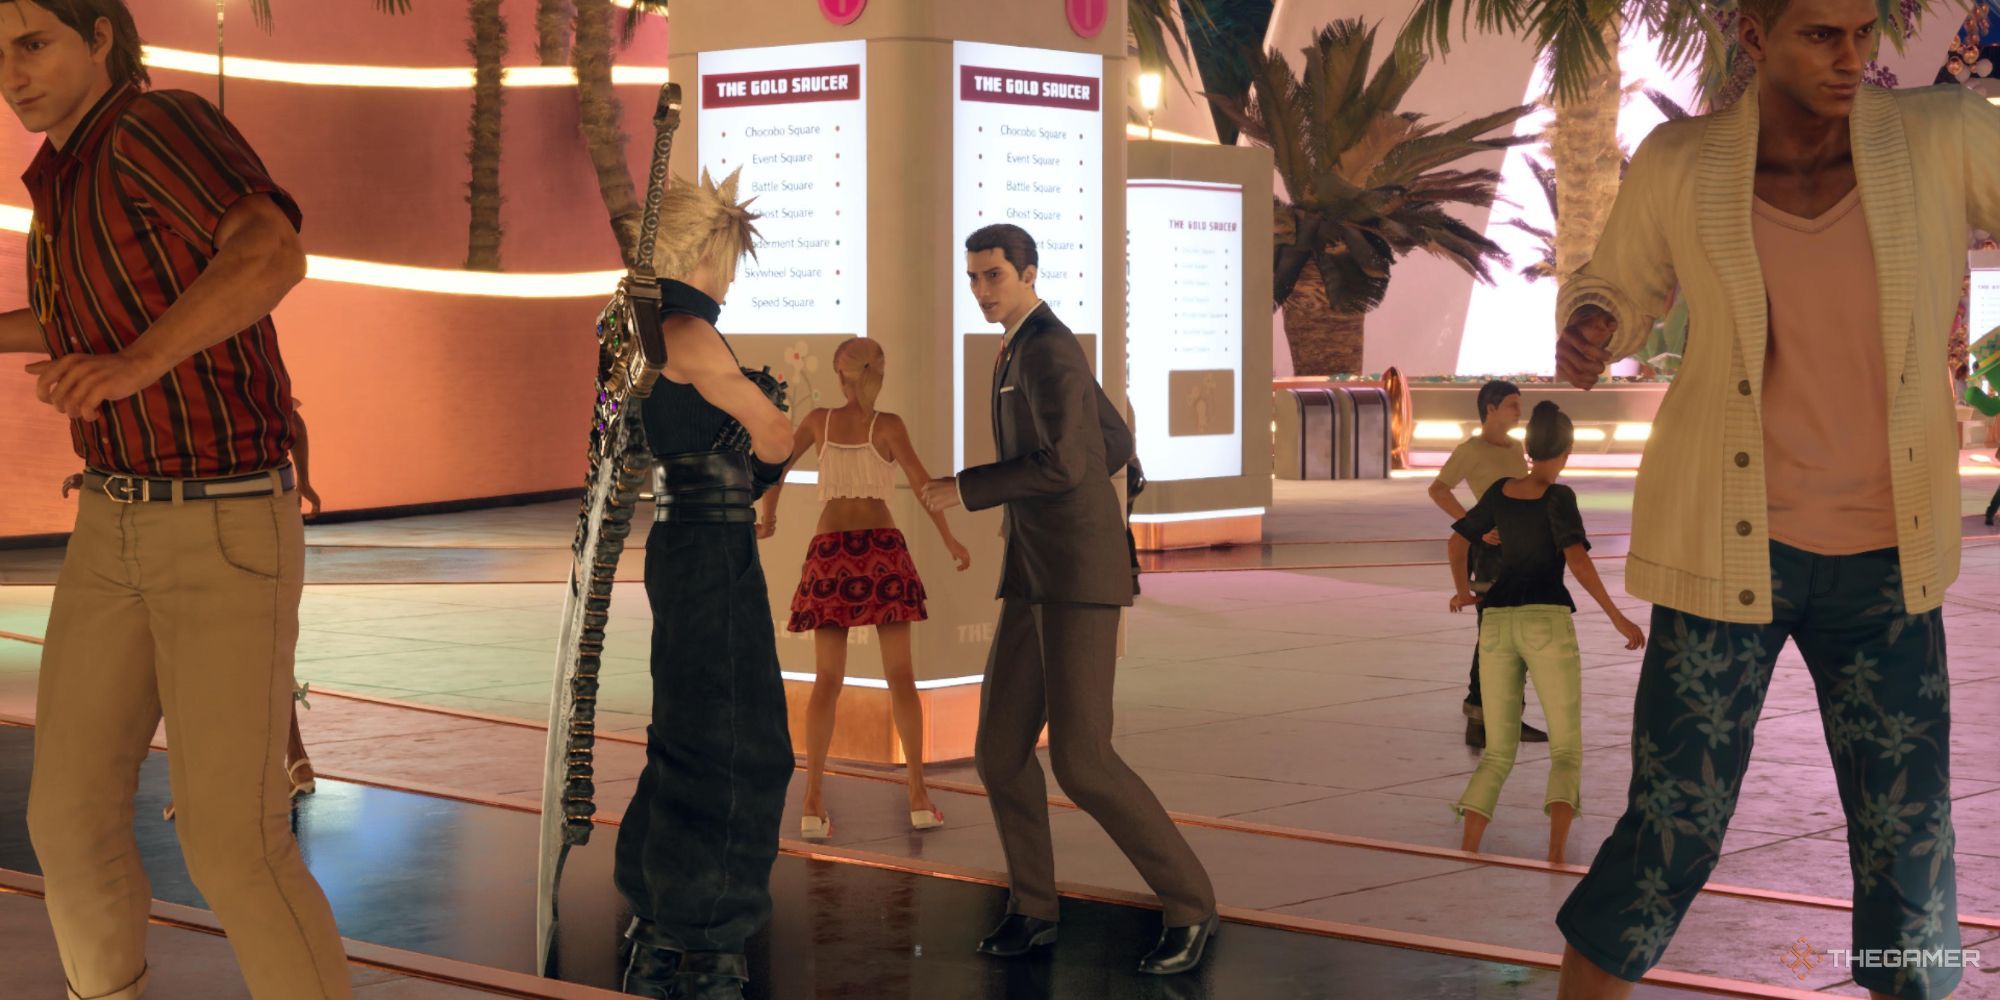
Your client for this quest is the Ultimate Party Animal. He's located at the entrance of the Gold Saucer, where he reveals himself as Shinra's Middle Manager.
After chatting with the manager, you'll have to complete the UPA Challenge in four of the Gold Saucer's minigames. You can tackle these challenges in any order. Once you complete every challenge, you'll move on to the final two challenges.
As of writing, this quest is bugged and can't be completed. After completing the G-Bike minigame, you will not be able to progress, even after beating the high score. However, a fix for this issue is expected to come with the next patch.
How To Beat The UPA's Score At The Musclehead Colosseum
The UPA Challenge here is a series of five three-person battles against extremely powerful enemies. For this challenge, you want a diverse party to deal with a variety of enemies.
Bring a tank like Barret or Red XIII, an agile character like Tifa or Yuffie, then the last slot is up to you. Cloud is a solid choice and Aerith is great for exploiting elemental weaknesses.
Items can't be used during bouts at the Musclehead Colosseum. Make sure your chosen party has Healing and Raise Materia to keep everyone healthy.
UPA Challenge Round One
The first battle is against a Gargantuar and a Gigantuar. These giant Cactuars have no weaknesses but become pressured after using Needle Rain.
Every time the Gargantuar and Gigantuar use Needle Rain, the potency of 1,000 Needles is increased. The 10,000 Needles ability can instantly kill a party member that's not blocking.
As these enemies zip around the battlefield, use ranged attacks and magic to keep up the damage. Once the Gargantuar and Gigantuar close the distance to attack, switch over to your melee-focused party members and build the ATB gauge.
When Needle Rain is used, expend your ATB to stagger the enemy and eliminate them.
UPA Challenge Round Two
The second fight is against ten Tonberries.
Evading the Chef's Knife ability is the only way to pressure a Tonberry, as they have no weaknesses.
Failure to dodge Chef's Knife will cause Instant Death, regardless of your current health.
If you try to use ranged attacks, a Tonberry will use Scourge to restrain you. After Scourge, they'll teleport to you and use Chef's Knife.
To get past this battle, you'll need your entire party equipped with the Safety Bit accessory. A Safety Bit grants immunity to Instant Death, Slow, and Petrify. The accessory can be crafted with the following recipe:
How To Craft A Safety Bit
2x Mythril Ore
2x Ruby
2x Sapphire
With Safety Bits equipped, you're free to cut loose. Switch over to your agile party member and attempt to dodge Chef's Knife as much as possible to pressure Tonberries.
If those Tonberries are still giving you trouble, consider bringing Enemy Skill Materia to inflict status ailments. The Rancid Breath Enemy Skill is capable of inflicting multiple status ailments on several enemies at once.
Tonberries are only immune to Morphable Item, so forget about that Morph Materia.
UPA Challenge Round Three
The third round has you fighting against an Ember Zu. This enemy is weak to Ice and becomes pressured after you exploit its weakness. This enemy is essentially a weaker version of the King Zu Fiend from the Nibel Region.
Ranged attacks and Ice magic are enough to bring this enemy down.
Yuffie's Ice Ninjustu is great for quickly pressuring the Ember Zu, allowing your party members to fill the stagger gauge with strong abilities.
UPA Challenge Round Four
CloseThe fourth battle is against two Jokers and a Gigantoad. The Jokers are weak to Wind and become pressured after evading their Soul Sucker ability.
The Gigantoad is weak to Ice and becomes pressured after inflicting enough damage on their tongue.
The Jokers are quick, use unblockable attacks, and buff themselves with their Destiny ability, so you'll want to eliminate them first.
Yuffie can use Brumal Form to easily dodge, then counter with Windstorm to pressure Jokers.
At low health, a Joker will go berserk, so do your best to eliminate them with strong attacks after staggering them.
While fighting the Jokers, your other party members should deal with the Gigantoad. Your tank should be equipped with Provoke Materia to keep the Gigantoad at bay.
The Gigantoad uses multiple abilities that briefly expose their tongue, allowing Barret and Aerith to get some attacks in. After a while, the Gigantoad will become tired and expose their tongue. Keep wailing on their tongue to stagger them, then go in for the kill.
UPA Challenge Round Five
The final round has you go up against an Ironclad. This enemy is weak to Electricity and becomes staggered after using its Sharpen ability.
If the Ironclad isn't staggered after using Sharpen, it will unleash a powerful attack.
Wait until it uses Sharpen, then use your ATB to perform abilities that fill the stagger gauge. Once staggered, go all out with abilities to take this fight.
How To Beat The UPA In The Chocobo Races
This UPA Challenge is a race against the party animal himself. Shinra's Middle Manager rides a speedy Mecha Chocobo in this two-lap race.
When choosing a Chocobo for this race, go for Selena, the Nibel Region's Chocobo. Selena's high-Speed stat allows you to keep up with the Mecha Chocobo. Selena's speed can be enhanced even further with the Mystical gear from Cosmo Canyon.
Selena's ability, Chocobubble, will fire off a projectile that hones in on opponents and stuns them. Use Chocobubble if you ever fall behind to get back in the lead.
The Mystical Neckwrap will even increase you're speed if you're in first place, ensuring that you'll finish in first.
How To Beat The UPA's Score In Galactic Saviors
This challenge requires you to beat the high score of 50,000 points in Galactic Saviors. Your score is influenced by the number of defeated enemies, time left in the minigame, items in your inventory, and your overall performance.
To beat the UPA's score, focus on quickly destroying enemies and steering clear of their attacks.
The time bonus and performance bonus can easily double your score when the minigame ends. The inventory bonus depends on how many Restorative Charges you have, but they only add 1,000 points each.
Save your Proton Bombs for large enemies with giant health bars. You can easily dispatch these foes with Proton Bombs and dodge their attacks by performing a Barrel Roll. Perfectly dodging an attack will reward additional points.
How To Beat The UPA's Score In G-Bike
This challenge requires you to beat the high score of 32,000 pointsin G-Bike.
Your score is influenced by the types of defeated enemies and Point Panels obtained. Since time doesn't influence your score, don't hesitate to slow down when necessary to collect Point Panels and dodge attacks.
You'll get most of your points from defeating enemies, Standard Units reward 500 points and Elite Units grant 600 points.
Make sure no enemy escapes, and you'll easily accumulate a high enough score.
Save your Spinning Slash and Nitrous Boost for the huge wave of enemies that appear, then mow them down with your abilities.
Point Panels only reward 50 points each, but there are plenty to collect,and they restore your health.
Briefly tap L2 to brake and readjust yourself to evade attacks or move towards a Point Panel.
How To Beat The UPA's Score In Queen's Blood
This challenge is unlocked after beating the first four challenges. This is a one-on-one match of Queen's Blood against Shinra's Middle Manager.
The Ultimate Party Animal uses a deck that focuses on enhancing other cards to boost their power.
One way to counter this deck is by using cards that enfeeble enemy cards, reducing their power as much as possible. If building your own deck is too daunting, the Aftermath prebuilt deck is a good choice.
The Aftermath deck features many cards that can replace allied cards. Use these cards to enhance allied cards or enfeeble the enemy when they're within range.
Continue replacing weaker cards with cards of higher power to ensure victory.
The Ultimate Party Animal card is placed at the center of this match and can't be destroyed. This card's special effect will take the loser of a lane's score and add it to the victor's at the end of the match.
How To Beat The UPA In 3D Brawler
After beating Shinra's Middle Manager in Queen's Blood, you'll move on to 3D Brawler for the final challenge. Carefully studying each of the UPA's attacks is the only way to win this battle.
Attacks with the left hand are dodged with the right stick, while attacks with the right hand are dodged with the left stick.
When the UPA throws his arm up and bends backward, you'll dodge by pushing up on the corresponding stick.
When the UPA winds up his arm and crouches, you'll dodge by pushing down on the corresponding stick.
When the UPA throws his arm back diagonally, dodge by pushing to the left or right, depending on which hand the punch comes from.
Dodge by pushing into the direction where the punch is coming from.
You can pause the moment the UPA begins to prepare an attack to determine how you can dodge. However, you must be quick to dodge after resuming the match. If you attempt to dodge too late, you'll end up blocking an attack instead.
The UPA is vulnerable after he strikes a pose, and a blue aura appears. Throw a punch at the arm that's lowered; trying to punch him at the arm that's raised will cause him to dodge.
After you land a punch, the UPA will glow red and unleash a flurry of four punches. Dodging all punches successfully will leave the UPA vulnerable, allowing you to attack again.
NextFort Condor Tips To Beat Chadley - Final Fantasy 7 Remake Intermission Guide
Child prodigy Chadley predictably cheeses Fort Condor. Cheese back.
Posts