Final Fantasy 7 Rebirth: Chapter 9 Main Quest Walkthrough
The ninth chapter of Final Fantasy 7 Rebirth, 'The Planet Stirs,' has the party setting its sights on the lush and vibrant Gongaga region. Best known for their world-famous mushrooms, the Gongaga region is also home to a broken-down Mako reactor. With trouble brewing at the reactor, it doesn't hurt to unwind with a few rounds of Queen's Blood.
RelatedFinal Fantasy 7 Rebirth: Teach Me, Great Warrior Side Quest Walkthrough
It's Yuffie's time to shine in this Gongaga side quest in Final Fantasy VII Rebirth.
PostsBefore heading to the reactor, you'll have plenty of time to explore the region or hang out at Gongaga village. Whether it's gathering World Intel or strengthening your bonds with your party, there is a ton to take care of in Chapter 9.
How To Get The Buggy
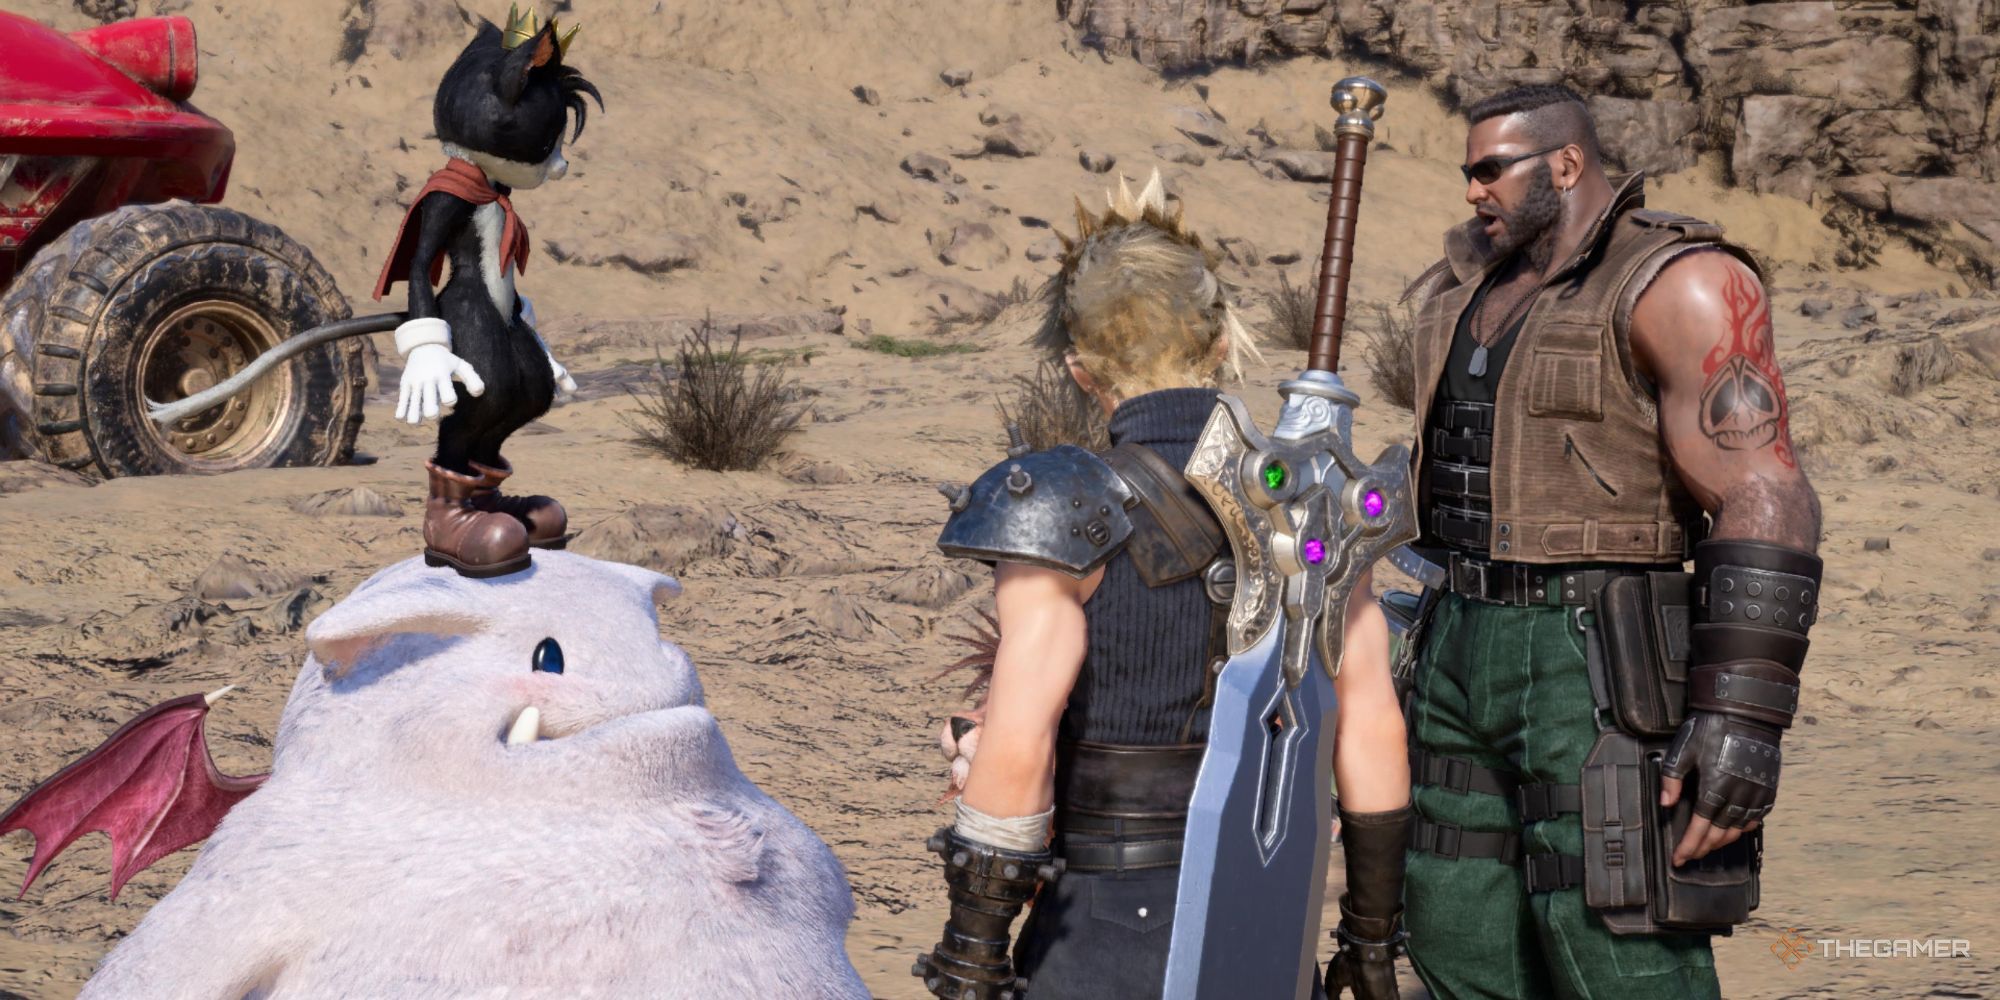
At the start of this chapter, Cait Sith will be driving the Buggy around Corel until the party decides to pull over due to Yuffie's motion sickness. After viewing this cutscene, you'll receive the keys to the Buggy, allowing you to drive the vehicle whenever you want.
The Buggy moves faster than Chocobos and can even drive through shallow waters. This is a great time to explore the rest of the Corel region and complete any World Intel objectives.
Once you've got that all settled, follow the waypoint down south towards the Gongaga region.
The Gongaga Region
At the entrance of the Gongaga region, another cutscene will play. After this, you need to follow the waypoints to Gongaga Village. You won't be able to drive the Buggy through this dense jungle, so you'll need to make your way through on foot.
You're also free to explore the Gongaga region to your heart's content. Though, it's worth waiting until you've obtained this region's Chocobo before doing so.
Gongaga Village
When you reach the village, a cutscene will introduce Cissnei, the coalition captain of Gongaga Village. After meeting Cissnei, follow her up to Monument Hill and view another cutscene.
Once everything's wrapped up, you should chat with your party members around Gongaga village, which will give you a chance to improve your bond with them.
Although you can chat with Cait Sith, there's no way to affect your affinity level with him.
The following choices are the best dialogue options for each character.
Character
Location
Response
Red XIII
At the top of Monument Hill
Pick the mushrooms on the far right.
Tifa
Near the house with the piano
"Pot Roast"
Barret
In the garden across from the Community Notice Board
"Mushrooms"
Yuffie
On the couch in Cissnei's house
"Nice Song. Funny too."
To advance, head to the southeast corner of the village and follow Aerith into the house she enters. After leaving the house, speak with Aerith to improve your bond with her.
When you're given a chance to speak, choose "They distatic.aayyy.com/topic/dn/'t seem to mind." After this, follow the waypoint back to Cissnei's house and get some rest before heading to the reactor.
While at Cissnei's, be sure to open the purple chest to obtain Yuffie's Bird of Prey weapon. This weapon grants the Doppelgänger ability, which allows Yuffie to create a clone of herself to mimic her actions.
Gongaga's Mako Reactor
Once Cloud is rested up, follow Yuffie to meet up with the rest of the party. After the cutscene, Cloud will set off to the reactor with Barret, Red XIII, and Cait Sith. The others will stay behind in the village.
The reactor is south of Gongaga village. Follow the path and the lit torches to reach the reactor quickly. Once you arrive, watch the cutscene, then chase after the Whispers.
Continue down the path until you reach a room with a few Amphidex and a Frightflower. After defeating these enemies, you can continue chasing the Whispers by squeezing past the slightly opened doors here.
Before moving forward, head into the room blocked by a piece of rubble to find a chest containing the Crystal Sword weapon for Cloud.
This weapon grants the Infinity's End ability, which allows Cloud to initiate a powerful attack that deals extra damage to staggered enemies.
Keep moving until you reach a dead end with a locked door. Go to the left, pick up the glowing plug with L2, and connect it to the red computer to unlock the door. Move along the path until you find the Whispers again.
To continue your pursuit, you'll need to raise the water levels. Jump into the body of water, go left, and climb up the ladder to reach the Drainage System. The console will be out of power, so you'll need to power it up just like with the computer from before.
However, the plug will be too short to reach the computer. To connect the plug to the computer, you have to move the nearby green cart backwards with L2 and out of the plug's way. Now you'll have enough room to connect the plug and use the Drainage System.
Instead of exiting where you came from, move to the back of the room with the Drainage System and climb the red crates in the back of this room to exit through the small hole.
Here, you'll find a chest containing the Golden Collar weapon for Red XIII. This weapon grants the Watcher's Respite ability, which allows Red XIII to heal allies at the cost of his Vengeance gauge charges. After this, you're free to continue following the Whispers.
When you reach the dead end, take some time to rest up and grab the Subversion Materia nearby. After heading into the light, another cutscene will play out, and Scarlet will send Hojo's latest creation after you.
How To Beat Specimen H1024
Weaknesses
Resistances
Immunities
How To Stagger
Ice
Stop, Sleep
Proportional Damage, Fire, Electricity
Inflicting a lot of damage after it uses its Mako Ingestion ability. The specimen will become vulnerable once interrupted.
This enemy is powerful, but you can easily pressure it by using powerful abilities and exploiting its weaknesses.
Be sure to bring along Ice Materia or the Snow Flurry ability from the Folios.
Consider equipping Cloud's newly acquired Crystal Sword, which provides a boost in magical attack and grants the powerful Infinity's End ability.
For your party setup, bring along Barret and Red XIII.
Party Member
Party Role
Barret
Barret can protect your allies from Specimen H1024's attacks with his Lifesaver ability, then use powerful attacks to pressure the enemy when it uses Mako Ingestion.
Red XIII
Red XIII can buff and heal the party with his Supernal Fervor and Watcher's Respite abilities.
When he's not supporting the party, use the Chilling Roar ability to exploit the enemy's weakness while building the Vengeance gauge.
If you fail to pressure Specimen H1024 after it uses Mako Ingestion, it will use Memento Mori, a devastating attack that can easily wipe out your entire party. Keep Red XIII's Watcher's Respite ability on standby to recover quickly.
Once Specimen H1024's health gets extremely low, it will use Mako Overdose. This ability casts Faith, Manaward and instills itself with Berserk. During this phase, focus on using physical abilities to defeat the beast before it tears through your party.
Obtaining The Gongaga Chocobo
After the boss is defeated, you'll switch over to Tifa back in Gongaga Village. Noticing the trouble brewing at the reactor, Tifa's party will head out.
On the way out, Cissnei will give you access to this region's Chocobo and some grappling guns. The Gongaga Chocobo allows you to jump on the giant mushrooms spread around the region. Use the mushrooms to cover long distances and reach the reactor even faster.
At the reactor, be prepared to deal with plenty of Shinra troopers. After taking care of the crowd, use the grappling hook on the red rope hanging from the front gate.
All grapple locations are designated by red ropes and the blue grapple icon that appears on-screen.
From here, continue on the path you took while controlling Cloud's party through the reactor.
Once you reach a room that's heavily flooded, swim over to the platform at the end of the room with the Shinra crates. From here, use the grappling hooks to exit the room.
In this upper area, turn around and grapple along the area here to reach the purple chest in the back. This chest contains the Tiger Fangs weapon for Tifa, which grants her the Chi Trap ability.
This ability creates an orb of chi that deals damage to enemies within range.
Then, grapple back towards the beginning area where the Chimera Mimics are. From here, take the grapple directly above you, then take the one to the left and follow the path down.
Continue moving forward and grappling whenever you can. When you reach a room with two Gagighandi and a Grandhorn, you'll need to connect another plug to a computer.
You'll need to grapple to the top of the room and move the cart that the plug is attached to, so it can reach the computer.
After firing up the computer, it's a straight shot to the heart of the reactor. Before you can reunite with Cloud's party, be sure to rest up at the rest area and prepare for the upcoming battle.
How To Beat Crimson Mare Mk.II
Weaknesses
Resistances
Immunities
How To Stagger
Electricity
Stop
Proportional Damage, Berserk, Deprotect, Deshell, Debrave, Slow, Poison, Silence, Sleep, Petrify, Stone, Morphable Items
Destroying the weapons on the left and right arms will expose Scarlet. Attacking Scarlet will pressure the mech.
To weaken this enemy, you'll need to destroy the weapons on its left and right arms.
Be sure to equip Lightning Materia for Tifa and Aerith; Yuffie can rely on her Lightning Ninjutsu.
Make sure Yuffie has her Bird of Prey weapon equipped, the Doppelgänger ability is great for dishing out extra electric damage.
The Crimson Mare's Spinning Thrust and X-ecution abilities are quick and hit hard, so stick to playing as agile characters like Tifa or Yuffie to dodge these attacks.
As for Aerith, use her to heal your party or strike with Lightning magic once Scarlet is exposed and pressured.
Make sure Aerith's Radiant Ward and Arcane Ward are set upto maximize her damage output.
At a little less than half health, Scarlet will switch out her sabers for heavy gauntlets. The plan stays the same: take out the weapons first, then go for Scarlet.
The main difference here is that the Crimson Mare's attacks are now slow and heavy, making them easier to block and dodge.
The Crimson Mare's gauntlets can also fly off of their body and charge into your party members. During this phase, it's easiest to block when they use the Rocket Arms ability. There's a very strict window for dodging this attack that isn't worth the risk.
Leaving Gongaga
Several cutscenes will play out after defeating Scarlet's mech. When you're given control of a character, you just need to follow the waypoints until you're back in Gongaga village.
Back in Gongaga, you'll view another cutscene where Cloud's party is directed south of Gongagato carry on with their journey. Follow the waypoints to reach the Gongaga airstrip and complete chapter nine.
RelatedFinal Fantasy 7 Rebirth: Gongaga Region Phenomenon Intel Guide
Another Protorelic is waiting at Gongaga!
Posts