The Hunt Board in Final Fantasy 16 is full of harrowing fights that will leave you clinging to your very last high potion. While the difficulty from these fights might turn you away from hunts entirely, some of these monsters drop loot essential to creating powerful items.
Related: Final Fantasy 16: Complete Guide To The Hunt Board
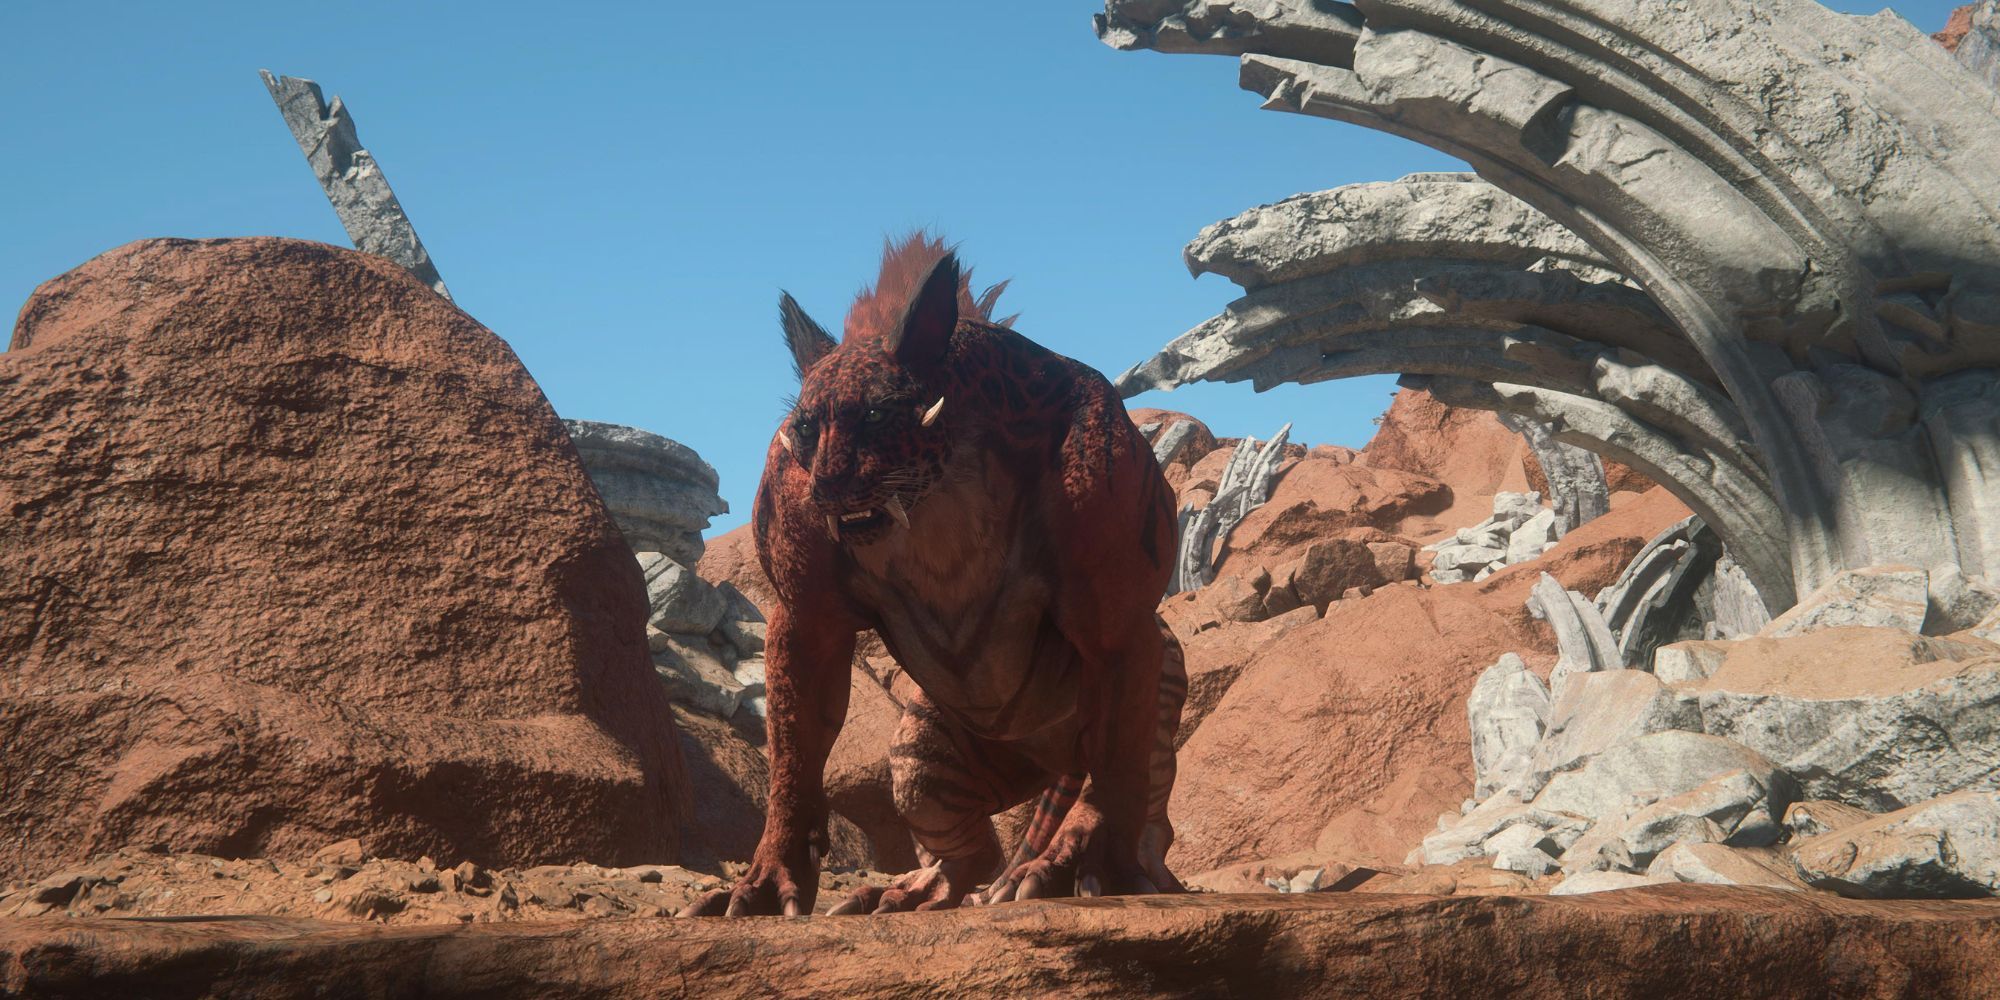
The Grimalkin, the Coeurl's less electric cousin, is a much easier foe to hunt. You can hunt down this feline about halfway into Act 2. The Grimalkin hide dropped by this monster is one of the materials used for crafting Excalibur, one of the strongest weapons in the game.
Where To Find The Grimalkin
The Grimalkin is located in The Cattery, Dhalmekia. To find this mark, travel to the obelisk at The Jaw and head north towards The Sickle. After reaching The Sickle, head down the path on the right and head straight down until you reach a dead end.
Be careful on the path to The Sickle; another Notorious Mark waits in this area. The Nine Of Knives is a powerful enemy you may mistake for an NPC. If you engage this enemy, keep running to end the fight.
How To Beat The Grimalkin
The Grimalkin uses attacks with its claws that are pretty slow and clearly telegraphed. Considering that the Grimalkin only has a few attacks, this fight won't give you much trouble.
Attack
Description
Claw Swipe
Grimalkin will lunge forward and claw.
This is Grimalkin's main method of attack, and it will use this move frequently. Grimalkin will go for a claw swipe after jumping backward. Dodge the second that Grimalkin's arm leaves the ground. Dodging this move will get easier as the battle goes on due to how often this attack happens.
Spin Kick
Grimalkin will throw up their hind legs and spin around.
After clawing the ground twice with its hind leg, Grimalkin will unleash this attack. Dodge when the Grimalkin's legs are in the air, about to fly at you. Dodging after seeing Grimalkin scratch the ground will leave you open to getting kicked.
Pounce
Grimalkin will jump forward and then leap toward you.
This attack is pretty easy to dodge as it's telegraphed by Grimalkin's first jump. This attack also rarely appears if you remain in close combat with Grimalkin the whole fight.
Savage
Grimalkin will claw at you three times, then jump back before leaping forward and biting.
The timing to dodge the first hit is just like Grimalkin's regular claw swipe. If you fail to dodge the first hit, you'll get stuck into the combo. After the third hit, you'll be able to dodge before Grimalkin has a chance to bite you. For this last hit, dodge once Grimalkin is in the air. If you panic and spam dodge once you're free from the initial combo, you'll get bit.
CloseBefore your fight with Grimalkin begins, you will have to take outfour waves of Wild Nakks. After defeating every Wild Nakk, the Grimalkin will leap down from a cliff and begin attacking. The Wild Nakks are easy to take out and fight, just like any other wild dog-type enemy.
Since Grimalkin has a very limited number of attacks, memorizing each attack and learning the timing to dodge each attack will come naturally. You could aim to dodge every attack as they come or use Titanic Block to topple Grimalkin quickly. Grimalkin also does not use any new attacks when their health runs low, so you don't have to worry about any surprises as the fight progresses.
After defeating the Grimalkin, you will receive the following:
Experience
500
Ability Points
45
Gil
6,100
Spoils
Grimalkin Hide x1
Next: Final Fantasy 16: Strongest Eikonic Powers