Quick Links
- How To Unlock The Aetherfont
- Dungeon Walkthrough
- Lyngbakr
- Arkas
- Octomammoth
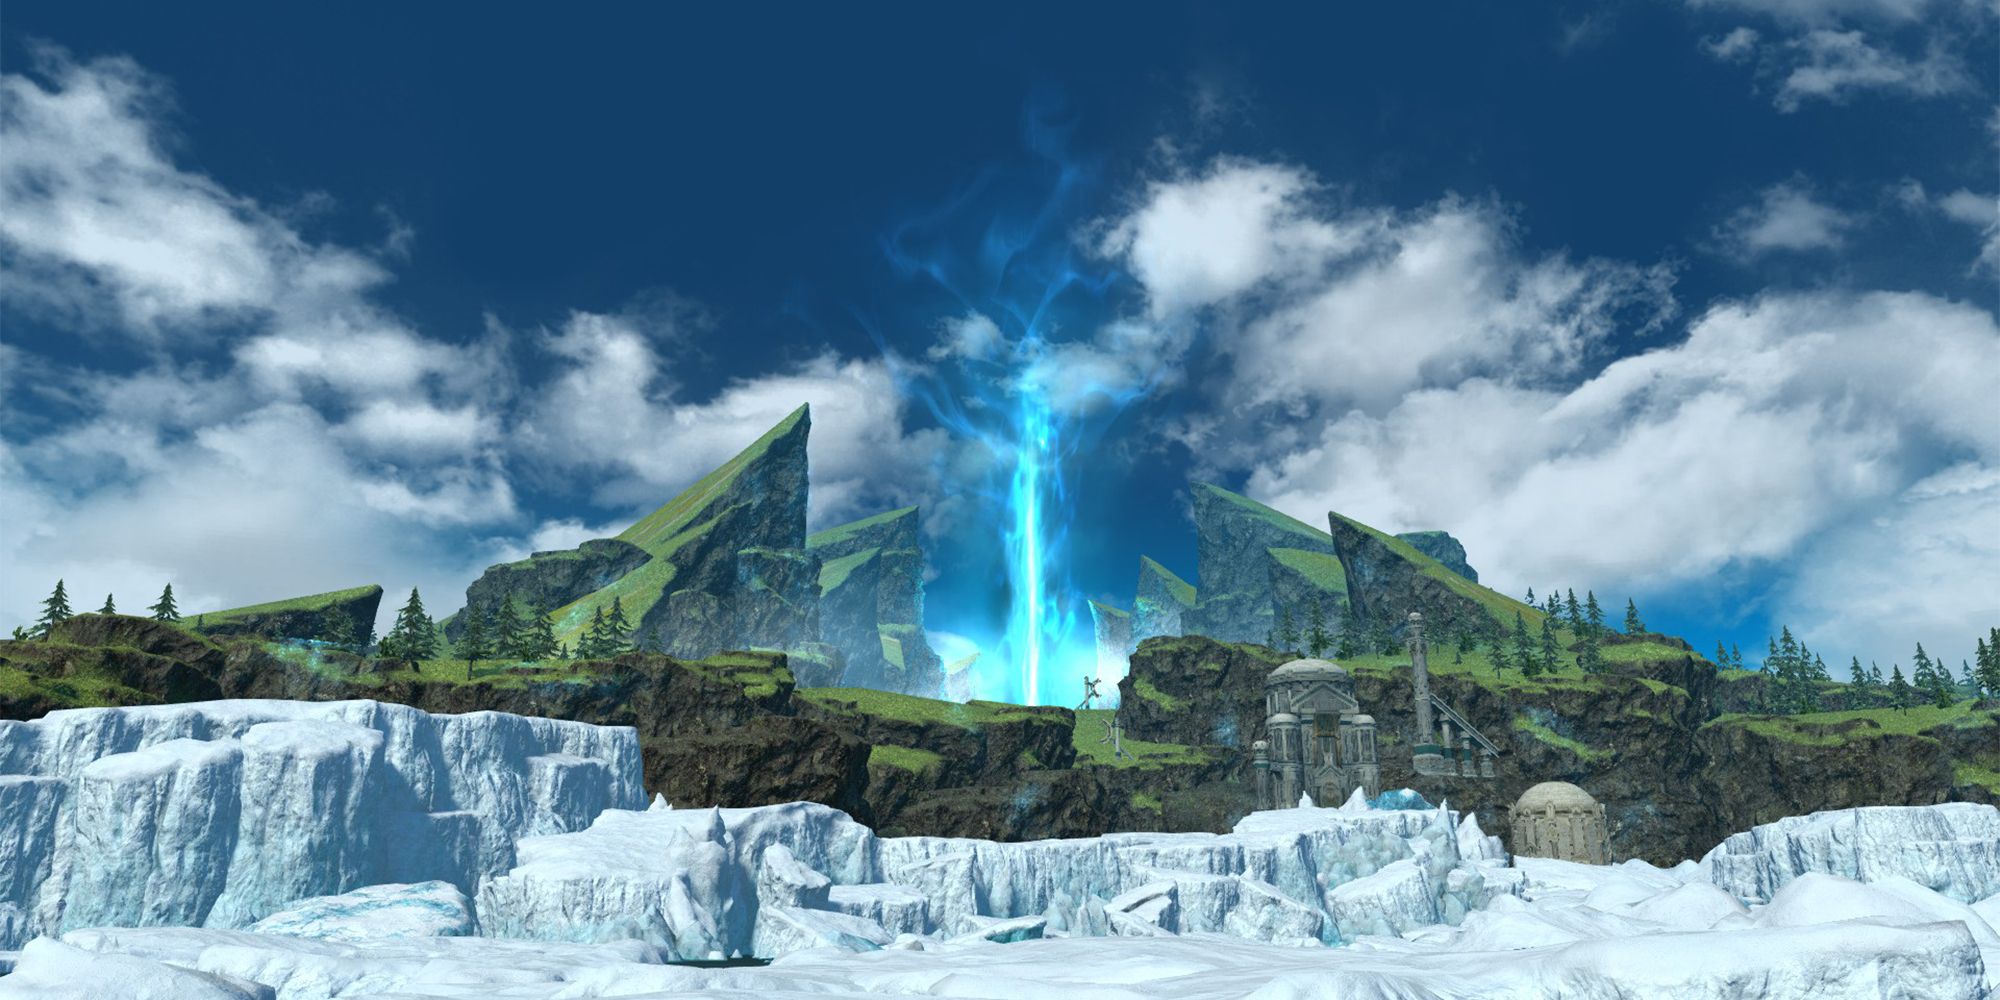
The Aetherfont is a level 90 dungeon in Final Fantasy 14. After the original portal to the Thirteenth below Alzadaal's Legacy was destroyed, the Warrior of Light and allies seemed out of options, until Y'shtola devised a way to travel between the moons of the source and the Thirteenth, the home of Golbez and the Voidsent.
Related: Final Fantasy 14: Lapis Manalis Dungeon Guide
However, to power this portal, you'll need massive amounts of Aether. To construct the portal and stop Golbez's Voidsent invasion, you'll need to travel to the Isle of Haam off the coast of Old Sharlayan, to The Aetherfont. Below, you can find every boss you'll encounter in this dungeon, their attacks and mechanics, and how to beat them.
How To Unlock The Aetherfont
The Aetherfont can be unlocked through the following level 90 post-Endwalker quest.
- Accept the Main Scenario Quest 'Going Haam'
- NPC Location: Urianger - Estinien's Chambers - Radz-at-Han (X:3.5, Y:3.5)
Dungeon Walkthrough
Like most other dungeons, the Aetherfont can be undertaken with Trust NPCs; Thancred, Zero, Urianger, and Varshahn, in particular. By delving into the dungeon with Trusts, you'll be able to go at your own pace. Plus, Trust NPCs are very good at dodging mechanics, which can help immensely when learning each boss's attacks for the first time.
Overall, the layout of this dungeon is very straightforward. Treasure chests can be found easily on the main path, and certain sections of the dungeon will be walled-off until the pack of monsters just before are dealt with, limiting how much you can explore at once.
Lyngbakr
The first boss of The Aetherfont is Lyngbakr. This dread beast of the seas' attacks and mechanics are detailed below.
Attack Name
Type
Details
Upsweep
AoE
Deals damage to all party members. Use AoE healing to recover.
Tidal Breath
AoE
Deals damage in a half-circle AoE to the front of the boss. Quickly move behind the boss to avoid taking damage.
Body Slam
AoE/Special
Deals damage to all party members, then summons several small ice spikes around the arena.
- Lyngbakr will use Upsweep after Body Slam, causing the ice spikes to resonate before exploding. Each ice spike will explode in a small circle AoE.
- The second Body Slam will cause larger ice spikes to appear, which will explode in larger circle AoEs after Upsweep.
- The third Body Slam will create small and large ice spikes at the same time, which will explode in sequence. Avoid the small ice spikes, then the large ones.
- Subsequent uses of Body Slam will alternate between large ice spikes and small/large ice spikes.
Floodtide
AoE Markers
Targets all players with an AoE marker. Spread out from one another to avoid overlapping these AoEs.
Tidalspout
Stack Marker
Targets a random player with a stack marker. Group upwith this player to spread out the damage of this attack.
Sonic Bloop
Tankbuster
Deals high damage to the Tank. Use defensive cooldowns to mitigate this damage.
Lyngbakr will repeat these attacks until it is defeated. It will always use Floodtide, Tidalspout, and Tidal Breath in quick succession, so be ready to move accordingly to avoid these three attacks.
Arkas
The second boss of The Aetherfont is Arkas. This boss will use a number of high-damage attacks, so get ready to dodge. Arkas's attacks and mechanics can be found below.
Attack Name
Type
Details
Battle Cry
AoE
Deals damage to all party members. Recover through AoE healing.
- Subsequent uses of this attack will create a ring of electrocution around the edge of the arena, inflicting a debuff of the same name on players that enter. This debuff deals damage over time for 15 seconds, and can't be cleansed with Esuna.
Lightning Leap
AoE/Special
Arkas will jump to an area around the arena, dealing damage in a circle AoE. Then, lightning tendrils will spread out from the boss's point of impact. Shortly after, these will explode, dealing damage in the area. Move between the lightning tendrils to avoid their explosion.
Ripper Claw
Tankbuster
Deals high damage to the Tank. Use defensive cooldowns to reduce Ripper Claw's damage.
Spinning Claw
AoE/Special
Deals damage in a circle AoE around the boss, then creates several large lightning tendrils that explode after a short delay in a large line AoE. Watch where the tendrils spread and move accordingly to avoid their explosions.
Lightning Rampage
AoE/Special
A powered-up version of Lightning Leap that Arkas will use four times in a row while the edge of the arena is covered in electrocution. Focus on moving quickly between each circle AoE and lightning tendril explosion to avoid each attack as it comes.
Lightning Claw
Stack Marker
Targets a random player with a stack marker. Group up with the affected player to spread out the damage of this attack's AoE.
Electric Eruption
AoE
Arkas targets three spots around the arena with a lightning AoE. Avoid these locations as you dodge its other attacks.
Arkas will repeat this series of attacks until it is defeated. Trust NPCs are especially useful for this fight, as they will always accurately avoid the Lightning Leap/Rampage AoEs and lightning tendril explosions. Following exactly where they move will prove a useful strategy for avoiding damage in this fight.
Octomammoth
The final boss of The Aetherfont is the Octomammoth. This giant octopus uses its tentacles to take control of the cramped arena, forcing you to stay on the move throughout the fight. Its attacks and mechanics are detailed below.
Attack Name
Type
Details
Tidal Roar
AoE
Deals damage to all party members. The Healer should be ready to recover the party's health.
Octostroke
Special/AoE
The Octomammoth will reposition its tentacles around the arena, then use cone and line-shaped AoEs in the direction they are facing. Move to a spot where there are no tentacles to avoid their attacks.
Vivid Eyes
AoE
A thin ring-shaped AoE directly surrounding the boss. Move away to avoid taking damage.
Water Drop
AoE Markers
Targets all players with AoE circle markers. This attack always occurs during Vivid Eyes. Spread out from one another to avoid overlapping this AoE while also dodging the ring AoE of Vivid Eyes.
Saline Spit
AoE
The Octomammoth will target each of the circle platforms that make up the arena with an AoE. Stand on the sections between each circle to avoid taking damage.
Tidal Breath
AoE
The boss will turn slightly before charging up a large half-circle AoE in the direction it's facing. Quickly move to the other side of the boss to avoid this attack.
Telekinesis
AoE
The boss will tether to three of the orange crystals outside of the arena, causing them to target three of the platforms with an AoE attack. Find one of the two safe platforms and move accordingly to avoid this attack.
Breathstroke
AoE/Combo
A combination of Octostroke and Tidal Breath. The Octomammoth will turn to face a different direction, dealing damage in a large half-circle AoE, while its tentacles reposition and use line and half-circle AoE attacks. Quickly move behind the boss while avoiding the tentacle's attacks to avoid taking damage from this combo.
The Octomammoth will repeat these attacks until it is defeated. Watch out for the Vivid Eyes/Water Drop and Breathstroke combos, as these can inflict several stacks of Vulnerability Up on you if you aren't careful. If you're playing with Trusts, follow exactly where they go, and you should make it through this dungeon with ease.
Next: Final Fantasy 14: Complete Guide To Playing Blue Mage


