Elden Ring: Shadow Of The Erdtree - Fog Rift Fort Dungeon Guide
The Lands of Shadow in Elden Ring: Shadow of the Erdtree DLC are vast, make no mistake. But rather than the vastness of the Lands Between, the Lands of Shadow use space in a more vertical fashion. This is very apparent in the design of Fog Rift Fort, a vertically climbing dungeon in the walls of a canyon rift.
RelatedElden Ring: Shadow Of The Erdtree - Fog Rift Catacombs Dungeon Guide
Here's how to get through the Fog Rift Catacombs and take down the Death Knight in Elden Ring: Shadow of the Erdtree!
PostsYou may have found this fort the first time on foot, wondering how you were going to climb this monstrosity of a fort, only to have found no ladders. Thankfully, however, you've found this guide. It includes everything you'll need: from the entrance to the notable items to the froggiest boss the series has seen since the Demon of Song.
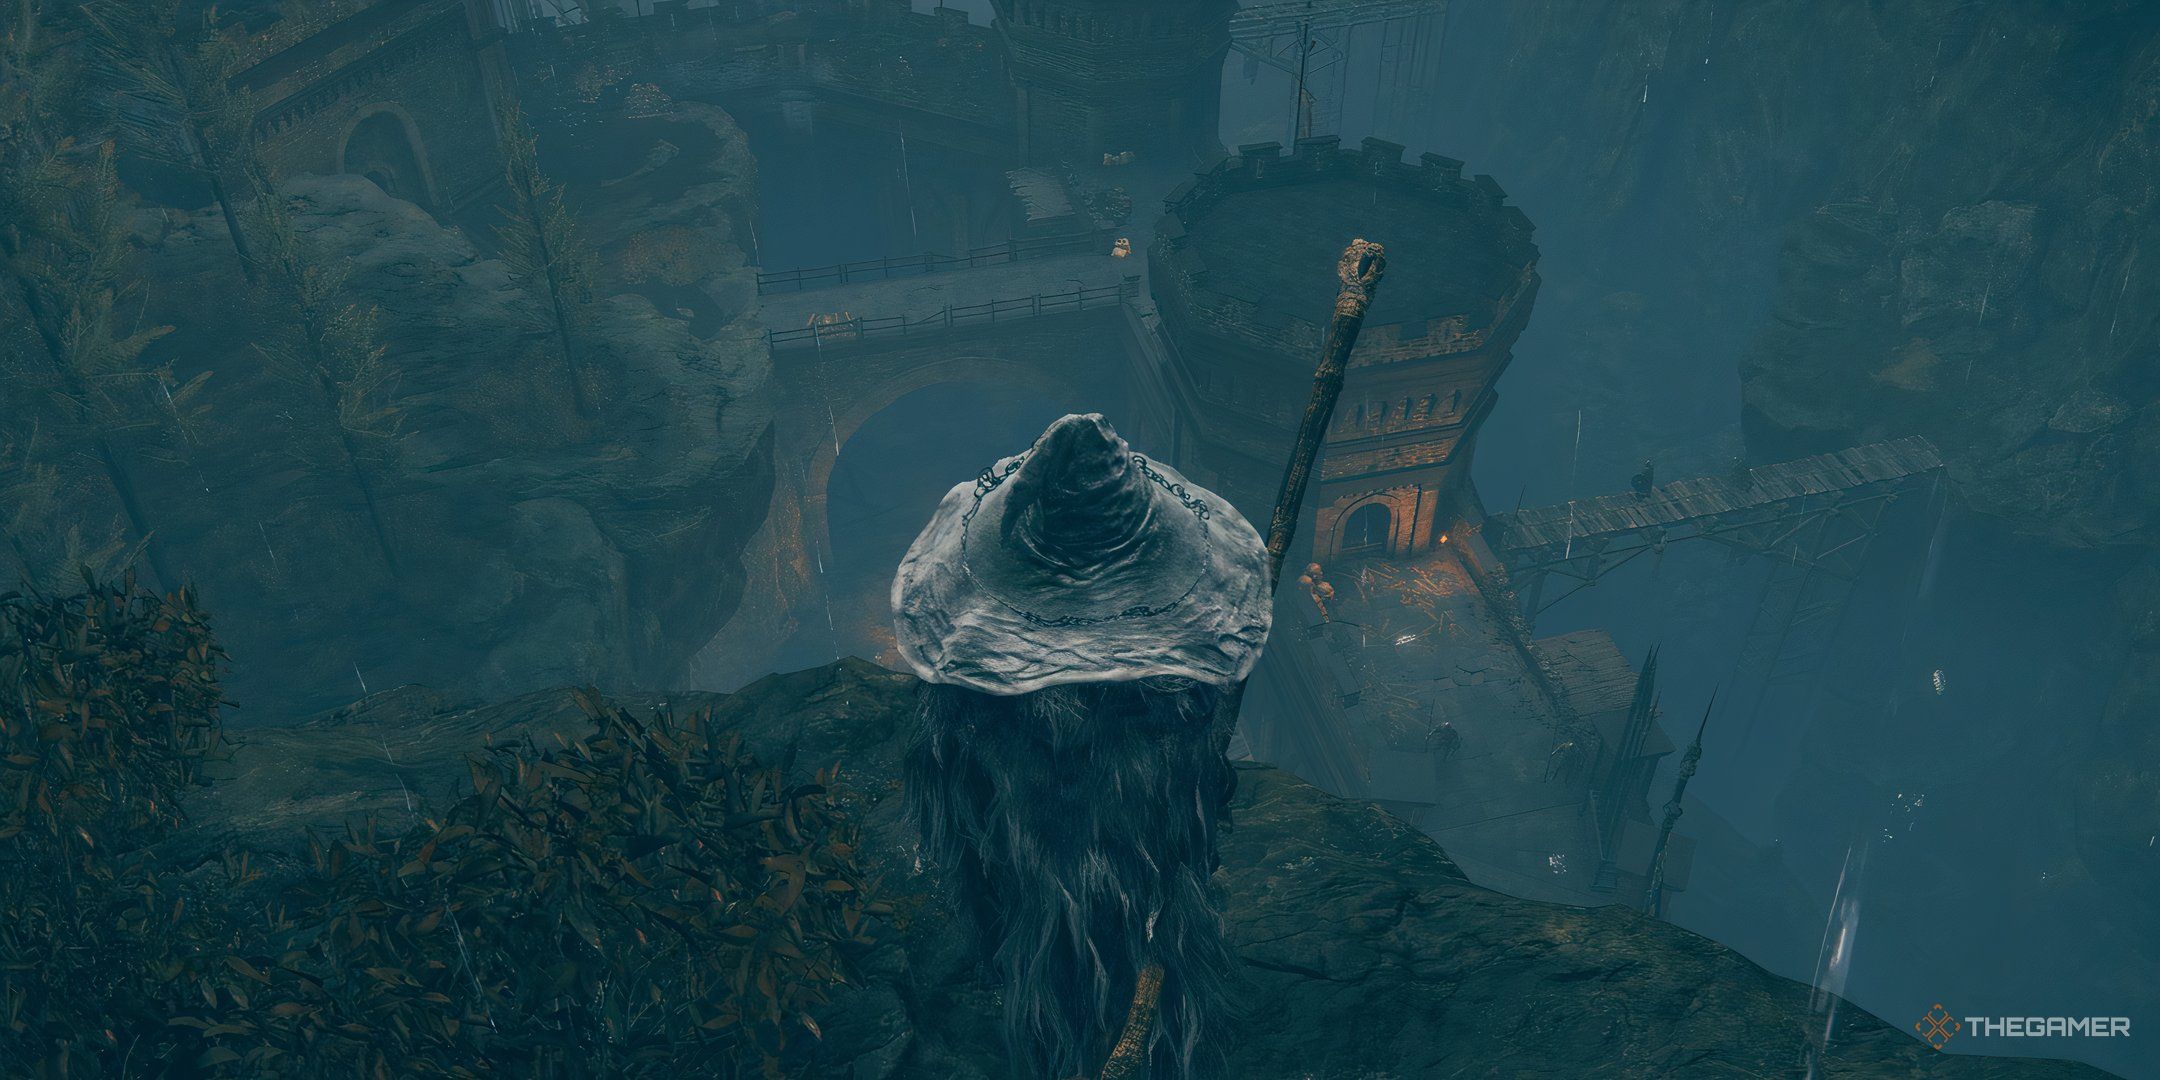
Where Is Fog Rift Fort?
There are two sections of Fog Rift Fort. If you thought the bottom section was all there was to it, you forgot the oldest Souls rule in the book:
Always look up.
You likely encountered the bottom area of Fog Rift Fort by venturing west from the campsite at the base of Castle Ennis.
This deathtrap of enemies and exploding barrels stands between you and the Fog Rift Catacombs where the dreaded Death Knight dwells.
Above is the real destination, however. And to reach it, you'll have to enter the Scadu Altus somehow, which you can do (for example) by:
1. Using the Spirit Spring to the Fort of Retribution, or
2. Defeating Twin-Moon Knight, Rellana, in Castle Ennis.
Once in the Scadu Altus, make your way to the Scadu Altus, West Site of Grace (west of Castle Ennis and the Highroad Cross Site of Grace).
A ledge can be found just southwest of it and over the side of the clifface.
Jumping downonto it, you can make your way onto one of the tower crowns and enter this area with a much better scenic view.
How To Find The Serpent Flail
The first objective of this fort is to find the unique weapon, the Serpent Flail.
To do that, you must take on this fort that actually functions as it was intended to do: fortify against invaders. Red or not, you are the invader here.
Your first obstacle is a long path with several enemies and exploding barrels. There are a few ways to go about this encounter:
- Use the barrels to your advantage and ignite them with a fire attack of choice.
- Lure them out with thrown items like daggers.
- Rely on ranged combat.
Mages will have the best time here, but melee fighters might need to get a little crafty.
We filthy casuals used the Wave of Gold Skill to vaporize everything on the ramparts after having our pride wounded on the first attempt.
You can use summons here if you wish for the entire fort or bring your friends. This can be a fun way to spice up this location a little and perhaps ease any difficulties you may be finding here.
Once inside the tower, there are two enemies and more exploding barrels, so watch out. The same can be said past the tower and on your right.
You could venture across the bridge here, but don't do that. Not yet.
Instead, head for the ladder going down at the end of the path on your left (past the bridge).
Down here, there are even more enemies, and this time, they brought the artillery. Literally.
While down here, you'll want to tread cautiously and focus on defeating the enemies manning the artillery first (unless, of course, you just use Wave of Gold or similar effects).
Two staggered rows of enemies guarding a chest in a tent at the back of the area. Inside is the Serpent Flail.
After grabbing it, return to the ladder and then to the bridge from earlier.
How To Find And Defeat Black Knight Garrew
Across that bridge we ignored earlier, Black Knight Garrew patrols. He looks like your average black knight but quickly humbles the overconfident.
Don't make the same mistake we did, rushing in like he's your standard elite.
Granted, Garrew isn't as hard as bosses go in the DLC, and he's not particularly challenging as a boss.
Things to keep in mind when fighting him include:
- Many of the moves he uses can be found on black knights near the Shadow Keep.
- Like most human enemies, he is susceptible to poison, bleed, sleep, rot, and frostbite.
- He has a shield and can Parry, so be careful about flurry attacks in melee.
- He has ranged options with his incantation-bolstered hammer.
- Backstabs do work on Garrew and can work multiple times.
In general, we recommend using heavier weapons that can stagger Garrew thanks to his lower poise and builds that can allow you to easily backstab.
Using items or weapons that inflict status effects are also very useful against him.
Garrew's greatest strength is his large HP and bulk, so anything you can do to negate that is helpful against Garrew.
Once you defeat him, you'll earn the Black Steel Greatshield and, in the chest inside the tower he guards, a Smithing Stone [7].
Finishing Up Fog Rift Fort: How To Find The Greater Potentate's Cookbook [3]
With Garrew defeated, return to the area across the bridge and head toward the tower - but not in it!
Rather, look to the left of the tower door to spy a small set of stairs over the ledge and wrapping around the tower to a bridge.
There is also a Somber Smithing Stone [2] to the right of Garrew's tower. However, it is guarded by a section of exploding barrels and an enemy with a fiery rock. Sometimes, it's easier just to buy things at Round Table Hold.
There are several enemies on this bridge, so we recommend ranged combat to draw them up to where you're standing. This will prevent any unnecessary accidents out on the bridge (gravity is the player's greatest foe, after all).
From here, all you must do is venture across the bridge to the corpse on the other side. Loot it for the Greater Potentate's Cookbook [3].
Watch out for the enemies on the ground beneath the Fog Rift. Some of these can throw projectiles onto the bridge, so practice caution.
NextElden Ring: Shadow Of The Erdtree - Every Cookbook Location
Here's where to find all the cookbooks in Elden Ring: Shadow Of The Erdtree.
Posts 1