Elden Ring: Shadow Of The Erdtree - Bayle The Dread Boss Guide
Quick Links
- How To Prepare For Bayle The Dread
- Bayle The Dread's Attacks And Combos
- How To Defeat Bayle The Dread
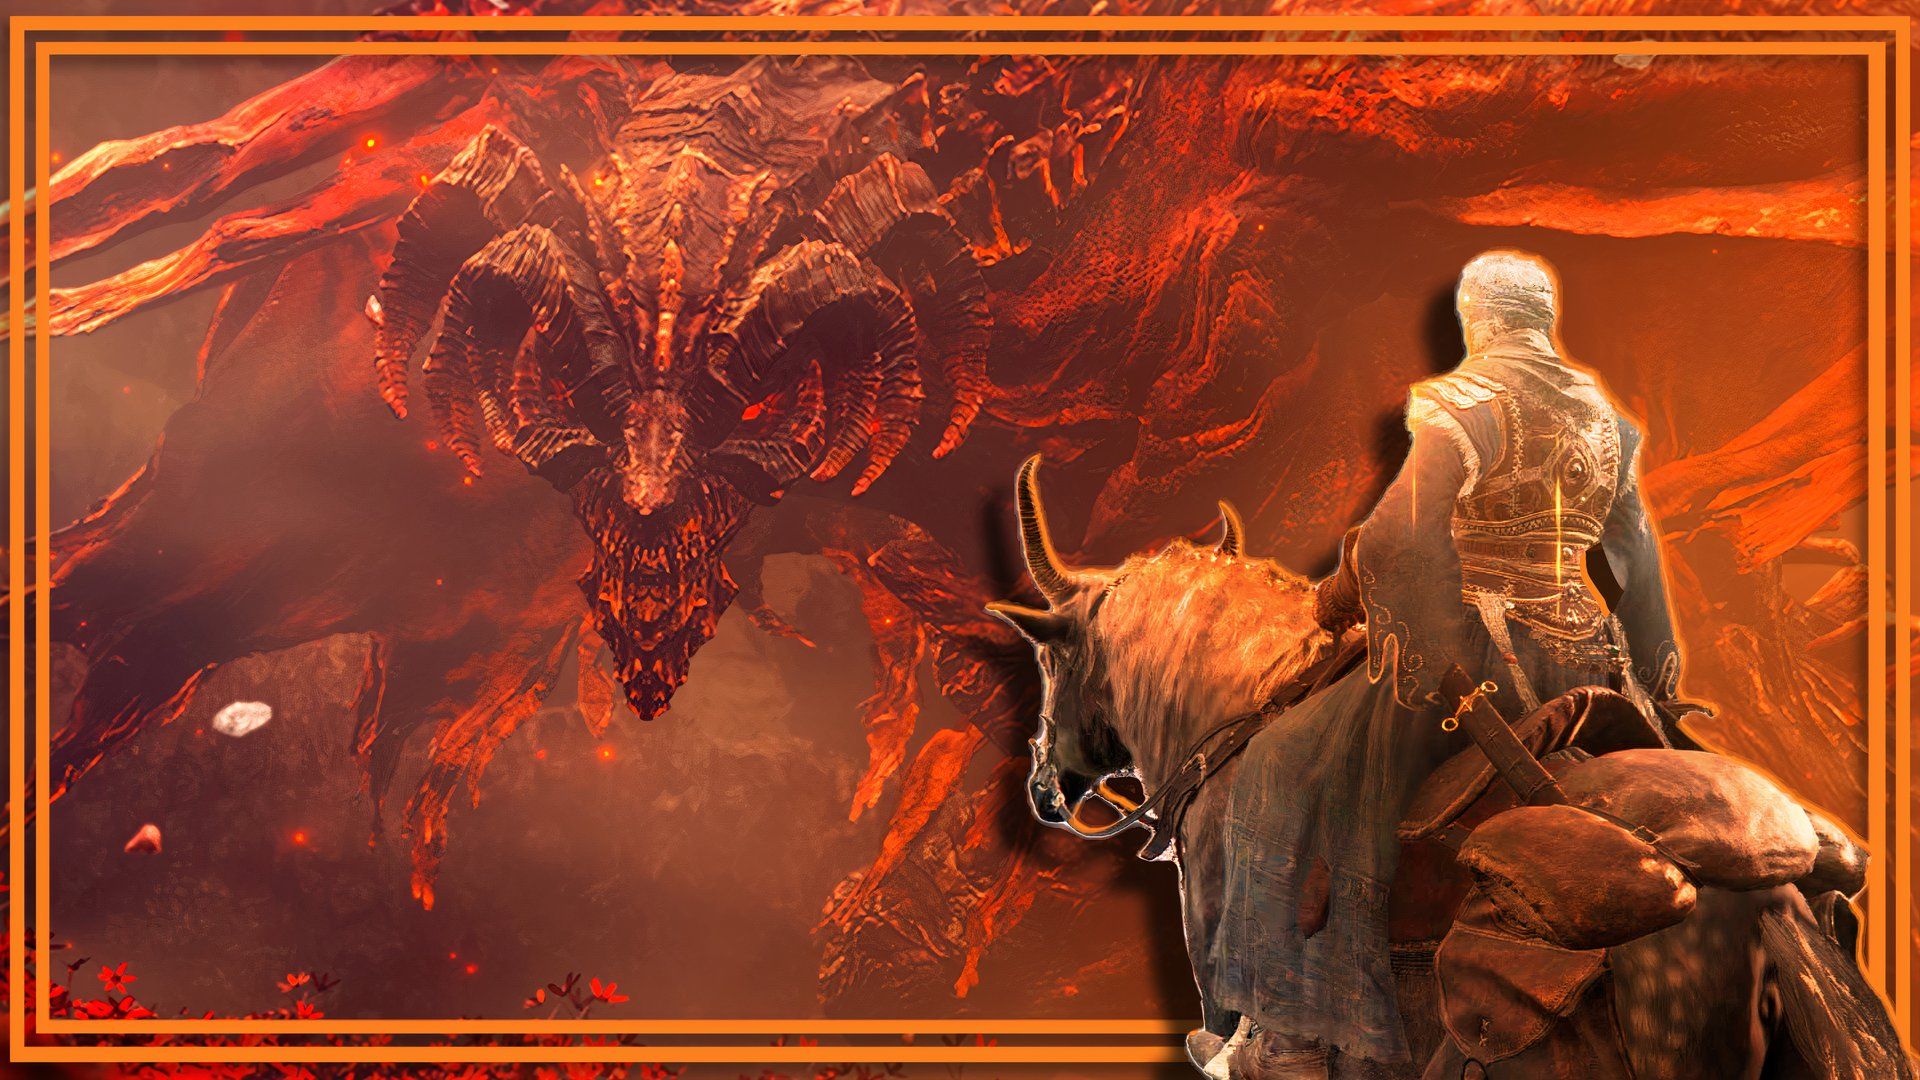
Bayle the Dread in Elden Ring: Shadow of the Erdtree is perhaps the most aptly named boss in the entire game. No boss invokes as much dread as the mention of Bayle for any who have had the displeasure of facing him. And though he is optional, the optional part goes out the window for the sake of any remaining pride left after a fight with him. It's personal.
RelatedElden Ring: Shadow Of The Erdtree - How To Access The Jagged Peak
FromSoftware just loooves dragons!
PostsThis is not the kind of fight you want to do without any summons at all. Thankfully, your NPC summon for this fight not only has an anti-dragon weapon, he's also one of the best voice-acted characters in the DLC. And with all the frustration that Bayle can cause, you'll need both this guide and a very grouchy, raspy voice screaming insults at this overgrown lizard.
How To Prepare For Bayle The Dread
The great part about preparing for Bayle the Dread is that, when you see him, you can turn the heck aroundand go somewhere else for a long while.
Please at least have a +10 Scadutree Fragment blessing for your first run of the DLC when fighting Bayle. We did ours at +7 the first time, and the run was far more comfortable and consistent at a +10.
If you haven't found Bayle the Dread yet, he's at the top of the Jagged Peak. Bayle the Dread is a dragon, and big though he is, and impressive though his second phase, the rules of dragons still apply:
- Bring Fire and Lightning resistance charms.
- Bring underhanded Frostbite, Bleed, or Poison tactics.
- Equip anti-dragon weapons (e.g., the Dragon-Hunter's Great Katana ) or consumables that can create them (e.g., Dragon Communion Grease ).
- Prepare Dragon Communion Harpoons, crafted by the Sharp Gravel Stones you find up the Jagged Mountain.
- Cast your Golden Lightning Fortification , use your Rune Arc , and make any other preferred preparations before entering the area.
- Get out your bag of boss-battle snacks. You'll be here a while.
For our battle snacks, we chose the Exalted Flesh. Good for dealing extra damage while chasing away those pesky cravings.
Bayle The Dread's Attacks And Combos
Bayle's attacks are fairly limited, but they each pack a huge wallop.
Not being familiar with these attacks are extremely devastating, especially in Phase Two where they become:
- Stronger in damage output.
- Often combo-chain with two-hit attacks like Senessax's attacks.
We highly recommend taking time to look through this extensive chart:
Phase One
Attack Name
Attack Description
Suggested Counter
Breath Attack (Forward)
Bringing his head back as he rears, he fills his mouth with fire and then releases it in an almost straight line in front of him.
Dash to the left or right. If not in the right position or too close to the line when he begins, roll to the left or right instead.
Breath Attack (Sweep)
Bayle braces himself, gathering fire within his mouth. He begins spewing flame in the area ahead, favoring to start to his right and end on his left.
Sprint right and, if the flame is still in front of you, dodge forward-left through the fire just as it is about to strike.
Charging Bite
Bayle electrifies his mouth and stays put as he builds up energy. Then, he races forward and performs a grab maneuver with his bite. If caught by this attack, the player is chomped and tossed around, dealing massive (and often fatal) damage.
Stop moving when he begins charging his attack at a distance. Then, as he lunges forward, prepare to dodge backward just as he reaches you and performs the bite. His long cooldown after this failed attempt should be heavily punished by heavy attacks.
Jump Spin
Bayle jumps a great distance forward, typically where no one is standing. He then, after half a second, returns to the player in a spinning tail attack that has a slight delay. Note that the tail attack has a strange diagonal motion to the sweep in some areas of the arena, leaving more space open to your left than to your right.
Stop moving and watch Bayle at a distance. As he prepares to jump back toward you, roll dodge forward through his tail, careful of the slight delay (may take practice). Never dodge right.
Lightning Claw
Bayle raises his right claw far above his head and electrifies it. He then brings it down after approximately two full seconds in front of him in a great explosion.
Dodge roll toward Bayle as the claw strikes the ground.
Lightning Jump
This move, a favorite of Bayle to open the fight with, involves him jumping high into the air while powered with electricity. He comes crashing down on the player with a lightning explosion.
Dodge roll forward a hair sooner than the moment he would land on top of you.
Biting Lunge
Bayle takes a quick step back and then lunges forward with a bite. This is often followed-up with an upward headbutt but can end with the first attack.
Dodge roll forward twice quickly.
Roaring Slash Combo
Bayle backs up and rears, letting out a loud roar. With his right claw extended above his head, he holds position for a full second before releasing a large swipe in front of him. This is followed by the same arm sweeping back in the direction it came and then raising again for a Lightning Claw attack.
Dodge forward with the aim of going underneath Bayle. Dodge again just in case his swipe hitbox reaches you, and then hold, preparing to roll forward one more time as the Lightning Claw strikes the ground.
Slash Combo
This is a variation of the combo above. Rather than roar, however, this combo begins with Bayle backing up but not rearing. He attacks with his left wing in this variation and ends the combo after only the second swipe.
Dodge roll forward twice.
Slash Combo - Bite Variation
The cue of the above attack remains the same, but the second attack is a bite attack instead of a swipe. Can be followed up by a headbutt.
Dodge roll forward twice; watch to see if a third dodge roll is needed.
Ground Fire
Bayle raises his torso and looks down at the ground as he gathers fire in his mouth. He releases a wave of fire that emanates from the space in front of him and covers the area around his entire body.
Begin sprinting away as he charges this attack. Prepare to follow-up just as it ends for a punish attack.
Call Lightning
Bayle stretches out his neck and braces himself on the ground as he roars with fury. Lightning is called down in multiple strikes, tracking the player as they move.
The roar can deal damage in an area, so roll back away from Bayle's head. Then, sprint away from the lightning, rolling only if necessary.
Phase Two
Attack Name
Attack Description
Suggested Counter
Transition
Bayle pulls lightning energy around himself, balling up as he does so. Small flames will begin to appear on the ground as the area color shifts. After a few seconds, the fire on the ground will explode, and Bayle will grow a pair of wings before taking off.
Sprint away from Bayle and make preparations for Phase Two.
Flying Barrage
While Bayle is in the air, electric fireballs will gather in the sky behind him and begin firing down on the player. After approximately eleven fireballs, Bayle will come crashing back down into the arena in much a similar fashion as Placidussax's phase two transition move. He will slide across the arena toward the player, leaving pools of fire that explode with delay. Several lightning strikes will also plague the area, potentially striking the player.
Begin sprinting in the right direction, dodge rolling if a fireball gets too close for comfort. Keep lock-on on Bayle as much as possible, and prepare for his crash landing. Roll left or right as he reaches you. Beware of intermittent lightning strikes in the arena.
Lightning Claw
This is the same attack from Phase One, but now it leaves a lingering pool of fire that explodes after delay. This pool can either center around the head of Bayle or will spread out in a straight line a medium distance.
Dodge roll forward and prepare a second dodge for the delayed explosion. Dodge forward if a pool around Bayle, and dodge left or right if a pool in a line ahead of Bayle.
Great Lightning Blast
Bayle rears up and raises both of his wings high. He comes crashing down with a lightning attack that explodes on impact. Then, the ground around him breaks in a large radius before a second, much more powerful explosion blasts the area.
As you see Bayle rise up with lightning cackling, begin sprinting as far away as possible. Dodge roll out of the final frames for the second explosion. However, if you are too close to Bayle to get away in melee, you can dodge roll forward toward him twice, taking care of the strange delays, and survive just as well. However, the dodge windows on this attack are very, very fine and require practice or great intuition.
Roaring Lightning Slash Combo
Bayle rears up and roars like the old roaring combo. However, this second phase variation has his claw lit with lightning flame. His swipe attacks cover a large area and leave sweeping lightning where he hits. This always ends with his Lightning Claw attack leaving a straight line of an exploding fire pool.
Begin backing away and then roll dodge backward once, then back again, and (wait for it) roll forward. Pause and roll forward one more time if still within the area of his delayed explosion. Attack.
Charging Lightning Blast
Bayle crouches low to the ground and lets out a roar as he gathers lightning around himself. Fire gathers around him. This attack is very much like his transition attack.
Begin sprinting away and pause on the border of his fiery pool. Once the surrounding pool explodes, rush in for an attack.
Lightning Beam
Bayle grows out his wings and gathers fire in his mouth as he takes off into the air. He hovers briefly before releasing a two-hit combo lightning hyper beam. The first beam moves almost horizontally across the ground with a pulse of fire around the area it initially strikes. The second is a vertical beam that begins beneath Bayle and then rises through the arena, leaving a delayed explosion pool in its wake. Bayle crashes to the ground as the last of the explosions detonate.
Sprint toward Bayle and then dodge roll forward-left through the first beam if still within range. Continue sprinting forward, then dodge roll forward-left again for the second beam. If possible, you can avoid the second beam entirely if you manage to sprint all the way to the wall's edge.
Spin
Bayle tenses and then suddenly spins in place, swiping with his tail. Can very rarely trigger in Phase One, but far more common in Phase Two.
Triggered by large damage amounts taken at his back. Roll dodge forward and chase after him.
Biting Lunge
This is the same as Phase One. No change.
Jump Spin
This is the same as Phase One. No change.
Ground Fire
This is the same as Phase One. No change.
Call Lightning
This is the same as Phase One. No change.
Breath Attack (Forward)
This is the same as Phase One. No change.
Breath Attack (Sweep)
This is the same as Phase One. No change.
read moreHow To Defeat Bayle The Dread
First and foremost, forget about your pride summoning NPCs. If you're not summoning Igon for this fight (especially on your first DLC run), you're a stubborn fool just asking for trouble.
Summoning Igon has no caveats whatsoever because he:
- Has an extremely large healthpool and is difficult for Bayle to kill.
- Carries anti-dragon harpoons that deal extraordinary damage to Bayle.
- He is summoned inside the arena instead of outside, meaning Bayle's health does not increase at all because of Igon.
- He screams the curses we're thinking about inside the entire time. What a lad.
If you want to summon Igon, make sure you exhausted his dialogue outside the Jagged Peak Drake boss at the bottom of the mountain.
His summon sign is just to the left as you enter the arena. It can be hard to see because of other people's messaging and the red flowers, but it is there.
Secondly, make sure you have an anti-dragon weapon of any kind. The best by far is the Dragon-Hunter's Great Katana.
You cannot miss this sword as it is dropped by the Ancient Dragon-Man boss of the Dragon's Pit, a required boss for the Jagged Peak.
If it helps, think of this weapon like the Serpent-Hunter for Rykard.
We used this weapon for both our clear and for assisting others. It works well despite us not changing our build from an unrelated Faith set-up - meaning we defeated Bayle with an improperly scaled Dragon-Hunter's Great Katana. For the best results, you can use Rennala to respec your character if you want the sword to work even better than it did for us.
Bayle the Dread's phases are not evenly split. His Phase Two will begin roughly at 60 percent health.
Bayle The Dread: Phase One
Health
42,000~ (No summons)
112,000~ (Full summons)
Weaknesses
Piercing, Anti-Dragon effects
Resistances
Lightning, Fire, Magic, Holy, Poison, Scarlet Rot, Bleed, Frostbite
Immunities
Sleep, Madness
Parryable?
No
Backstab?
No
Staggerable?
No
Stance Broken?
Yes
Weak Spots:
Head (+50 percent damage), Leg Stump (Unknown percent)
Special Notes
Bayle's breath attack has a combined damage type of Fire and Lightning.
Phase One is the far more simple fight, but it does require patience and conservation of resources.
Summoning Igon is tricky because of Bayle's aggressiveness, so watch out for attacks as you walk through the fog wall. Sometimes, it's best to wait until he finishes his attack before summoning.
Your goal for this fight is to whittle down Bayle's large health while reserving your best and limited bolstering items for the second phase.
For flasks (especially for FP), we recommend trying to keep a flexible 2-1 rule. That is:
If you have three Flasks, only use one for the first phase and keep two for the second. Therefore, if you have 14 flasks, you want to only use about four in the first phase and ten in the second.
When playing the waiting game, there are a few attacks that are best for punishing Bayle and getting in damage:
- Ground Fire: Sprinting to the edge of his attack radius as he breathes fire on the ground and using a ranged attack on his head is the very best window for damage.
- Lightning Claw: This long wind-up gives you lots of opportunity to roll forward and under to reach his weak leg stump for more damage.
- Charging Bite: After rolling backward from his attack, you'll be keyed up for an attack to his head.
- Jump Spin: Once he returns, your roll forward should put you right in range of a direct heavy attack to his skull.
Once he reaches the 60 percent health mark, sprint away from him to begin using your consumables and recharging any incantation buffs. You have a few seconds to pull them off.
This is the best time to drink your Wondrous Physick.
However, do not use items like the Exalted Flesh quite yet. Generally, these items expire not long after he hits the ground.
Bayle The Dread: Phase Two
The hardest part about Bayle the Dread's second phase is that he absolutely hates sitting still. If you hated the Elden Beast fight in the base game, we're afraid to say that there are many parallels here.
Due to Bayle's flighty-ness, this phase feels particularly long as damage is more spread out compared to the first part.
Your eyes need to check the ground each time Bayle begins or ends a combo, watching for lightning strikes and delayed explosions.
These explosions are a large part of Bayle's second-phase strategy. This is dangerous for all players of any build type - ranged or melee.
You should always assume that the familiar combos of Phase One now have an added explosion at the end of each of them. Refer to the table above for confirmation and questions.
Here, Bayle also spends a lot of time in the air. You'll need to do a lot of sprinting, so having a good Stamina bar is an absolute must for this fight.
If you can't keep up with Bayle, you can increase your Stamina with:
- The Erdtree's Favor +2 talisman
- The Green Turtle Talisman
- The Great Turtle Shell
- The Greenburst Crystal Tear for the Wondrous Physick
- Pickled Turtle Neck
When you can get within range of Bayle, the best attacks to punish him are:
- Jump Spin, Ground Fire, and Charing Bite: Same as Phase One.
- Charging Lightning Blast: Stay on the fringes of his explosion and then race in just as it begins to die down.
Lightning Claw Combos can still be punished, but they aren't as easy as they were in Phase One.
The largest punish window is his Great Lightning Blast attack, but to make the most of it, you must correctly dodge through both waves of explosions. This fine window is a gamble if you cannot correctly dodge through it. Failure could be fatal. However, the payoff is enormous if you manage to land a hit.
Of course, when you have cooperators and Bayle's attention is on someone else, you'll have other openings that aren't mentioned above.
As long as you are patient, and you don't get overly greedy with either your attacks or resources, you'll eventually come out on top.
Your reward is the bragging rights you get for defeating the DLC's second-hardest boss, and also the Heart of Bayle. That's cool too.
You can return with the Heart of Bayle to the Grand Altar of Dragon Communion at the bottom of the peak to finish the Jagged Peak questline and receive the ability to transform yourself fully into a dragon.
9:02 NextElden Ring: Shadow Of The Erdtree - How To Access Charo's Hidden Grave
We take a look at where to find Charo's Hidden Grave and what's hiding there.
Posts


