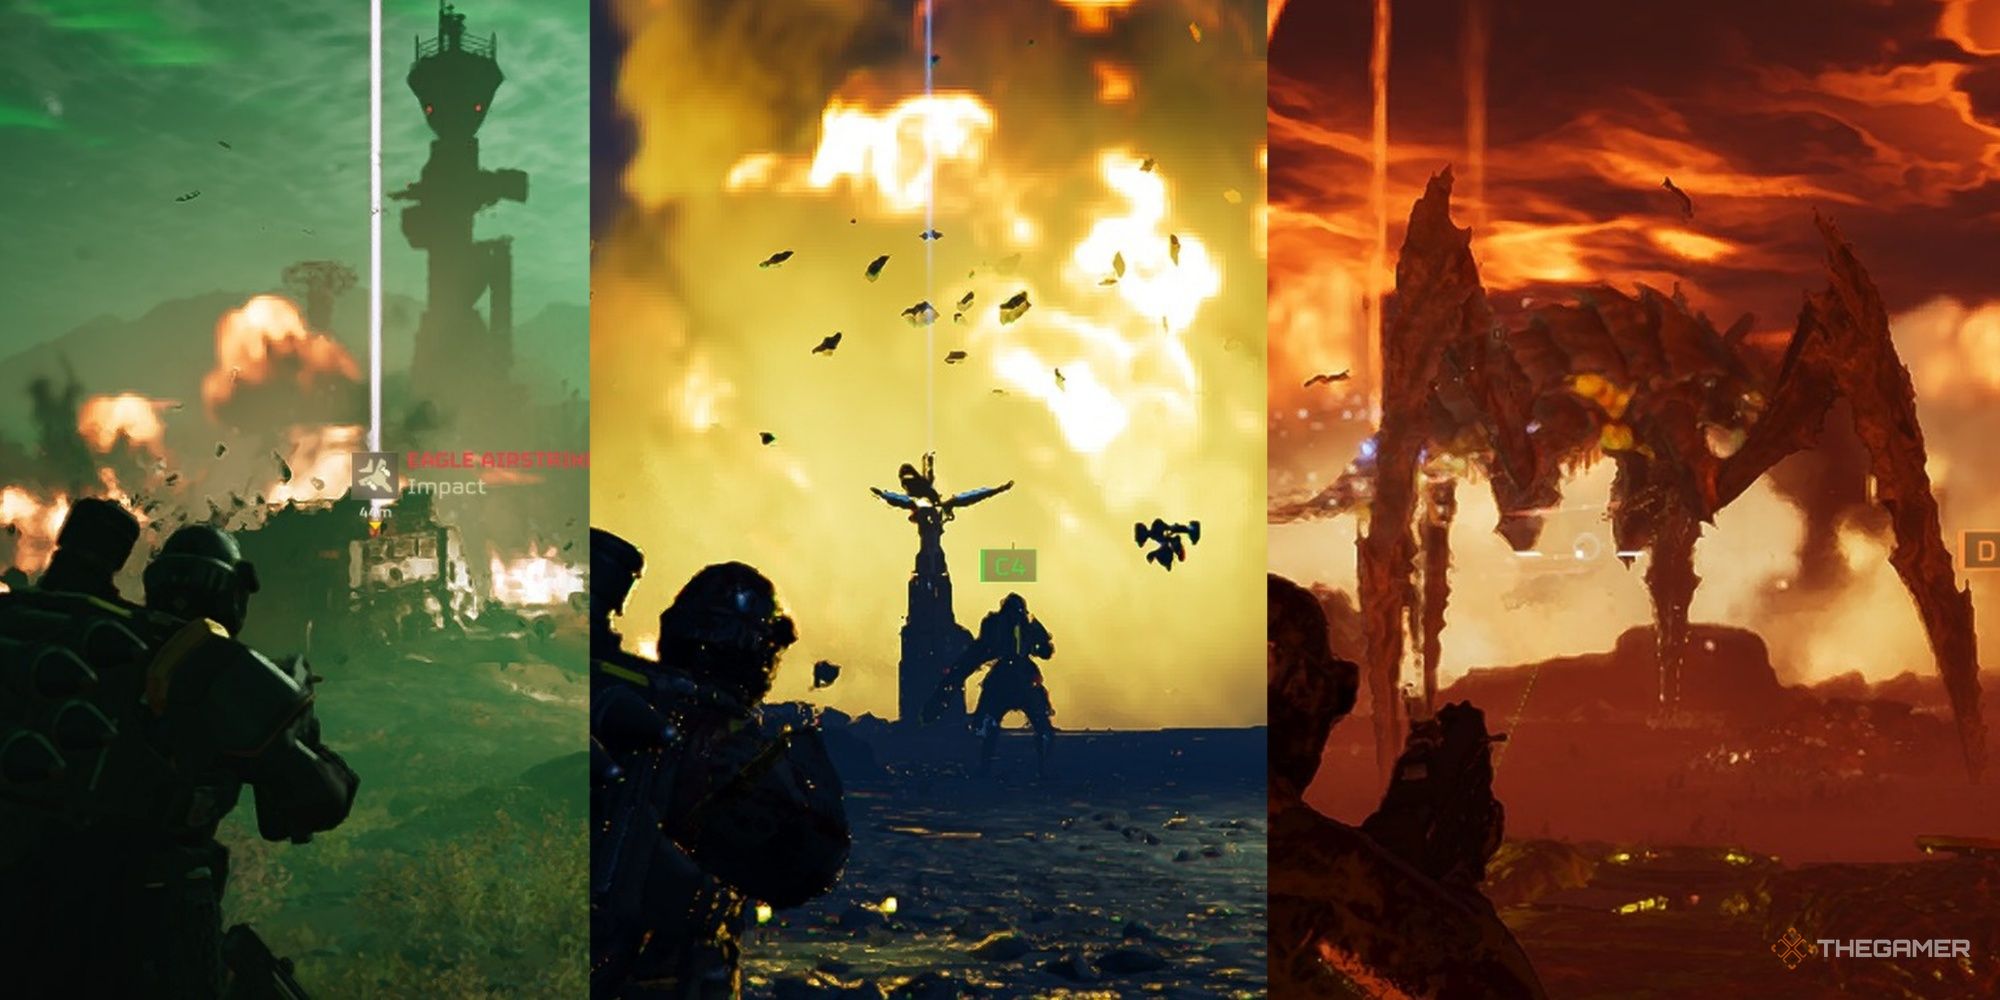
Multipurpose munitions dropped from above that devastate everything below, the Eagle Stratagems in Helldivers 2 are a ton of fun. They come with multiple uses, have a number of different versions and have a pretty quick turnaround with their cooldowns.
RelatedIs Helldivers 2 Worth It?
Should you save Super Earth, or just skip this one?
PostsFor most of the early to mid-game the Eagle Stratagem comes heavily recommended, less so in the late game but it still has its uses. Plus, you never get tired of hearing your Helldiver yell that they’re calling in an Eagle, it’s just oddly satisfying. So if you’re still struggling with these devil birds from above, here are some helpful tips for using Eagle Stratagems in Helldivers 2.
10 Go Long
The number one killer in Helldivers 2 is accidental friendly fire and anyone familiar with the Eagles Cluster Bombs is all too aware of their own personal team killing body count. So it’s a simple tip to start things off, but when you’re throwing those Eagle Stratagems, go long.
The area they cover is a lot larger than you think it is and whilst you can get away with the occasional Danger Close drop, especially if the Stratagem goes in a line. A lot of Eagles drops just saturate the area near the Marker. So like tossing a grenade, try and keep that thing as far from your team as possible.
A good trick is to give a callout when you’re tossing a Stratagem. It’s a very basic bit of good manners that reduces team kills, plus it reins in Helldivers that might be wandering off.
9 Know When To Re-Arm
Unlike the other Stratagems, the Eagle comes with a unique gimmick that you definitely want to be taking advantage of. Instead of having a set cooldown after each bit of ordinance is used, instead you have multiple shots and then one big reload cooldown for two and half minutes when everything is spent.
However, you can trigger this reload early and it’s worth doing so. Two and a half minutes is not a long time to wait, and it’s worth stocking back up on Airstrikes between firefights. You’re always just one misstep away from a big brawl again and you’ll need everything you can get.
In general you want to send the Eagle to re-arm either after completing a big objective or after a large wave of enemies. This lets you prep for the next task and go in stocked up on Airstrikes.
8 Watch The Topography
Aside from accidental team kills, the other big cause of calamity in Helldivers 2 is misjudging the geography of the map. For example, strafe runs start where the Marker lands and goes from close to you to far away, whilst all the others land perpendicular to your Helldiver. So it’s easy to accidentally mess yourself up with ordinance because you got the angle wrong.
The biggest culprit of this is the 500Kg bomb as it goes in at the angle it was thrown at a fixed trajectory. What that means is it hits the target from the same height, even if the marker is thrown at the ground. So say you are on top of a hill or building and then chuck the marker, the bomb is going to fly at the target but impale itself on top of the structure you’re standing on.
Misjudging the topography in Helldivers 2 is a very common way to accidentally frag yourself or your teammates.
7 Adapt Or Die
You’ve got a lot of adaptability with Eagle Stratagems as they come in a range of flavors. From big bombs, to strafe runs, cluster strikes, napalm, and gas to name a few. You can pretty much pack for all sorts of eventualities, and it helps to break the habit of bringing the same thing every time.
RelatedHelldivers 2: Every Automaton Enemy And How To Beat Them
Master the weaknesses of all of Helldivers 2's bots and shred them to pieces.
PostsEverything reacts differently to each Stratagem. For example, big lads like Hulks and Titans shrug off Strafing runs but crumble to 500 Kg Bombs. Gas is useless on the Automatons as they don’t have lungs, whilst Terminids have the world's worst asthma attack. The same applies to Napalm, it turns bugs into crispy critters whilst Automatons just stomp through it. Try to bring an Eagle Stratagem that will work in your favor, don’t just load up for the sake of it.
6 Know Their Strengths
On the topic of knowing what to bring it’s worth looking into the damage stats of each particular Eagle Stratagem as it makes picking what to bring a lot easier. For example, the 500 Kg Bomb will instantly kill pretty much everything, plus it has a quick cooldown time.
Whereas something like the rocket pods will vaporize small targets and mildly damage the larger lads. Plus its cooldown is a little lengthy, so there’s a lot to balance..Having these stats in your back pocket whilst you’re loading up for a mission gives you peace of mind that you’ll be able to handle whatever the planet below is about to throw at you.
There’s some debate around Strafing Run as it’s ok for small targets, but why call in a plane when you can do it quicker with your own weapons.
5 Upgrade Your Destroyer
One thing you should be working on from your first steps into Helldivers 2 is upgrading your Destroyer. It’s done by collecting various Research Samples whilst down on a planet and they can in turn be used to fund vital upgrades to your ship that unlock buffs and extra Stratagems.
But before you go spending those samples, it’s also know the difference between each one. For example, Pit Crew Hazard Pay reduces re-arm cooldown by 20 percent, whilst Liquid-Ventilated Cockpits reduces all Eagle Stratagems cooldowns by 50 percent. You want to ensure you’re choosing one that works best for you as it will be a while until you can afford another upgrade.
There’s also the Expanded Weapons Bay, which adds one extra use to your Eagle Stratagems.
4 Watch Those Cooldowns
One of the downsides of using Eagle Stratagems is that once one call-in goes on cooldown, all your others will for a few seconds as well as the plane has to go back and re-arm itself. So you can't just call in a bunch of strikes at once. There’s also the previously mentioned big reload timer that fills all your Stratagems backups.
So it’s worth keeping an eye on the top left of the screen where those cooldown timers are, or at least check regularly with a button press. Thankfully, Eagle cooldowns aren’t shared. So if you have more than one person using Eagles you won’t be stepping each other's toes with cooldowns.
3 Go All In Or Go Home
One thing you’ll notice as everyone loads up for a mission is that there’s usually a mix of Orbital and Eagle Stratagems being selected. Whilst it is good to mix and match, you’re better off just going all in on one over the other.
RelatedHelldivers 2: How To Use Supply Lines
A hidden mechanic that guides the wider conflict, here's what you need to know about Supply Lines.
PostsMainly the Eagle as you’re getting more bang for your buck overall. Whilst the Orbitals can give you a very big bang, or many big bangs over a wide area, after it’s done it needs to cooldown. Whilst with the Eagle you can drop in a ton of your preferred ordinance over and over again much faster. So it’s worth just filling up your Stratagem Bar with Eagles.
2 Avoid Using Eagles On Higher Difficulties
As handy as Eagles are, they do struggle somewhat on the higher difficulties and you end up pigeon holed into using just the 500 Kg Bomb. This is because the further up the scale you go, the harder the missions are and the bigger and tougher the threats become and some of those Stratagems are just not going to cut it.
You can breeze through a lot of the early game with Eagles, but once those hordes start to scale it’s worth swapping things out for an Orbital Barrage. The hordes are near unending, and despite the cooldown issue, you’ll need a much bigger stick to beat them back.
If you have to bring along an Eagle Stratagem on a higher difficulty, make sure it’s the 500 Kg Bomb. It’s the only one that will give you any mileage.
1 If In Doubt, Broken Arrow Your Way Out
One of the best things about Helldivers 2 is that your team is not limited by a Defense Budget. So you can call in as many strikes, bombardments, and supplies as you like. So take full advantage of that, if at any point a mission goes a little sideways, just call a Broken Arrow to fix the problem.
For those not familiar, Broken Arrow is a term used to describe when a point of contact by a friendly force, usually an invading one, is being broken and overrun. It basically means bring all of the ordinance in the nearby area directly on top of one location. In this case, just keep calling in Eagle Stratagems until you run out. You get a free re-arm anyway that takes about two minutes, less if you've got upgrades, so light those fireworks for the smallest reason.
You get multiple shots with Eagle Stratagems for a reason, you’re encouraged to drop strikes as often as you possibly can.
NextHelldivers 2: 10 Differences Between Fighting Terminids And Automatons
Unflinching alien armies from beyond the stars that both behave differently, here's some tips for taking them down.
Posts