Quick Links
- Mission: Locate The Abandoned RI Cell
- Boss Battle: Vampire Noble
Pack a warm jacket because things are about to get pretty cold in Evil West. After learning that whilst he was out dealing with the Growrow in chapter five, Jessie’s Fathers condition has gotten worse. The VampiricInfection from a bite at the manor has progressed further and it’s only a matter of time until he turns.
RELATED: Evil West: Chapter Five: The Devil’s Pass Walkthrough
Seeking to slow or even stop the spread, Jessie and the Rentier Institute crew hatch a plan. Edgar goes off to find a supposed cure for the Vampire Pathogen and Jessie, with Vergil in tow, go off to an old RI Outpost in search of a way to repair Jessie's damaged Gauntlet. The adventure is going to be action-packed, so here’s a complete walkthrough to the Remote RI Outpost mission in chapter six of Evil West.
Mission: Locate The Abandoned RI Cell
Mission
Boss Battle
Locate The Abandoned RI Cell
Vampire Noble
The Outpost is located at an old and abandoned mine. Though there's no humans around, there's plenty of Vampires creeping about waiting to take a bite out of Jessie and Vergil the moment they let their guard down. It's a simple corridor of a level that takes you from the top of the mountain down to the base where something sinister has been dug up from under the mountain by the Undead Fiends. But for now, it's time to go through Calico as that's where the chapter starts.
First things first, head upstairs in the Saloon and look for some luggage on the balcony landing, there's a collectible lore note called William Rentier's Writings to grab. From there, go down to the big planning room in the Calico Hideout. By the window is a bag of Bucks and upstairs in the small office is Emilia's Promotion Letter.
Walk into Vergil's Laboratory and go to the right of the Perk Reset machine to find more Bucks in a box. Before htting the Mission Markers in the same room, go down to the Holding Cells in the basement. In the second room on the right at the back is another Bucks collectible. Cash grabbed, return to the Mission Marker, clear out the basement of a few Infected that broke loose then return to Emilia to head off to the RI Outpost.
Enjoy the back and forth between Jessie and Vergil before the level starts, then run along the main path into the compound. Right at the beginning as you go around the first corner will be Bucks in a glowing box and directly to the right of it and at the end of this little corridor is a lore note on a barrel, this one is the first of two Baxter's Miner Letters.
Go through the doorway from this collectible and shoot down the hanging corpse on the crane directly in front of you to get more Bucks. Continue on, flip the Power Switch and drop down into your first big fight section of this level. There's a couple of Boo-Hags and Infected Proteus to begin with, but there are plenty of TNT boxes to detonate to thin the herd a little.
Fight finished, hop inside the shack on the left of the arena to get a chest with 333 Bucks. Then go into the big Rail Shed right next to it and immediately go left, behind a cart is another bag of Bucks worth getting and an Energy Recharge at the back of the building. Exit and hop over the barricade and drop down to get to the next section where you meet back up with Vergil. It's also where you get the Crippling Rod.
The Crippling Rod is one of the best items in the game. It's on a cooldown, but it unleashes a room-wide blast that stuns everything including bosses, and opens them up to an E-Combo.
There's plenty of Ghouls in this brawl to test your new toy on. There's Infected Vessels and Screeching Devils at first, but very quickly Boo-Hags will spawn in and some Infected Proteus will appear on a ledge to hurl exploding Tics at you. There are two waves of Infected Vessels and Boo-Hags to get through, but there's plenty of TNT dotted around to help blast them apart. Inside the shed at the left after this brawl ends is the William And The Baxter Crew collectible lore note for your troubles.
Hop over the nearby barricade to get to a Power Switch Puzzle that you'll need to solve. On a barrel in front of you will be the Medallion collectible, and behind it and up near the roof of a building is a hanging corpse with Bucks to shoot down.
To complete the puzzle, just push the small cart off the main track and then use the larger one as a bridge to hop up to the two Power Switches. There are glowing boxes with Bucks behind both Power Switches, so make sure to grab them. Plus, at the back of this area over a swingable gap is a bag of Bucks behind some luggage. Switches flipped and bridge lowered, it's time to go deeper into the RI Outpost.
You'll meet up with Vergil again and after a cutscene involving a faulty elevator, you'll be dropped right into another big arena brawl. It's not too hard, there's Infected Vessels aplenty at first to chew through, but they'll quickly be backed up by Boo-Hags, Infected Proteus, and Screeching Devils, so don't drop your guard. After the ambush ends your next task is to flip three Power Switches.
The first is in front of you and to the left through a small gap is a bag of Bucks on a pile of junk. If you head back to where you came in, but dip left, you'll find more cash behind a log you can hop over. Shoot down the chain on the right of this area and climb up it. Go up the stairs and look to your immediate right because there's Bucks on a barrel that can be easily missed. Climb up the nearby chains, swing over the gap, and go forwards up the stairs, on the left are some Bucks on the ground at the top.
Flip the next Power Switch and it'll bring across a Gondola with a bag of cash on it and when you get onboard it'll take you across to your final switch. Although, before flipping it look to the left of where you came in as there's a barricade with a chest of 286 Bucks to break open. Activate the final Power Switch and ride the Zipline down to meet Vergil again.
With no other way down the mountain at hand, Jessie has the bright idea to ride the Minecarts. It's a fast-moving rail shooting section that has you shooting targets to change tracks and detonating TNT to blow through sealed and dilapidated doors. The targets come every few seconds in front of you and missing one is an instant-death fail, so pay attention. After this rollercoaster ends head off to the right towards the Lighthouse and you'll get a bag of Bucks on a box as a reward for all your efforts.
Now it's time to head to the dig site to see what the missing Baxter Mine crew supposedly dug up and why the Vampires are suddenly so interested in it. Go over the barricade from the cart ride exit and meet up again with Vergil where you'll be given an upgrade for your Rentier Revolvers and trigger the next Undead ambush.
This fights a little tougher as it starts off with a Leecher, but you can bait him into the nearby TNT boxes if you're having a hard time. There's also a handful of Infected Proteus and Infected Vessels that will appear at the edges of the arena to harass you. So deal with them first before focusing on the large lad. Ghouls eviscerated, time to go into the mines.
On the right inside the entrance is a tunnel with a TNT box in front of it. Blow it up to get a bag of Bucks behind it. A few feet further along the main tunnel is some more Bucks on a pile of boxes with a TNT box behind them. Detonate the explosives to get access to a hidden chest with the Ghost Suit cosmetic skin for Jessie'sJacket.
Go back to the main path, and retrace your steps down the other tunnel. It'll lead to a small cave with a missable arena fight against another Leecher, Infected Vessels, Boo-Hags and Infected Proteus. Beating them lets you hop over a barricade to another Hidden Chest and the Lethal Heights perk.
Always explore. There's a lot of hidden perks and cosmetics that can be easily found just a few feet off the beaten path.
Smash the barricade and check out some barrels to the left of the big Minecart you'll need to push. There's a collectible called the Torn Piece Of Paper that's worth grabbing. Push the cart all the way to the end and climb up the chains onto the wooden walkway. Follow it around and you'll pass some Bucks on a box before you swing over a gap and get ambushed by a few Screeching Devils. Use the Zap Pull on these creatures to farm Energy from them. You're going to need it in the next area. Go to the end of the path to trigger a cutscene that will create a swing point to use to get into the boss fight room.
RELATED: Evil West: Chapter 4: From Dusk Til Dawn Walkthrough
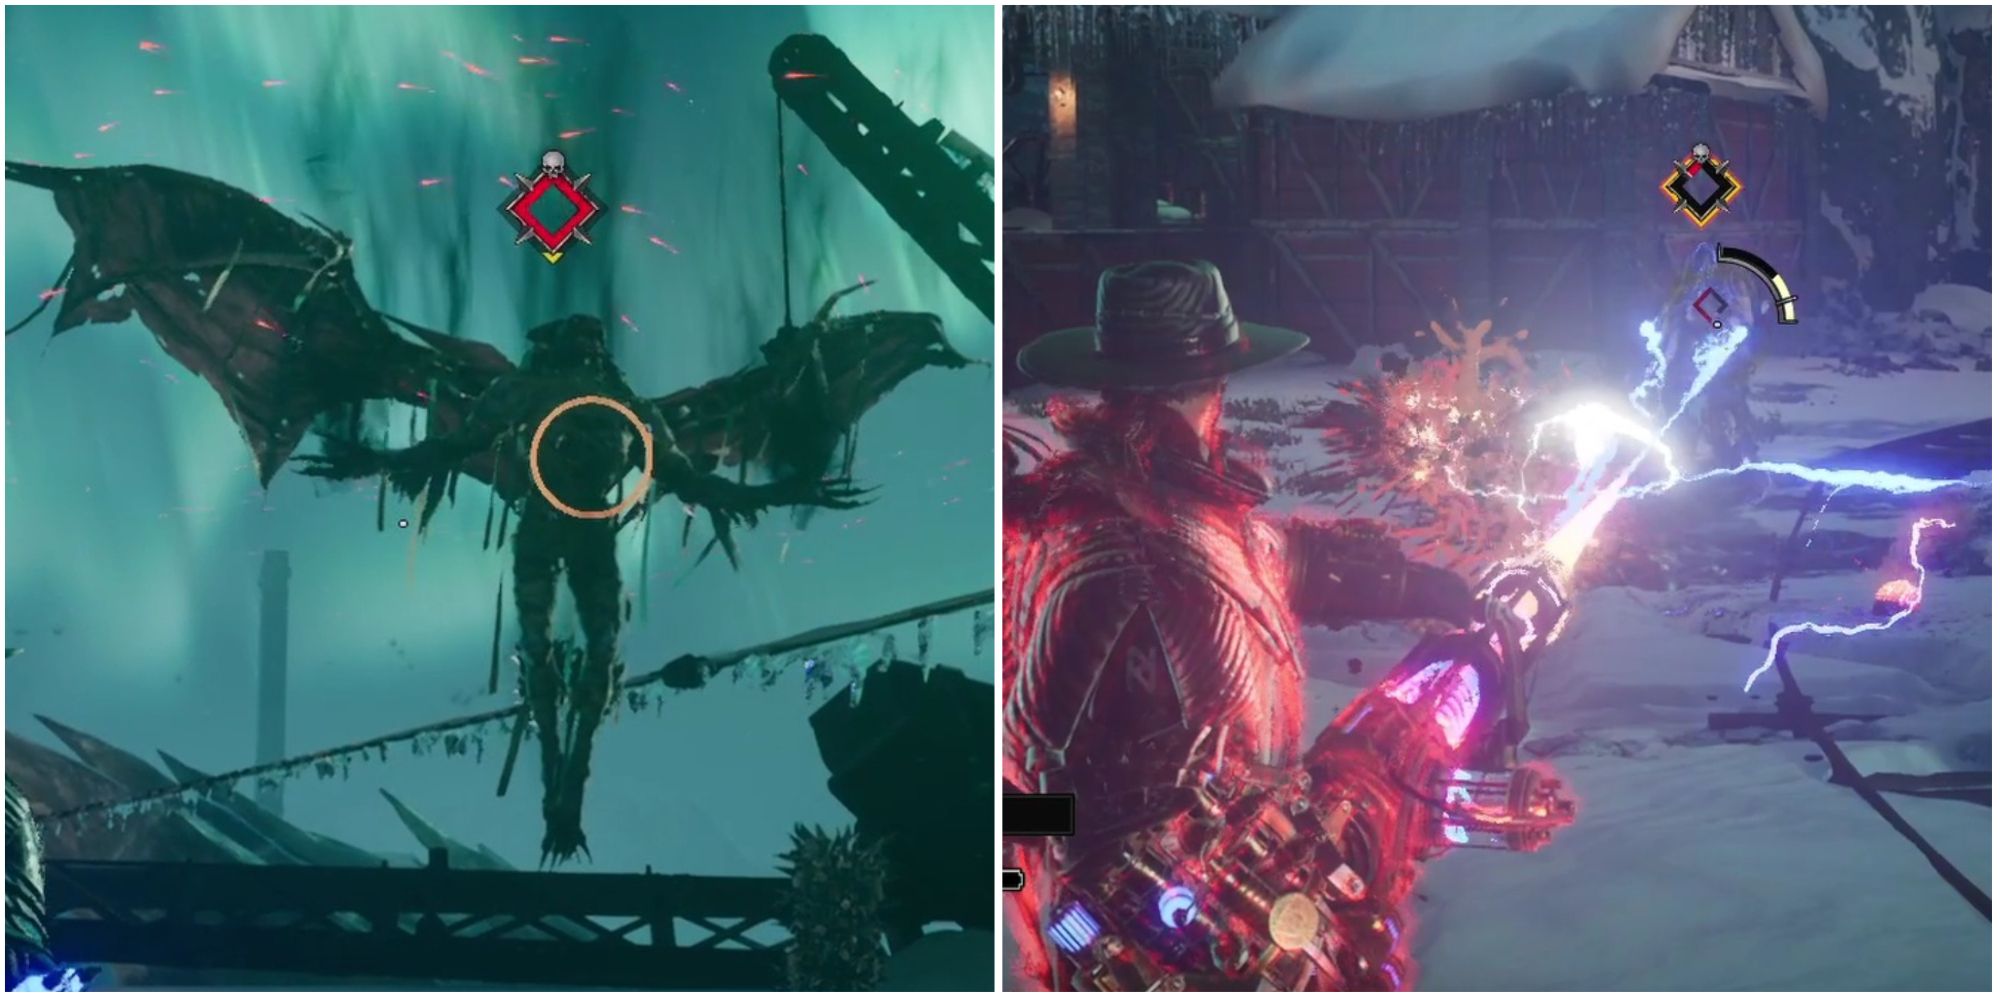
Boss Battle: Vampire Noble
By now you'll have had ample experience in dealing with these monsters, but this one comes with a big group of Infected Vessels. So deal with these Ghouls first before the next wave appears.
As the fight progresses, the number of minions appearing will get larger as Infected Proteus and Boo-Hags join in. Use the Crippling Rod if you're getting swamped or to lock down the Vampire Noble. For the majority of this fight, you'll need to focus on wearing the Noble down and blocking it from regenerating then dealing with the minions as they dogpile you. It can be quite a clustered mess of a fight, but keep moving and have an eye on the Vampire Noble at all times so as not to get sideswiped by one of its big and wide attacks.
The waves of minions are not infinite and you can focus on them first. However, the Vampire Noble does so much damage that you won't have a chance to get them all in one go.
After you murder these monsters, look at where you came in. There'll be a hanging corpse to drop to collect the last of this chapter's Bucks. All that's left is to hop the barricade and meet up with Vergil where he and Jessie discover that the Vampires were after some massive ancient monster bones before they return back to the Calico Hideout and the start of the next chapter.
NEXT: Evil West: Weapon Upgrade Guide