Evil West: Chapter 4: From Dusk Till Dawn Walkthrough
Quick Links
- Mission: From Dusk Till Dawn
- Boss Battle: Monster Horde
Things are not going well for the Rentier Institute in Evil West. Their main base of operations is now a smoking ruin, their years of archived information on the Undead is destroyed and the Vampires are hot on their heels.
RELATED: Evil West: Chapter 3: The First Spark Walkthrough
Chapter Four in Evil West is fairly straightforward and relatively easy. It’s a series of retreating brawls against a tide of monsters with a few new Ghouls thrown into the mix to flesh out the type of fights you’re going to be getting into in the future. It’s also a small and short mission so you can breeze through it fairly quickly. So to get you started, here’s a complete walkthrough of Chapter Four: From Dusk Till Dawn in Evil West.
Mission: From Dusk Till Dawn
Mission
Boss Battle
Survive Until Dawn
Monster Horde
Hot off an exciting cutscene of our team fleeing Felicity and her minions, the gang tries to make it to a Rentier Institute Outpost in Calico. Unfortunately, the Vampires are attacking them constantly as they run and the patriarch of the Institute, William Rentier, is heavily injured. Seeing that they can’t outrun the horde, the group makes a defensive stand at a rundown town with the plan of waiting until morning with the hope that the sun will burn up any Vampires out in the open.
The mission starts in a large open area with three Infected Wasters standing right next to a TNT box. It would be a shame if something were to happen to them.
This is also the chapter where you’re given the Rentier Boomstick. It’s a sawn-off shotgun that’s used as a high-damage parry move or dealing spread-out damage across multiple clumped-together Ghouls. It also runs off a cooldown so you don’t need to ever worry about ammunition. It’s a solid bit of kit that can pull off some hard hits against the larger lads later on.
Taking out the Infected Wasters triggers the encounter for this area and you’ll suddenly be swarmed with a big group of Infected Wasters. There are TNT boxes and spiked objects around the arena that you can use to wear them down if you’re getting overwhelmed. Also, keep an eye on the roof of the nearby building as Infected Proteus will spawn on top of it to harass you from range. Pull them down with the Zapper or hit them with the Rentier Rifle, the choice is yours.
As the fight progresses, a big gate will break down to the next area, but before going through it, look for a pair of hanging corpses near where you first started the mission. Shoot one of them down and they’ll give you Bucks. Go right from there and over the barricade because there’s a box of TNT to blow up and a chest with 237 Bucks inside. Now you can go through the gate.
Heading into the next area, there’ll be a Health Recharge on some boxes to your right if you’re low. Also, behind the wagon of this pickup is a glowing box with Bucks inside to break. Collectibles grabbed, hop over the barricade to your next big fight zone.
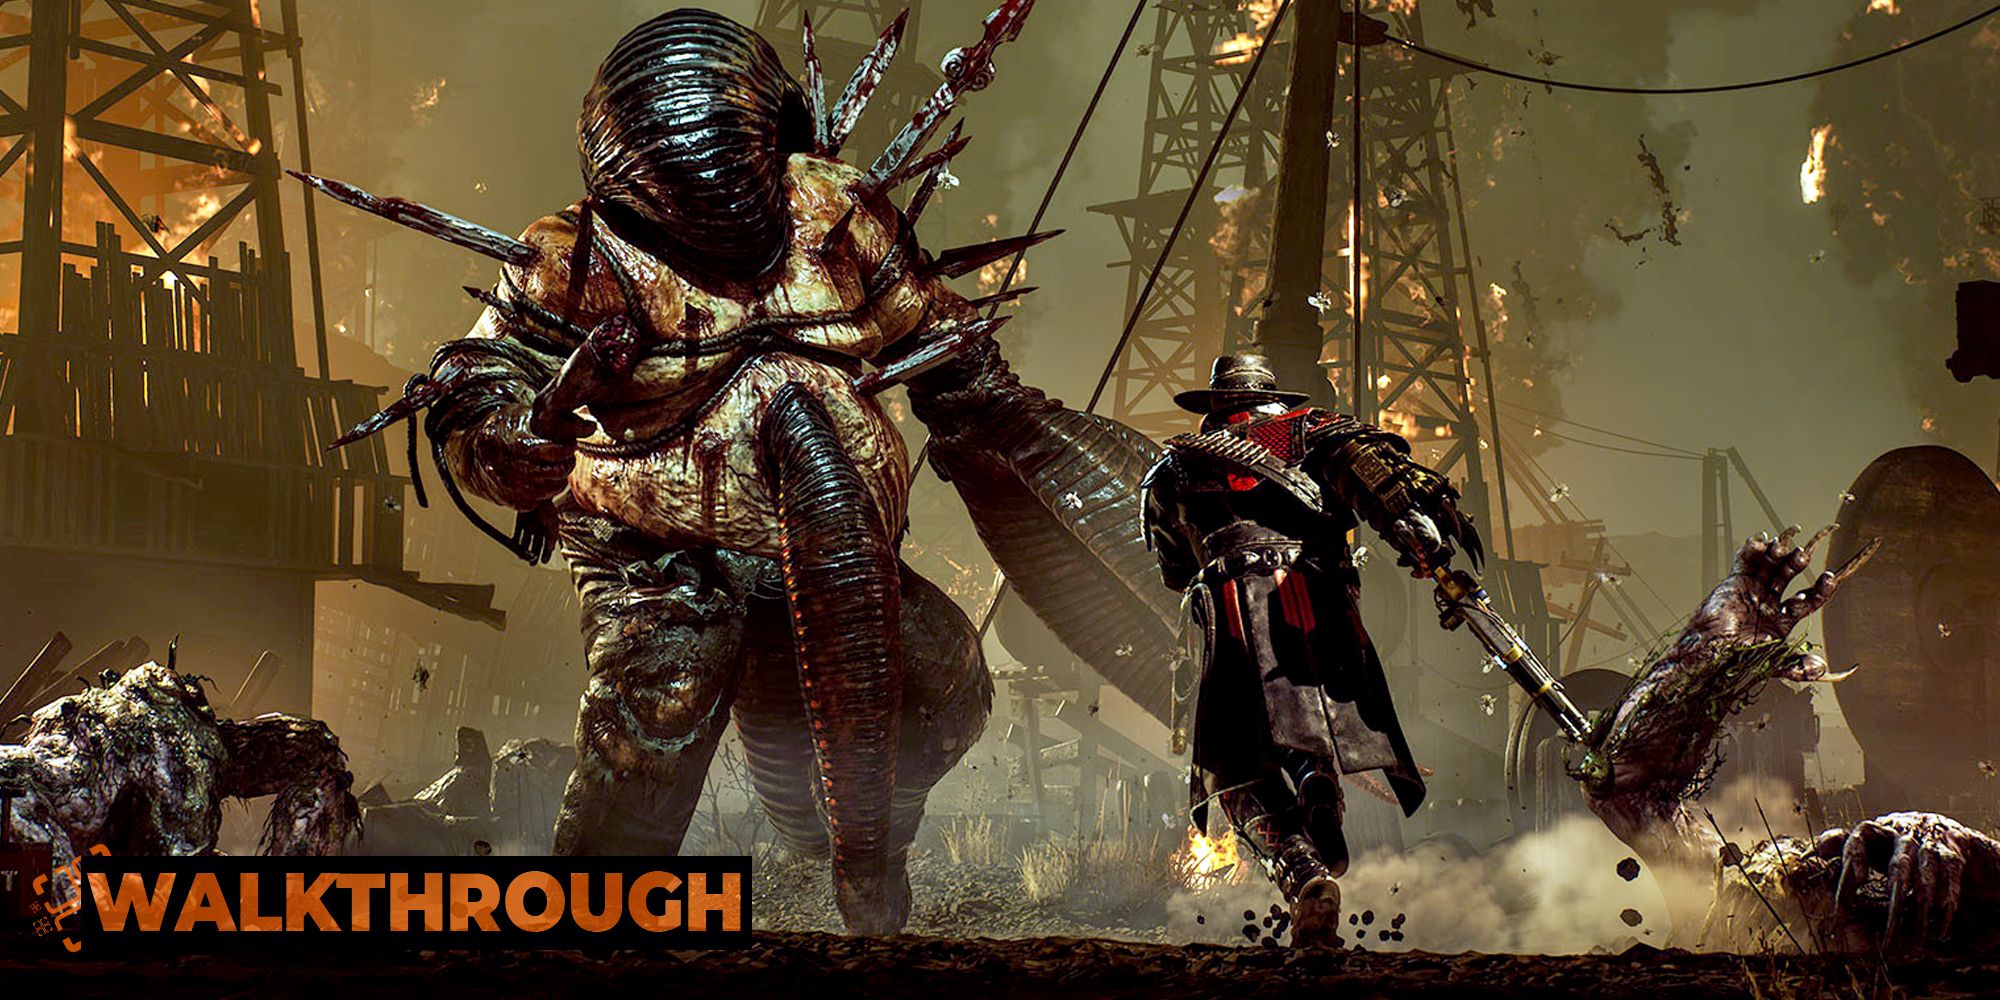
The battle is not too hard. It starts off easy with a large group of Infected Vessels and a pair of Jengu Giants. Disposing of them introduces you to the Leecher, a huge pain of an enemy to deal with that basically acts as a mini-boss going forward.
Sounding and looking like a mutated Elephant gone wrong, the only way to do damage to this beast is to smash its shield or smack it from behind. Its main attacks are a big charge, but it glows right before this so keep an eye out for that telegraph, and energy waves from the shield. But you can just dodge to the side of these pretty easily.
The best weapon to use early on against this monster is the Rentier Boomstick as it’s the only way to safely break their shield. They’re also very weak to the Scorcher, Explosive Bundles, Gatlin, and the Crippling Rod.
Edgar will help out by tossing Dynamite and taking shots with his Rentier Rifle, so you can just dodge around it and let the NPCs kill it, use the TNT boxes nearby. Or, smash its shield and batter through its chunky health bar. Although be warned, it does rebuild its big spiky barricade after a few moments, so get in, do damage, then back off. A couple of Boo-Hags will also spawn, so watch out for them slowing you down as it’ll let the Leecher line up a charge.
Big boy taken down, look for the nearby barricade before climbing up to your pals. There’ll be a hanging corpse to shoot down to get Bucks. After that, meet with Jessie's friends and sit through the brief cutscene showing how screwed and surrounded the boys are.
After it finishes, there’ll be a glowing box right in front of you and another hanging corpse nearby to shoot down. Both of these will give you a bag of Bucks to keep your financial flow nice and healthy. Plus, in this same spot is a barricade to break and a chest with 225 gold. Cash collected, head to the next area, and start the pseudo-boss fight.
Boss Battle: Monster Horde
This is a pretty unique encounter in Evil West that you won’t see the like of again, which is a shame as it’s an interesting concept for this part of the campaign. It essentially involves fending off an unending horde of Vampires and monsters until the sun rises. There is no set amount you need to kill, it’s just a timer that you need to just survive through until it expires. But it's only about a minute and a half, so it's not too bad.
The fight itself starts with a massive crowd of Infected Vessels and Boo-Hags. Taking them on one at a time, or using the environment to wear them down is recommended since at this point in the game you won’t have much in the way of crowd control. Jessies move set at this point is very single-target focused, so line them up one by one with the Zapper and deal with them. Edgar is also once again tossing Dynamite, so you can just circle them into that and let the big AOE deal with them if you’re getting overwhelmed.
After you deal with this first wave, another group will appear, so just wear them down and keep punching through those shambling Ghouls. The second wave will mix things up a bit with some Jengu Giants, but it’s mainly the size of the horde this time that’ll cause some issues. It’s pretty large and the biggest you’ll fight in the game until the very last mission when they throw everything at you. For now, it’s just a test of how long you can last.
About halfway through this fight, a cutscene will kick in where Jessie unlocks his Zappers Overcharge ability. This essentially teleports him to enemies, hitting them hard from different angles as he warps around.
In the main game, this ability is limited to the number of Energy Charges in the Gauntlet. But for this fight, it’s functionally limitless.
Use the Zapper's new mode to flash-step around turning the Vampires into exploding clouds of blood and viscera as you run out the clock. A good tip is to focus on the weaker ones as one hit is enough to instantly kill them. It can take up to five to kill the bigger boys like the Vampire Nobles and Leechers, but thankfully for this chapter, it’s the Infected Vessels that are taking the brunt of it.
After a few minutes, the sun will rise and the level will finish. The Institute boys, heavily wounded and low on ammunition decide to make a break for Calico and the Institute Safehouse that’s under the Saloon in this quiet town. Their only respite from the Vampires and the one place they can start to plan their counter-attack.
NEXT: Evil West: Chapter 2: The Raid Walkthrough