Dragon's Dogma 2: How To Use The Catapults At The Ancient Battleground
The Ancient Battleground is an area you might not stumble on naturally during your travels in Dragon's Dogma 2 as it's off the beaten path, but it's worth venturing to for a few reasons. In addition to a few notable hefty beasties to fell, crumbling ruins to explore, and Seeker's Tokens to find, there are some catapults that can be used to open up new pathways.
RelatedDragon's Dogma 2: Mystic Spearhand Build Guide
Become the eye of the storm with this Mystic Spearhand build.
PostsHere we're going to cover where to find each of the catapults (as the latter two are technically outside the Ancient Battleground), how to use them, and what you'll open up by doing so. Just watch out for the cyclops and drake battling it out in this area.
Where Is The Ancient Battleground?
CloseThe Ancient Battleground can be found to the northeast of the Checkpoint Town, just to the west of the clouded area on the map, as marked on the map above.
It's important to know that you will find a Drake and Cyclops fighting at the Ancient Battleground and the Drake can follow you to the top level.
Additionally, exploring along the top level after venturing through the ruins will lead to finding more Cyclops.
To the east of the battleground you can find an NPC called Oskar who will give you a new quest involving the Ancient Battleground, 'Tolled to Rest'.
How To Open The Secret Room With The First Catapult
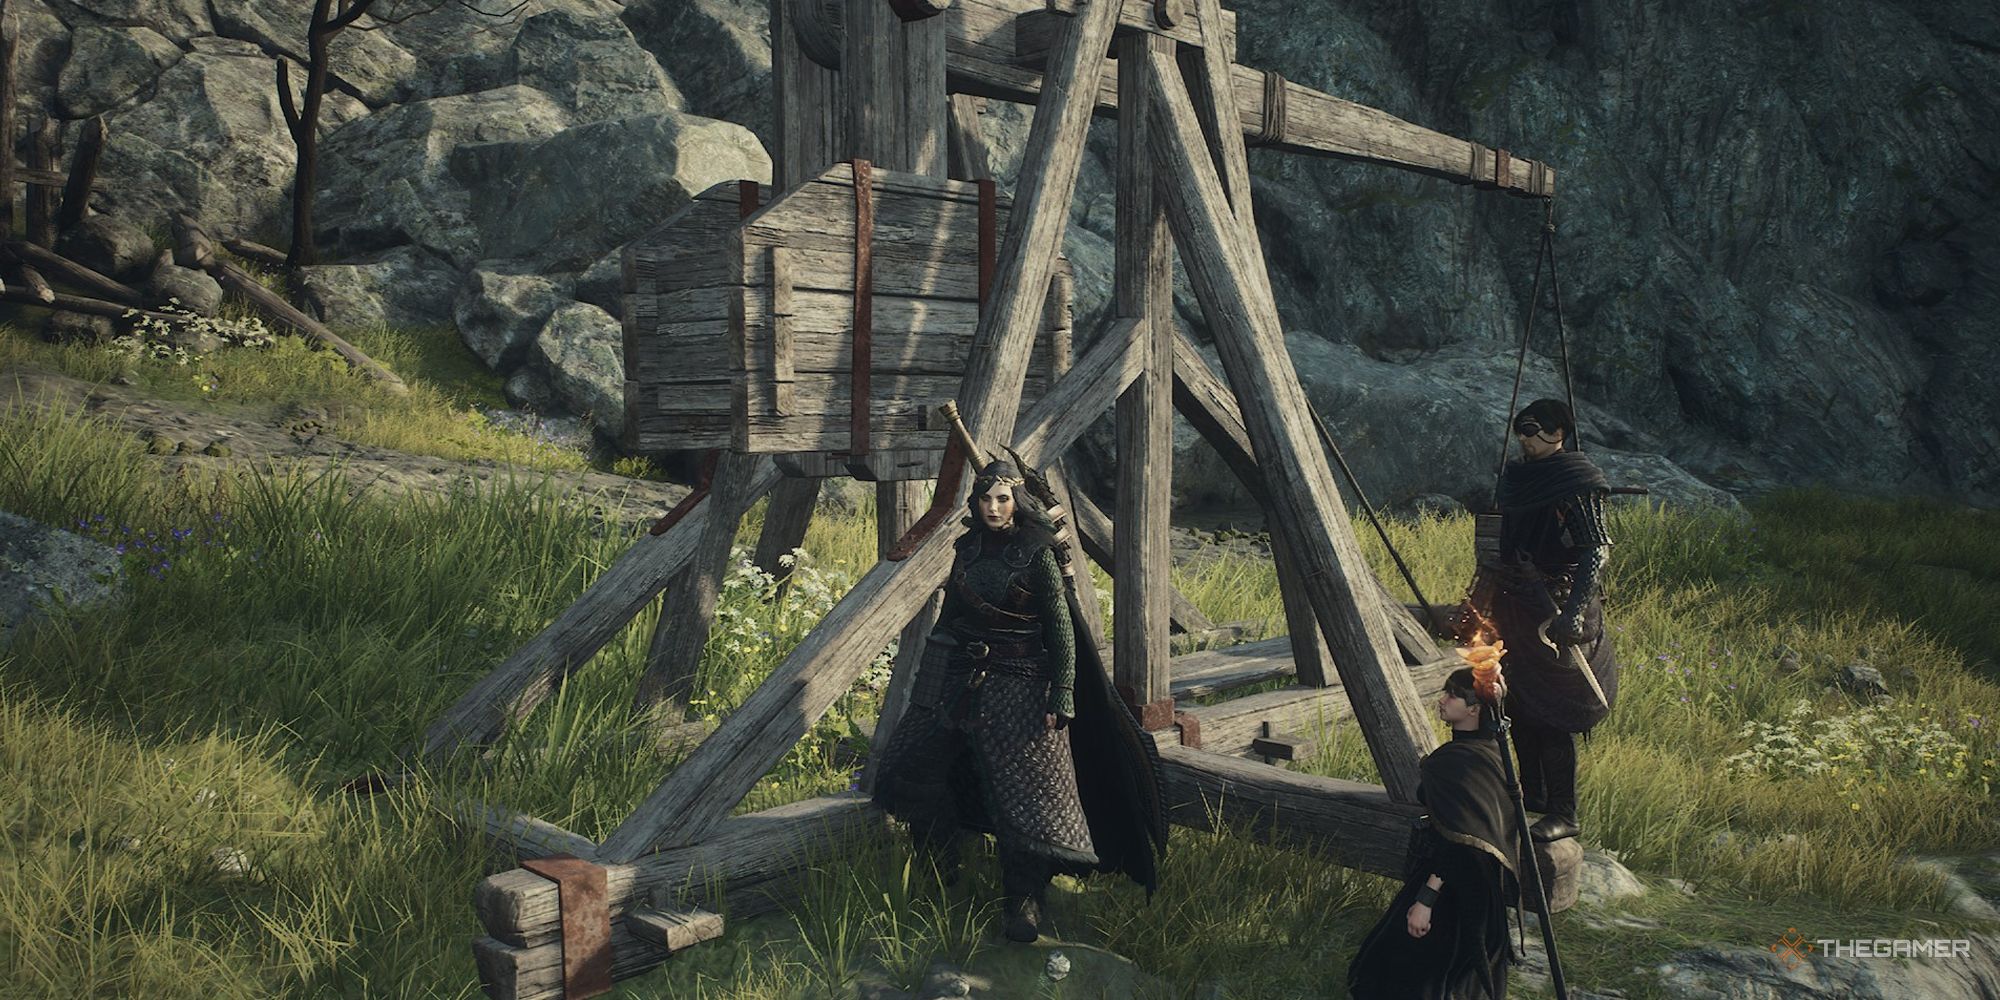
The first catapult is fairly easy to get to as it's positioned in front of the Ancient Battleground ruins, you just need to navigate past the cyclops and drake. You'll need three boulders to break open the secret room, which might mean going to grab another from further away from the catapult.
Once you've used three boulders on the catapult, the room will be open! Head over to the newly opened ruins (located at the bottom left of the Ancient Battleground map) and inside you'll find a Seeker's Token and a chest with a Wakestone Shard inside.
What Does The Second Catapult Open?
CloseYou'll have to go into the Ancient Battleground ruins to reach the top level, then head east, jumping across the broken wall at the top to reach the catapult on the top level beside the ruins, as marked on the map above.
Much like the first catapult, it'll take three hits to clear the pathway to the east with this catapult, but fortunately there are enough rocks nearby.
Once it's clear, follow the path around and climb over what remains of the debris, then continue on the pathuntil you reach a small pond beside some gravestones. There are some chopper enemies here to be aware of.
If you climb the nearby rocks, you can reacha chest that contains the Ring of Profusion. You'll also find a forgotten Riftstone, the Riftstone of the Patterned here, and in a small deadend is a Seeker's Token. To the south, you'll find our third catapult.
What Does The Third Catapult Open?
CloseAfter following the path from the second catapult, you will be led to the third (marked on the map above) and once more, you need to use three nearby boulders to break down the rocks on the cliff face opposite to where you are now.
Jump down, and head to the right of the cliff ahead of you and under the bridge and loop around to the back to be able to climb up. Run over the top of the cliff and drop down into the small alcove you opened, where a chest awaits you. Inside you'll find three Tiger Eyes and the Tintreach staff.
NextDragon's Dogma 2: How To Get Ferrystones
Here are all the ways to get the Ferrystones in Dragon's Dogma 2!
Posts