Destiny 2: A Complete Guide To The Extraction Master Lost Sector
Quick Links
- Modifiers And Recommended Loadout
- Extraction: Start
- Extraction: Defense Section
- Extraction: Boss Encounter
Destiny 2's Legendary Lost Sectors allow solo players to farm for slot-specific Exotics. If you can't farm GM Nightfalls but want access to high-stat Exotic armor, Legend and Master Lost Sectors are for you. Most Lost Sectors in Destiny 2 have Legendary variants, including all Lost Sectors in Savathun's Throne World.
Related: Destiny 2: Every Buff And Debuff Explained
Extraction is arguably the hardest Lost Sector in the Throne World, containing a difficult defense section and various Overload Chieftains. But with the right loadout and strategy, you can beat this Lost Sector in a few minutes. Here is a complete guide to the Extraction Master Lost Sector in Destiny 2.
Updated July 1, 2023, by Charles Burgar: To ensure that our Lost Sector guides are up-to-date, we've updated this guide to include modern weapon and subclass recommendations. The modifiers section now includes surges and Overcharge, and our loadout recommendations have been adjusted to include Strand subclasses, Lightfall weapons, and some powerful Arc builds that match this Lost Sector's surge.
Modifiers And Recommended Loadout
Extraction is a tough Lost Sector and quite demanding of your build. An endless swarm of adds and multiple Overload Champions can be annoying if you aren't prepared. The modifiers and enemy types tied to Extraction can be found below.
Extraction Modifiers
Extraction Modifiers
Surges
Arc and Strand
Overcharge
Glaive
Threat
Arc
Shields
Arc and Void
Champions
Overload and Unstoppable
Chaff
Radar is disabled.
Master Difficulty
Equipment Locked
You will not be able to change your equipped loadout after this activity starts.
Extra Champions
This mode contains additional Champions.
Limited Revives
Limited fireteam revives. Gain additional revives by defeating Champions.
Quite a few Void shields are present in the first section of Extraction, but this Lost Sector otherwise has few elemental shields. Focus on bringing weapons that are effective at mobbing and stunning Overload Champions. The final boss is a Lightbearer Wizard.
read moreRecommended Loadout
Subclasses
Hunter
Arcstrider
Titan
Striker or Berserker
Warlock
Shadebinder
Hunters can breeze through this Lost Sector as an Arcstrider. Equip Assassin's Cowlto give yourself invisibility when landing a Combination Blow kill, healing yourself in the process. At x3 Combination Blow stacks, you should be able to one-tap all the red bars with your melee alone. Bring Tractor Cannon and a One-Two Punch Shotgun to melt Champions.
Titans might want to use Striker in this Lost Sector, as they have easy access to Jolt for stunning Overload Champions. You can use Seismic Strike or Flashbang Grenades to blind targets if you need an Unstoppable counter. For most, we recommend you use Touch of Thunder with Pulse Grenades to slay adds with minimal effort. This will also spawn a ton of Ionic Traces to improve ability uptime, something you can further enhance with Heart of Inmost Light. If Striker feels too squishy to you, swap to Berserker. They have near-permanent Woven Mail uptime and have easy access to Suspend, stunning Unstoppable Champions.
Warlocks can always rely on Shadebinder in endgame content, this Lost Sector being no exception. Build around the Bleak Watcher Aspect by using the Osmiomancy Gloves to effectively stunlock your foes. Slow will counter the Overload Champions, and shattering frozen targets will counter Unstoppable Champions. The turrets are especially useful for the plate defense section.
Weapons
Quicksilver Storm
Counters Overload Champions this season and deals excellent damage.
Riskrunner
Matches the burn and grants DR.
Two-Tailed Fox
Counters Overload Champions and inflicts Suppression, making it much easier to kill the Lucent Wizard.
Wavesplitter
Amazing for add clear. Sustained fire Suppresses, countering Overload Champions.
Rocket Launchers
Great burst DPS and ammo efficient if you have ammo finders/running double Special.
Machine Guns
Excellent for killing adds and stunned Champions. If you need Champion counters, bring Thunderlord.
Leviathan's Breath
Counters Unstoppable Champions and deals immense damage.
Overload Champions are going to be the bane of your existence. Bring a weapon that can stun Overload Champions. Weapons that inflict Jolt, Suppression, or feature Overload Rounds in the seasonal Artifact will work here. Some of our favorite options include Wavesplitter and Thunderlord.
For Unstoppable Champions, you can use Leviathan's Breath. This doubles as a potent DPS option as well for slaying Champions and the final boss. If you don't want to use an Exotic for Unstoppable counters, consider playing a Solar build with easy access to Ignitions or a Strand build with Suspend.
read moreRelated: Destiny 2: A Complete Guide To Solar 3.0
Extraction: Start
Entrance Enemies
- One Overload Chieftain
- Raiders (Void)
- Stalkers
- Lurkers
Your main concern is dealing with the Void shields. Almost every enemy in this room is a Raider, requiring you to break around five shields. Use any Void or hard-hitting weapon to break the Raider shields. Beyond that, stick to cover near the entrance to prevent getting hit by multiple snipers.
Upon killing most of the adds, an Overload Chieftain and more Scorn will spawn near the middle of the arena. Immediately stun the Overload and deal with the pack. A well-placed grenade should clear most of the adds. If the Overload is giving you trouble, remember to land Overload Rounds on the Chieftain when it recovers. This will prevent it from teleporting or regenerating HP, even while it is still immune to stuns.
Extraction: Defense Section
Defense Enemies
- Three Overload Captains
- Knights (Arc)
- Ogre
- Stalkers
- Acolytes
This next section is brutal if you're underleveled. Your goal is to capture three plates and defend them from enemy forces. Scorn and Hive enemies will fight one another while you're doing this. If you aren't willing to be caught in the crossfire, now is the time to use invisibility, Stasis, or some other form of crowd control.
You'll find a plate on each section of the arena. For every plate you stand on, an Overload Chieftain will spawn on your side. Have your Overload method at the ready. Kill the adds until the Overload Champion reveals itself, stun the enemy, then use your Heavy and abilities to kill it.
Capture the right plate, left plate, then the middle plate in that order. The middle plate gets the most action, so you'll want to clear that last. Be wary of Hive Moths, kill the Overloads right as they spawn, and beware of the Ogre that patrols the central plate. If the central plate is still out of control at this point, use your Super.
Related: Destiny 2: The Best Sniper Rifles For PvE, Ranked
Extraction: Boss Encounter
Boss Fight Enemies
- Two Unstoppable Ogres
- One Lightbearer Wizard
- Acolytes
Right as you enter the final room, backpedal to the previous hallway. TwoUnstoppable Ogres will spawn and rush your position. Have your Unstoppable counter ready for them. Stun both before you damage one of them, using the doorframe as cover from the enemies. Do not enter the room until the Ogres are dealt with.
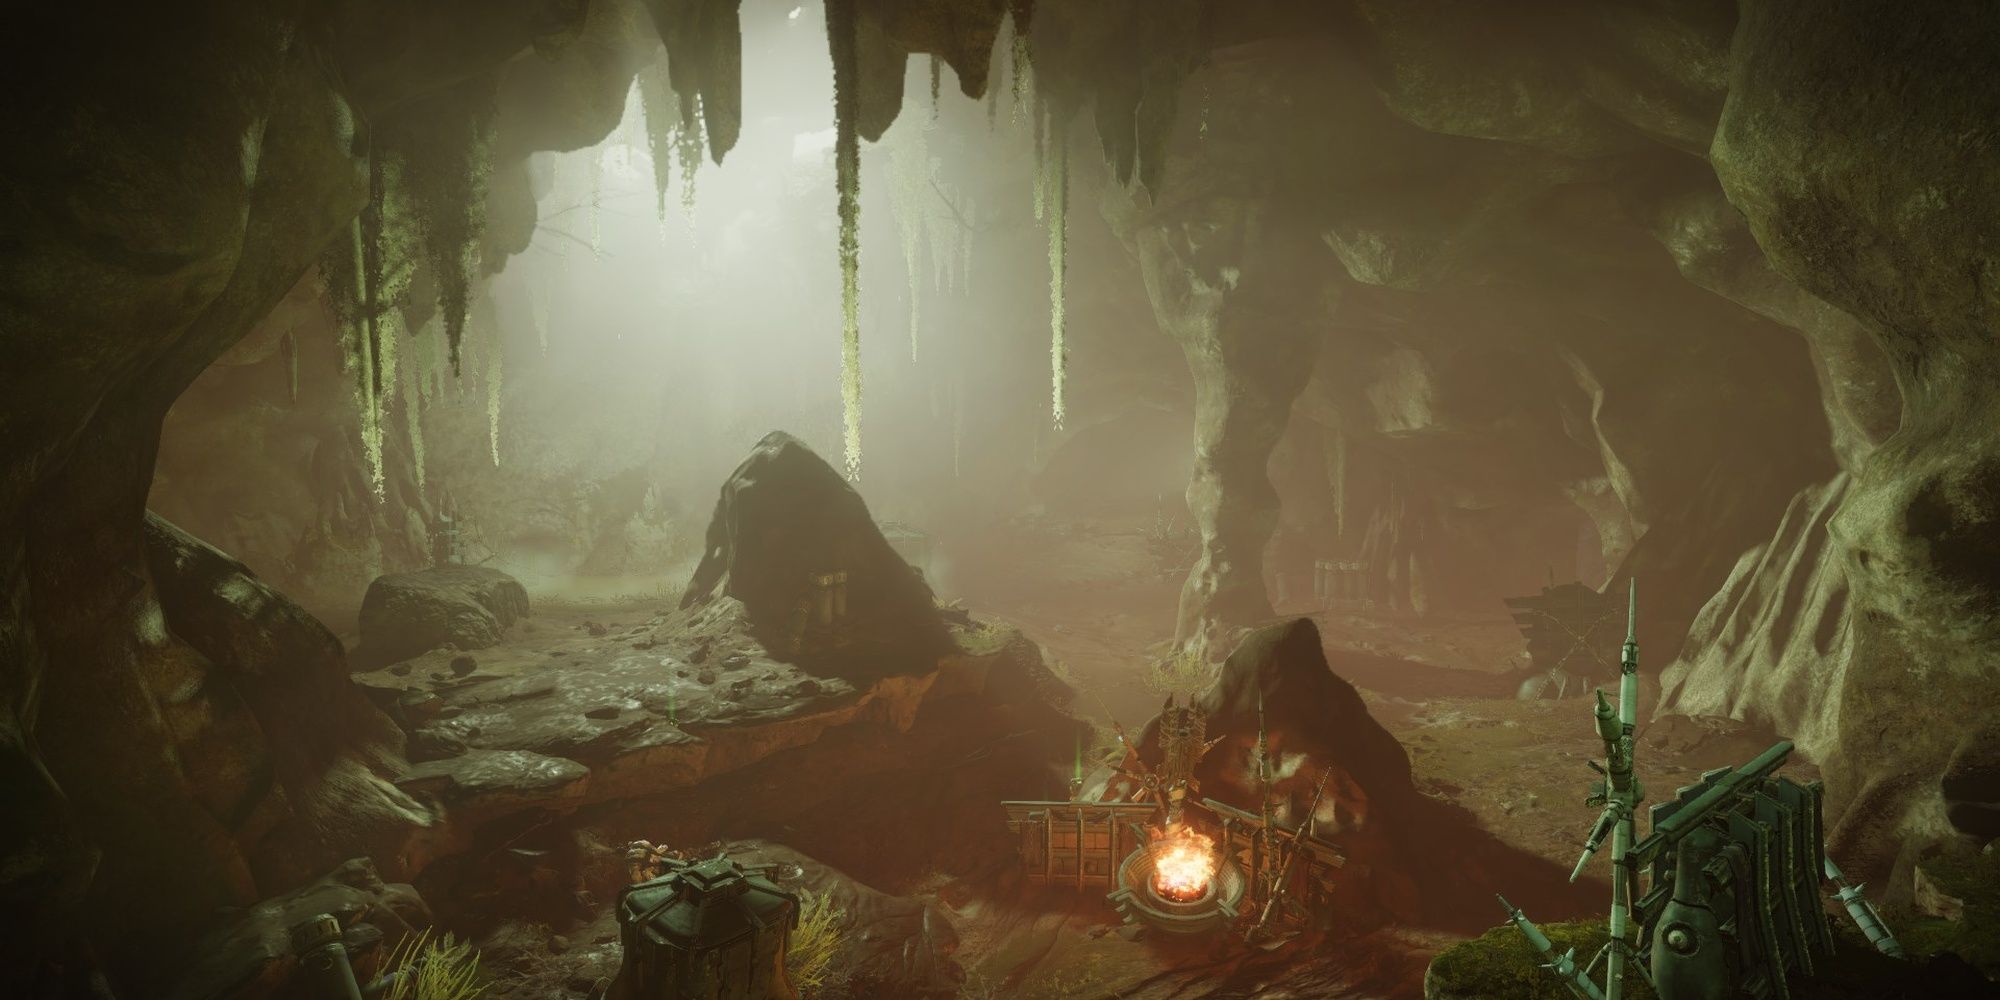
With the Ogres gone, it's time to deal with the Lightbearer Wizard. Fortunately, this enemy is quite passive and tends to hover near the Lost Sector chest. Now is the time to use the rest of your Heavy to kill the boss. Supers work too. Don't get close to the Wizard. Break its Ghost when you can, then loot the Lost Sector chest to finish the run.
Next: Destiny 2: How To Reach Max Power Level Quickly