A Beginner's Guide To Cable Management For Your Gaming PC
Having a gaming PC set up and playing on it is every gamer’s dream. But dealing with the cables and dust accumulating behind the PC can be a real nightmare. Especially for beginners, cable management can be a real jigsaw as you might be unsure where to start, what products to get, and whether it’s even going to be worth it.
RelatedA Beginner's Guide To Overclocking Your Gaming PC
Overclocking your gaming PC can help you get more out of it, but how is it done and what are the risks?
PostsWell, first off, it will be worth it. Cable management will not only ensure your PC looks aesthetic but also remains functional. It improves airflow in the space and makes PC upgrades easier. All this while preventing dust and spiderweb build-up.
What Is Cable Management?
Cable management is organizing and routing the cables attached to a PC. It involves strategic securing of cables to improve functionality, efficiency, and aesthetics.
Many people may underestimate the power of cable management and stick to the easy route. But there are several reasons for its importance:
Reason
Explanation
Improved airflow
Tangled cables restrict airflow within your PC. This leads to overheating, which can affect throttle performance, increase noise, and shorten lifespan.
Reduced risk of damage
Exposed and tangled cables are more susceptible to wear and tear from snags, spills, or accidental pulls. While proper management can protect them.
Easier maintenance and upgrades
Well-organized cables are easier to trace and troubleshoot. This makes repairs and modifications faster.
Tools For Gaming PC Cable Management
Various tools and resources can be used to simplify your cable management process. These ensure the functioning of the system remains top-notch and it looks aesthetically pleasing.
Now, there are a ton of tools on the market. But, don’t bother to invest your money in all of them. Here are the must-have tools for cable management:
PC Cases
PC Cases, also known as computer cabinets or chassis, are designed to house and protect the internal components of a PC. They act as an enclosure for motherboard, CPU, GPU, PSU, and cooling systems.
These cases are available in various sizes, shapes, and designs. Each type of case impacts your cable management in different ways. You can choose your case based on the size of your system, expansion slots, drive compatibility, ports, and connectivity.
Using PC Cases can make cable management easier and neater. As they have a fixed place for each component. Listed below are some cases that will be suitable for your gaming PCs:
Types of PC Cases
Use in Cable Management
Mid-Tower ATX
These are the most popular choice of cases among gamers. It offers enough space for standard ATX motherboards, multiple GPUs, and cooling solutions. It also makes cable management efficient with features like cable routing cutouts, grommets, and channels. The best part is it offers the perfect balance between space-saving and expandability.
Full Tower ATX
It is a larger option and offers more space compared to Mid-Tower ATX. This tower can accommodate ATX (E-ATX) motherboards, multiple GPUs, and extensive cooling configurations, including custom water cooling setups. Extra cable routing channels, a larger area behind the motherboard, and more space for cable storage are also present. Its spacious interiors make cable management easier and allow cleaner setup even with multiple components.
Micro Tower ATX
It is a smaller, more compact option. Suitable for space-constrained or minimalist gaming setups. Unlike Mid-Tower or Full Tower ATX, it offers limited interior space. While cable management may seem challenging, some models offer cable routing cutouts and grommets. Overall, this ATX requires more planning and management for a tidy setup with proper airflow.
Cable Ties
As the name suggests, these are used to tie up bundles of cables. It is a crucial tool for bundling up and securing cables. You can also use zip ties or velcros at home as an easy DIY.
Some cable-tying tools you can get are:
- Zip ties: These are versatile and easy for you. Opting for reusable ties will also help you make frequent changes to the setup.
- Velcro cable ties or straps: Such ties are the most commonly purchased. They are an adjustable and reusable alternative to zip ties. Since they allow easy adjustment, they’re the most beginner-friendly.
- Cable sleeves or wraps: If you have a bigger setup and need a cleaner, more organized appearance, cable sleeves are you're go-to. They’re ideal for bundling multiple cables and are beginner-friendly.
Five Easy Steps For Gaming PC Cable Management
As a beginner, cable management may seem like a big task. Like stepping into the battlefield of webs and tangles. But don’t be scared.
Here are easy steps to kickstart your cable management journey for gaming PCs:
Plan Ahead
Before jumping into the process, assess the cables and devices in your possession. How many types of cables do you have, and where are they connected?
Also, take a look at the layout of your space. This includes desks, entertainment centres, and power outlets.
Now, plan the setup. Where do you want the PC case to be? How do you want the cables to route? Have a clear picture in your mind.
Figure out the placement of each device and the cable routes. Make sure to plan the position of the devices such that the wires don’t get tangled.
Please remember in this step you won’t be performing any actual positioning. You only need to plan out the setup. This process will create a blueprint that you can easily follow.
You can use an erasable marker or pencil to draw cable routes and device positions. This will make things easier later on when you’re doing the task.
Once you have a good-looking setup plan in mind or drawn out, you can move on to the actual doing.
Each setup is different. Try to find the optimal plan for your specific setup.
Prepare Workspace
The first step for performing cable management is preparing the workspace. Turn off all the devices and disconnect the cables. Clear out your desk and light up your room. This is also when you can wipe off any dust or webs.
You must gather all the tools and supplies including cable ties, velcro straps, PC case, and management accessories. This is also when you can rethink your setup plan. If you feel confident with it, move on to the next step.
Install Components Into The PC Case
Start by installing the major components into the PC case. Such as motherboard, CPU, GPU, and PSU. You must place all the devices based on the case you’ve selected.
Once the placement is done, and you’re feeling satisfied, you can move on to routing the corresponding wires. Ensure they’re lined up neatly and secured to the cutouts or grommets.
If your case doesn’t have grommets, you can use tape or cable ties to secure the wires. The cable layout should be such that the case remains well-ventilated.
Sort And Route Cables
Now start sorting the cables outside the case according to their functions or the device they connect to.
For instance, you need to sort out all the audio cables, video cables, and power cables separately. Keep all the speaker cables on one side, while the charging cables can be on the other.
This will ensure easy identification and keep it tangle-free. The channels behind your motherboard tray can also be used to route your cables. It is a convenient way to improve airflow and keep wires out of sight.
Start with the longest cables. This allows you to flexibility route the other cables according to the longest one. If the long cable is a little too long for your liking, you can cut it. Don’t forget to trim the ends and use the right connectors later.
Before moving on, double-check that cables are routed such that they don’t obstruct components or airflow paths. For instance, cables should not be in the way of GPU fans or CPU coolers.
Bundle And Secure
Now that everything is in place, it’s time to do the grouping and tying. For this, you can use cable ties or whatever you have handy. Bundle similar cables together, like data cables, fan cables, or power cables to keep them organized.
Labeling is important, so a variety of colors can be used to color code the bundles. For instance, red for audio cables, white for power cables, and so on. Label tags and marks will also do the deed.
Cable clips or adhesive cable mounts can be used to secure cables behind your desk. Thus keeping them out of sight.
Additional Tips For Gaming Cable Setup
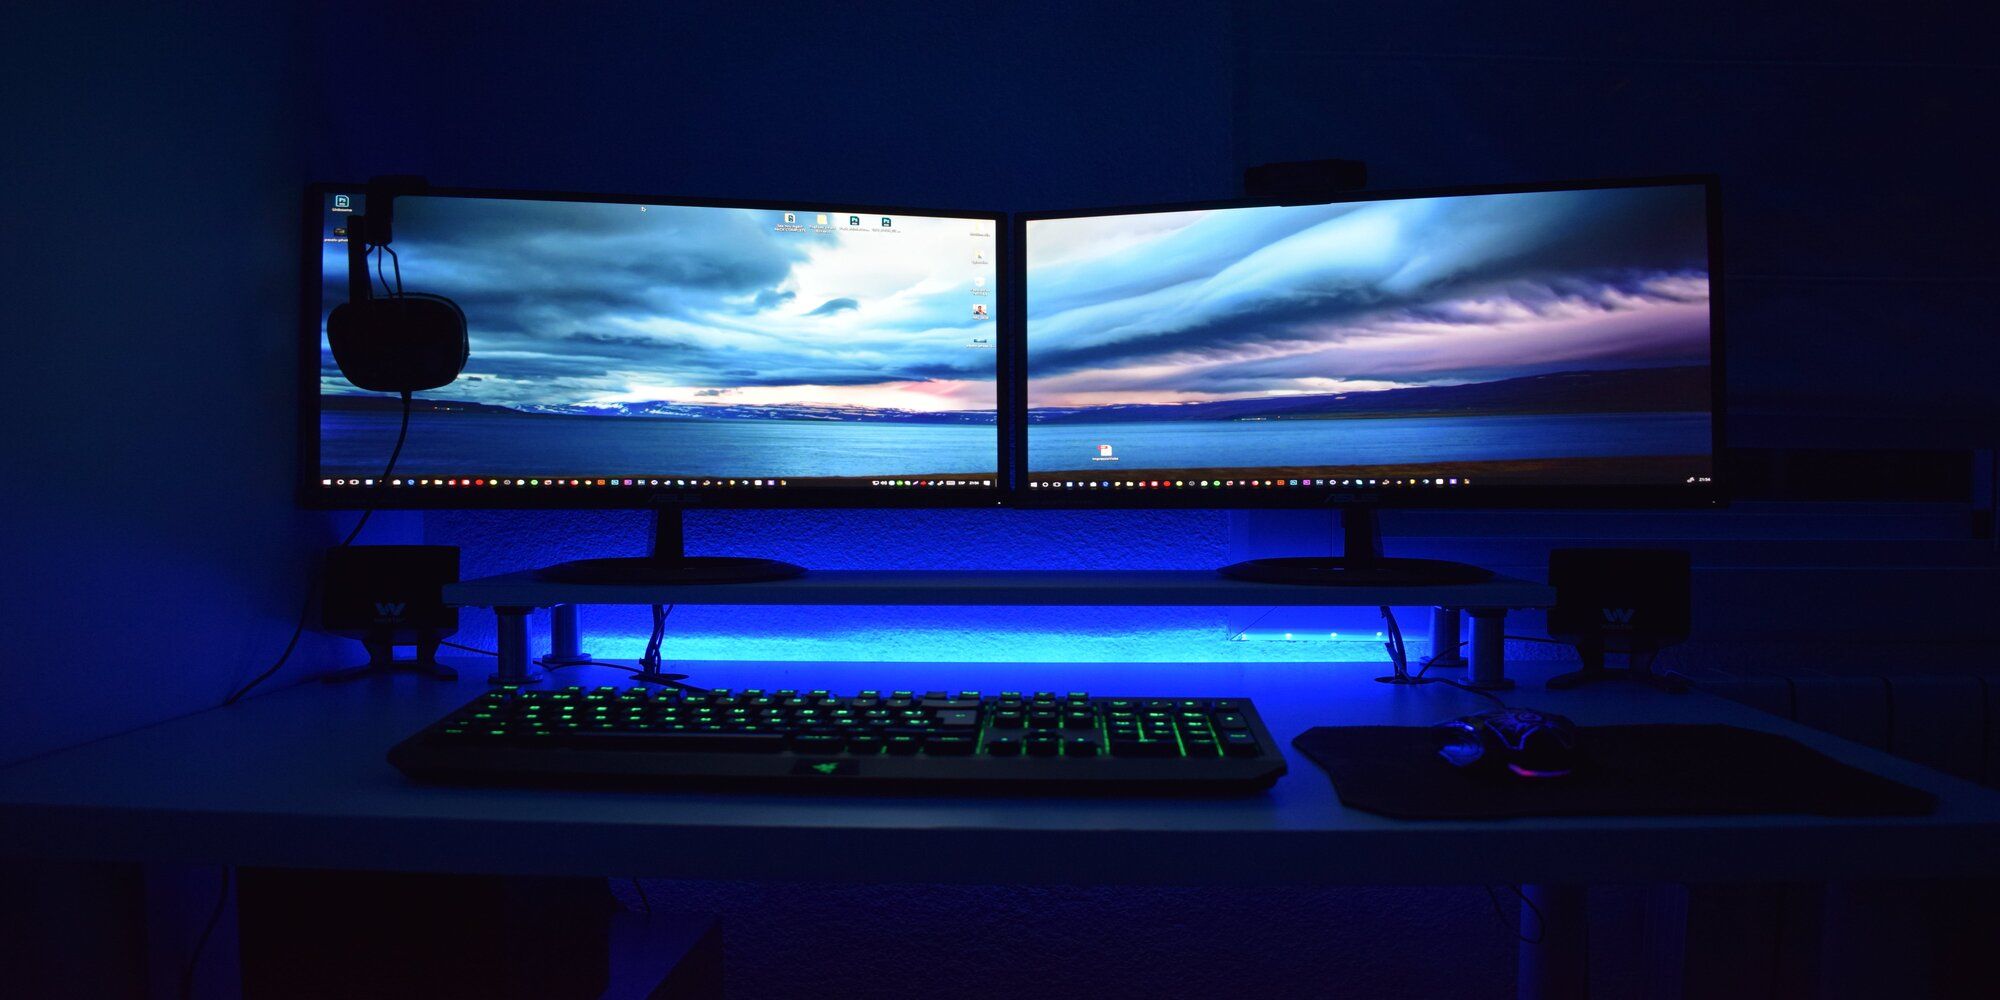
Gaming PC stations tend to have more wires and cables as compared to home office setups. They include a variety of wired devices, from monitors, keyboards, and mice, to headsets and consoles.
Thus, wireless devices can save your life. If you have the funds to spare, you can consider wireless tools. These take away the pain of cables altogether. However, proper research must be done before making a purchase.
Mounting your PC with a PC holder underneath your desk is also a great option for stationary PCs. It brings the PC closer to the desk, so you can use shorter cables and have a tidy setup.
Finally, remember cable management can be a long and time-consuming process. Unlike gaming, it not only takes mental energy but also physical. So you need to take your time and redo until perfection.
NextMaintaining Your Gaming PC: Tips For Cleaning, Upkeep, And Longevity
Keep your gaming PC fast and clean.
Posts